Likes
Comments
Share
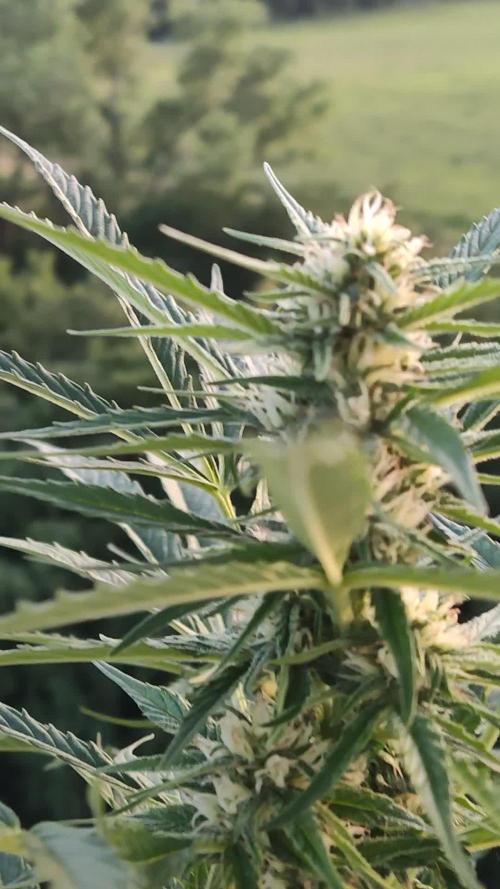
Hallo zusammen 🤙 Sie wächst sehr schön und macht keine Umstände.
Likes
12
Share
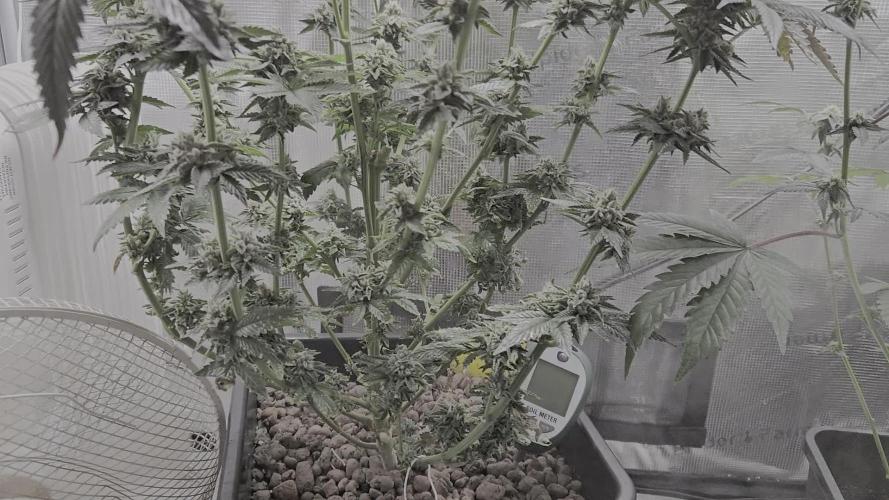
Another great week for the girls, I have not seen a single deficiency, other than the odd yellowed leave under the canopy, typically due to lack of light. I will come through soon and do a defoliation of both tents to allow for more light to penetrate, and perhaps get a good push for some girthy colas 😋. I have lowered the temps a bit in the tents by controlling my lung room temps, and they are maxing out at 77 degrees and hitting a night time cool of about 70. I have also lowered the humidity to hover between 47 and 52 %. Hopefully will start to get some nice colours as they finish. As I mentioned before, when I water is when I like to get under the canopy and check the stems and leaves for anything that shouldn’t be… and typically once a week after watering I’ll wipe down the tent and sanitize any surface I can. There is no reason to get lazy, that’s how you get Pests, Mold, and PM. Happy Gardening 🇨🇦👊❤️
Likes
14
Share
Ricky G-41 🤩🤩😍😍
Likes
8
Share
@Stayvu
Follow
Une semaine très chaude, mais tous a l'air de bien ce passer. Vos remarques et conseil sont le biens venus.
Likes
17
Share
Processing
Likes
3
Share
@Dunk_Junk
Follow
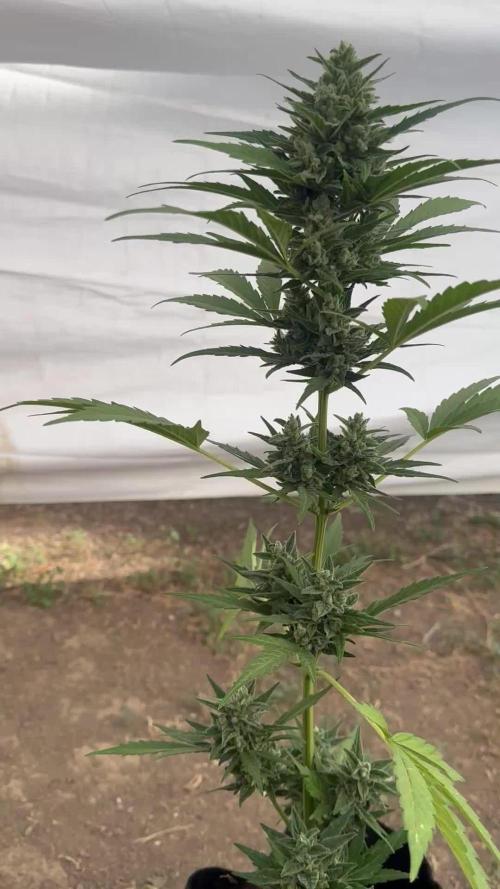
She's still going! Not long now though, I'm thinking a week or two. She is so frosty and sticky! Incredible.
Likes
70
Share
@Roberts
Follow
Big Fat Wedding Cake is growing great under the Spider Farmer G5000/UVR40 lights. She is starting to stack now. She has been very hungry. Everything is looking good at tye moment. Thank you Spider Farmer, Athena, and DutchFem Seeds. 🤜🏻🤛🏻🌱🌱🌱 Thank you grow diaries community for the 👇likes👇, follows, comments, and subscriptions on my YouTube channel👇. ❄️🌱🍻 Happy Growing 🌱🌱🌱 https://youtube.com/channel/UCAhN7yRzWLpcaRHhMIQ7X4g Spider Farmer Official Website Links: US&Worldwide: https://www.spider-farmer.com CA: https://spiderfarmer.ca UK: https://spiderfarmer.co.uk EU: https://spiderfarmer.eu AU: https://spiderfarmer.com.au G5000 Light Amazon Link: amzn.to/4643esa UVR 40: https://www.amazon.com/dp/B0BR7SGTHS Discount code: saveurcash (Stackable)
Likes
117
Share
@BigDaddyK
Follow
Ok this is my Full guide with pictures on how to setup a Deep Water Culture grow, items you will need for this grow - Firstly a TENT or ROOM i use a tent REMEMBER stuff you buy NUTRIENTS off eBay and Amazon could be decanted (watered down) , or cheap chinese fakes (Ph Meters, PPM meters) you should really buy these things from you local hydroponics store,as they are guaranteed , i ve dropped a few into the bucket and they are fked,its been a sunday night with a bank holiday monday and i m fked, 1) Ph Down - makes the ph of water LOWER - this is VERY STRONG SHIT , wear gloves and googles if you are messing with it, i drop a bit into my main reservoir Ph 6.9 ( maybe 10ml per 200L) 2) Ph up - makes the Ph go higher - also STRONG SHIT -only needed in Emergencies 3) Ph meter 4) PPM Meter or EC meter 5) 20L Bucket + moulded lid netpot 6) Air Pump ,air hose 3m ,air stone x2, 7) Pebbles to fill to top of netpot, 8) ROOT IT cubes , i use these and ONLY these, by that brand,i know why,and so im telling you, 9) Seeds - I prefer Fast_Buds ,autos ready in 10 weeks of 18/6 - top quality 10) Nutrients, I use Canna as they are the easiest, they have a way of filling the one side , if you take the top off you can squeeze into the measuring side - I would also recommend Advanced Nutrients,but they are more expensive - so you will need 1L Canna Aqua Vega A+B ( it comes as two parts that you cannot mix together , when you put this into the water you MUST stir it well before putting each one in seperately otherwise you will get salts formed and crystals floating around,10 ml per 10L week 1-2 ,15ml per 10L week 3, 20ml per 10L in week 4) 1L Canna Aqua Flores A+B (as above) 25ml per 10L week 5, 30ml per 10L week 6 ,30 ml per 10L week 7 , 25ml per 10L week 8,15ml per 10L week 9, 0 per 10L week 10 250 ml Canna Rhizotonic (roots love this use this from start 20 ml per 10L and cut down after 4 weeks to 5ml per 10L up until week 9 250 ml Canna Cannazym ( breaks down dead roots, enzyme of some sort) 15ml per 10L from week 3 through to week 9 250 ml CannaBoost - (quite expensive but worth it, DWC will show you why) 15ml per 10L week 3 to 4 , 25ml per 10L week 5-9 250 ml Canna PK 13/14 (bud booster) this is optional because you only add it once,personally i add 15 ml per 10L in week 7 so its stays in for 10 days I leave my water for at least 24 hrs before using it, in a big old olive container i bought , i think its 225 L i might be wrong, but it was cheap , solid and had a top :) I check my water levels ,my PH and PPM daily 11) Jubilee clips x3 - to secure the fan ,filter and outlet.( 5 clips if using air cooled hood ) 12) Fans - i have 2 little fans and 1 big one = think about it, outside there is always good air flow - 13) Extractor fan -mine is 6 inch 14) Carbon Filter - mine is 6 inch im not overly impressed with any brand. 15) Ducting- 5m of 6 inch easy enough,well for me... 16) Ballast - LUMATEK -i found this one amazing and switchable. 17) Lightbulb -600w HPS ALL THE WAY but i would use 1000w HPS if i could keep the heat down, they both fit in same fitting 18) Air hood - i have a MAGNUM superXXXL it has screw in holders for glass , they are quite tight 19) Timer for lights , must be good quality , I do 17 hrs on 7 off as it's more natural 20) Syringes for measuring accurately 21) Bucket to mix solutions THE GOLDEN RULE - you can always put in but never take out - never put in too much or undiluted into the reservoir unless you really know what you are doing, less is better than too much . Ppm v EC - you may well buy an EC meter instead of ppm meter there is an easy way to convert between the two ~ 1.0 ec = 500 ppm EC multiply by 1000 then divide by 2 to get ppm This diary will start shortly but as so many people ask me how to setup HERE YOU GO :)
Likes
11
Share
7/26: Last defoliation for about 4 weeks. Looking good and thick. LST is basically over and I'm going to let this plant do what it wants from here on out. I pulled some stems away a tad more so they grow out of any shadows. Bam! 7/27: Added my Google Home Mini so the girls can listen to classical all day long. 7/28: Pistils are tiny on plant 1, but the other 2 are growing rapidly. 7/29: Ordered a 600w ViparSpectra to add to the grow tent, can't wait. Also ordered some sticky traps. The gnats are not really affecting the plant, (never enough to cause major problems) but I just hate them. They seem to be coming from my shop-Vac (for run-off). I let it dry out, as it never stays full of water. I assume they are attracted to it regardless because of the moisture. I have now moved the shop vac further away from the grow tent and will have sticky traps installed 7/30. 7/30: Day 33. Going well. They love Mozart. Pistils FINALLY on every plant. 7/31: Got the new 600w ViparSpectra in, it's bright... this was a good idea. 600w @ 24inches, 450w @ 20inches 8/1: Pistils on all plants. Pre-flower stretch is real. The new light changed everything. Plant 1 taking half a gallon now.
Likes
4
Share
En la 6ta semana de vegetación hicimos una poda de bajos y desfoliación en general para potenciar el crecimiento de los brotes superiores, mejorando la iluminación y ventilación en el cultivo. También hicimos unos cuantos amarres (lst).
Likes
9
Share
Day 27- day 1 flower Flip to 12-12 Day 28-day 2 flower Calmag -0.8ml Coco A - 1.5 Coco B- 1.5 Roots -0.2 Day 29-Day 3 flower Calmag -0.8ml Coco A - 2.5 Coco B- 2.5 Active boost -2ml Roots -0.2 Day 30- Day 4 Watered Coco A - 2.5 Coco B- 2.5 Active boost -2ml Roots -0.2 Day 31–day 5 Watered Day 32– day 6 Watered Day33- day 7 Watered Day 34-8 Watered last night so nothing today Day35–9 Watered Day 36-10 Watered Day 37-11 No feed, Day 38–12 Fed 1.5L Day 39-13 Watered Day40-14 Fed pk Day 41-15 Fed 1.7 coco a 1.7 coco b 2 ml boost 1 ml Pk Day 42-16- started adding pk Fed Day 43-17 Fed Day 44-18 Fed 600 ml just before lights out 1L lights on Day 45-19 Fed 1.6 L Day 46-20 Fed 1.5L Day 47-21 Fed 1.5L Day48-22 signs of potassium deficiency so keeping the food levels up for few more days , started with light feeding but now doing heavy feed chart . -Starting to give off a berry and gas smell . Day48-23 Fed 2L She’s thirsty today . Usually start to see runoff after 1.2 Lbur nothing Ml/L Watered 2.5 coco a 2.5 cocoa 2 sumo boost 2ml by accident instead of 1 Day 49-24 Fed 1.5L Day 50-25 Skipped feed to try lower humidity Day 51 Fed 2 L but no run off . Think she’s thirsty from no water yesterday . Will do another 500 ml to see run off if not I’ll leave it at that .
Likes
20
Share
@Oldwied
Follow
I added 10mL LAB (lacto acid bacteria, diy with rice water and milk) per liter of irrigation water, twice a week. I installed a fan under the canopy to prevent mold. At the stage when the buds become denser. The calcium and magnesium deficiency seems to be under control. The affected leaves look terrible, but the leaves without the deficiency have turned dark green again. Light Power: 100% Day 87 Flower #35 Photoshooting
Likes
37
Share
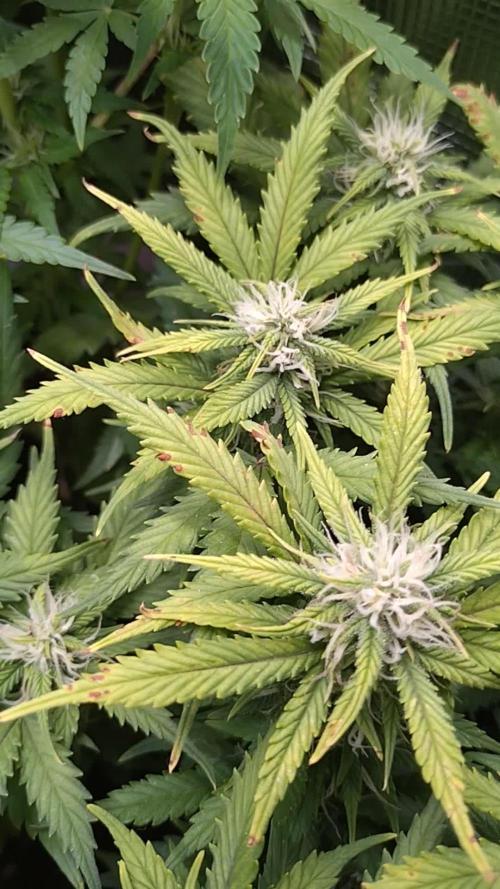
🌱 Week 1 Update: Terpyz Mutant Mentha de Croco Journey 🌱 Hey Grow Fam! The Mentha de Croco sprouts are officially a week in, and they’re already showing off their unique personality, each one growing at its own pace. They’re rocking some funky vibes and loving life inside the dome! Here’s a full update on their progress, care, and setup for Week 1. Living Environment: The Humidity Dome Setup The seedlings are living in a humidity dome, where we’re keeping the relative humidity (RH) close to 100%. This level of RH mimics a tropical environment, creating the ideal conditions for delicate young plants that need extra hydration support as they begin to develop roots and leaves. Why High Humidity? • Encourages Strong Root Development: At nearly 100% RH, plants focus on root growth while pulling in moisture directly from the air, helping them establish themselves early on. • Protects from Stress: The high humidity reduces transpiration (water loss through leaves), which prevents drying and keeps seedlings hydrated. • Promotes Healthy Leaf Growth: With constant access to moisture, the leaves expand smoothly, giving each plant a strong start in the vegetative phase. Growth Status & Observations 🌱 These little mutants are showing some funky characteristics and growing at their own unique pace—a perfect reminder that no two plants are the same! Each seedling has sprouted its initial set of leaves, and I’m seeing great promise in their vigor and resilience. Key Observations: • Color: The seedlings are a healthy green, with some displaying slight variances in shade—typical of unique genetics like Mentha de Croco. • Structure: Leaves are developing steadily, with short internodes (the space between sets of leaves) that hint at nice, compact growth patterns as they continue. • Energy: Each plant seems to be finding its rhythm, which is a beautiful thing to watch! Some are taking their time, while others are diving right into rapid growth. Nutrients & Supplements 💧 For this first week, I’m keeping it light on nutrients, letting the seedlings draw what they need from the Root Riots and the remaining seed stores. However, I’ve continued using Aptus Holland’s Regulator and Startbooster, both at 1ml/L, to support foundational growth. Why These Nutrients? • Aptus Regulator: Adds silicon to fortify cell walls, giving the seedlings extra strength to handle environmental changes. Even under the dome, this helps build resilience. • Aptus Startbooster: Supplies essential microbes and root stimulators, setting up these little ones for explosive root growth once they’re ready to venture outside the dome. Lighting: FOG LED & Environmental Control 💡 I’ve kept the Future of Grow (FOG) 600W LED dimmed to around 200 PPFD to avoid overwhelming these tender seedlings with too much light. They’re getting just enough energy to support healthy photosynthesis without stressing them in their early stages. Lighting Benefits at Low Intensity: • Prevents Stretching: With the lower PPFD, plants stay compact and focused on root and leaf development rather than reaching for the light. • Supports Early Photosynthesis: The FOG LED’s balanced spectrum provides all the wavelengths these seedlings need to kick off photosynthesis and grow with vitality. Controlled through the TrolMaster Tent X, the lighting schedule is consistent and stable. With this controller, I can manage humidity, lighting, and temperature settings all from one place, ensuring the environment stays perfect for these little ones. Reflection & Tips for Fellow Growers 💡 Week 1 is about creating a stress-free environment for seedlings to adjust and establish themselves. Here’s a bit of wisdom for anyone embarking on a similar grow: 💧 Humidity & Hydration: High humidity is a seedling’s best friend. Keep your dome or grow area humid for strong, happy plants. 💡 Light Management: Keep lighting low to encourage compact growth and let those roots dig in. Adjust lighting gradually as they grow to avoid any shock. 🌱 Patience with Genetics: Each plant has its own rhythm, especially with unique genetics like these. Let them show you what they’re made of without pushing too fast. Shout Outs & Community Love 💚 Much love to Terpyz Genetics for these incredible seeds, Aptus Holland for the nutrients, Future of Grow for the stellar LED, and TrolMaster for the environmental control. Big shout out to everyone following this journey—it’s always a blast sharing with you all. Let’s keep the positive energy flowing and watch these seedlings turn into something amazing together! Stay tuned for Week 2 updates—more growth, more funk, and more growers’ love! Genetics - Mentha De Croco https://terpyz.eu/products/menta-de-croco-fern-type?_pos=1&_sid=e9237cbcb&_ss=r DogDoctorOfficial Discount Codes @ terpyz.eu - DOCTOR 15% off Nutrition - @aptusholland https://aptus-holland.com/ Led Power @ F.O.G. Future Of Grow https://www.thefuturofgrow.com/en/online-store/BLACK-SERIES-600-p489093171 Controls @ TrolMaster https://www.trolmaster.eu/tent-x As always thank you all for stopping by, for the love and for it all , this journey of mine wold just not be the same without you guys, the love and support is very much appreciloved and i fell honored with you all in my life With true love comes happiness Always believe in your self and always do things expecting nothing and with an open heart , be a giver and the universe will give back to you in ways you could not even imagine so Growers Love To you All 💚
Likes
6
Share
I’m using KIS organic a soil with fermented inputs and water soluble calcium, I’m using a KNF bloom and FPJ for nitrogen, and aloe for vitamins, and humic and amino acids. NO chemical fertilizers
Likes
79
Share
Greetings, fellow cultivators! Welcome to the Week 7 Report on our magnificent Epsilon F1, where the journey of green greatness continues to unfold with each passing day. Prepare yourselves for a detailed and immersive exploration of our botanical wonder as we delve deep into the heart of her flourishing beauty. Let's begin with a momentous decision: the Day 21 Flower Defoliation. With careful consideration and a keen eye for detail, I embarked on this transformative journey, gently removing select fan leaves to allow for increased light penetration and airflow. It's like giving our Epsilon F1 a botanical makeover, revealing her true splendor beneath the foliage canopy. This strategic pruning ensures that every bud site receives the attention it deserves, setting the stage for a bountiful harvest of epic proportions. But that's not all! As we bid farewell to the defoliation process, it's time to release all the bindings and restraints that were used to guide and train our green goddess throughout her growth journey. With a sense of liberation and pride, I untangle each tie, allowing our Epsilon F1 to stretch her leafy limbs and reach for the heavens. It's like setting a bird free from its cage, unleashing her full potential to soar to new heights of botanical glory. Now, let's talk about the environment. The TrolMaster controls have been instrumental in maintaining the perfect climate for our Epsilon F1's growth and development. From temperature and humidity to light and CO2 levels, these precision instruments ensure that our green queen receives the optimal conditions for flourishing. It's like conducting a symphony of growth, orchestrating each element to harmonize in perfect unity. And of course, we cannot forget the nourishment that sustains our botanical masterpiece. The Aptus Holland nutrients continue to be the lifeblood of our grow space, providing a balanced diet of essential macro and micronutrients. From the Micromix Soil to the Substrate Buffer Powder and All-in-One Pellet, each component plays a vital role in nurturing our plant to perfection. But let us not overlook the unsung heroes behind the scenes. Shout-outs to Royal Queen Seeds for bestowing upon us the genetic marvel that is the Epsilon F1, a testament to their dedication to excellence in breeding. To Aptus Holland, our main sponsor, whose unwavering support and innovative nutrients have propelled our grow to new heights of success. To TrolMaster, for providing the tools that empower us to create the optimal growing environment for our plants. And to Grow Diaries, the platform and community that fosters collaboration, knowledge-sharing, and camaraderie among growers worldwide. As we bid adieu to Week 7, let us revel in the glory of our Epsilon F1's progress and look forward with anticipation to the weeks ahead. Happy growing, dear readers, and may your gardens be forever green! Genetics -Epsilon F1 @rqs_esp @royalqueenseedssp @rqsglobal Food - @aptusholland @aptus_world @aptus_es @aptus_portugal @aptusbrasil @aptusplanttechaus @aptus_thailand @aptusplanttechnz @aptususa_official LES @lumatekeu Controls - @trolmaster.eu @trolmaster.agro @trolmaster.support As always thank you all for stopping by, for the love and for it all , this journey of mine wold just not be the same without you guys, the love and support is very much appreciated and i fell honored and blessed with you all in my life With true love comes happiness , Always believe in your self and always do things expecting nothing and with an open heart , be a giver the universe will give back to you in ways you could not even imagine so #aptus #aptusplanttech #aptusgang #aptusfamily #aptustrueplantscience #inbalancewithnature #trueplantscience #rqs #ApoloMission #MoonHarvestAdventure #playwithlego #lego #legotime #legovideo #tothemoonandback More info and complete updates from all my adventures can be found Link in the profile description Friendly reminder all you see here is pure research and for educational purposes only Growers Love To you All
Likes
42
Share
Bonjour à tous les padawans et maîtres jedis Tout d'abord merci à Tom de seedsman pour ses graines ainsi que greenhouse de me permettre de faire cette culture en m'offrant le feeding greenhouse Je rappelle que cultive simultanément 9 pots de 10 et 11 litres dans une box prévu pour 4 et que je n'utilise que le strict minimum du matériel nécessaire à une culture correcte au prix le plus bas possible MATÉRIEL CONFIGURATION Box 80×80×160 Lampe led Lampwin 300 watts ×2 Ventilateur à pince 15 watts Xiaomi Deerma humidificateurs 5L Hygrometre thermomètre Extracteur PROFAN 107 m3/h - 100 Prise programmable électronique ×2 1 pot carré noir 10 litres Green house feeding enhancer Green house feeding biobloom Green house feeding biogrow Substrat biobizz ligthmix Fil de fer et pince coupante Microscope Petite balance de précision CULTURE ÉTAPE PAR ÉTAPE J'ai tout dabord fais germé ma graine avec le easy start de Royal queen seed et je suis agréablement surpris car franchement le taux de réussite est très élevé (17 graines sur 19) simple d'utilisation et très efficace. Une fois la plantule sortie et d'une hauteur de 2 ou 3 centimètres je la prend délicatement et la place directement dans son pot définitif. Je préconise des pots allant entre 10 litres et 15 litres pour des autofloraisons cultivées en intérieur. Le pot aura été préalablement préparé (video dans diarie) avec 30 grammes d'engrais greenhouse feeding biobloom et 30 grammes de greenhouse feeding biogrow, soit l'équivalent de 3 grammes par litre de substrat. Je dépose donc la plantule dans son pot définitif je recouvre un peu de avec de la terre je tasse légèrement et j'arrose pour garder le substrat humide pas plus Je place ma lampe led 300watts à environ 90 centimètres de la plantule avec un cycle de lumière de 24/24 pendant une semaine. Au début de la semaine 2 le cycle de lumière passera en 20/4 grace a un programmateur car c'est pour moi le cycle de lumière qui offre le meilleur rendement pour une autofloraison. Jour1: léger arrosage Jour2: léger arrosage Jour3: la plantule commence à être plus vigoureuse mise en place de la ventilation pour augmenter sa masse racinaire et léger arrosage Jour4: arrosage avec un litre et demi d'eau ph6.3 à laquelle j'ai ajouté 0.9 gramme de greenhouse feeding enhancer (soit 0.6 gramme par litre d'eau) Jour5: aucune technique spéciale Jour6: aucune technique spéciale Semaine agréablement calme sans problème ni carence apparente Que la force soit avec vous !