


Likes
Comments
Share

@Vet_J
Follow
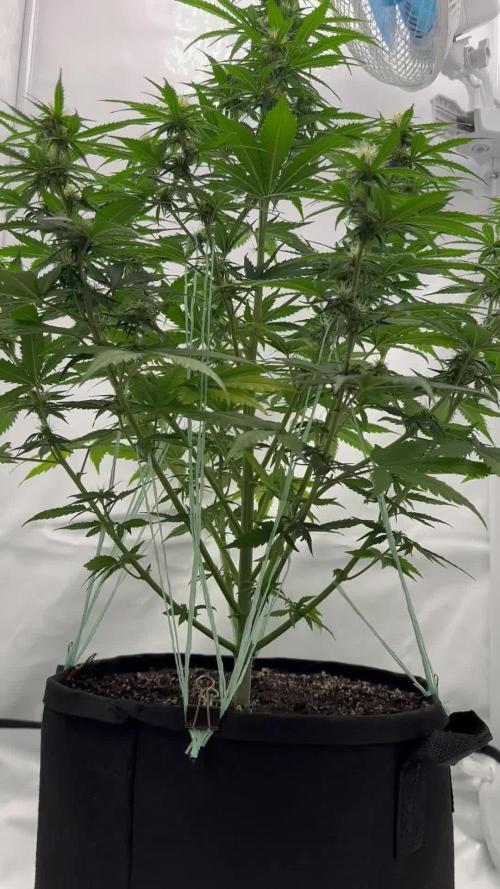
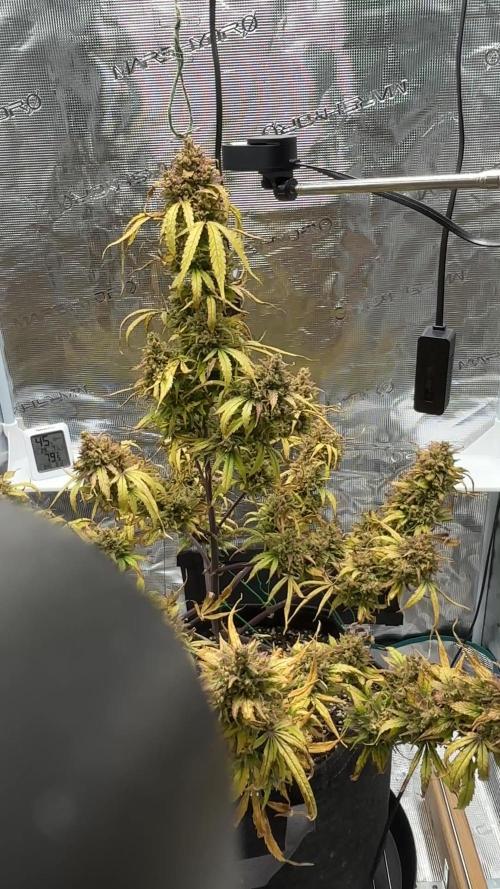
The lower leaves of the plant turned yellow
I have two options that could have caused the lower leaves to turn yellow
The first is a lack of nitrogen. In the last two weeks, I have reduced the dose of AD Grow fertilizer from 4 ml to 2 ml which contains nitrogen and i have not added AD B-52 for two weeks
The second option is that I have a low-quality ph meter. I measure the ph with drops I don’t have digital one and there may be an ph error
The plant was unable to absorb the fertilizer and a large amount of salts are most likely accumulated in the soil.
one more detail:He was defoliated a few days ago.
I hope that this problem will be resolved by next week and the plant will continue to grow at a good pace.

Likes
35
Share


@Canadian
Follow
When it comes down to this girl I think there’s not much to say a picture says most of the story react very well to training gives very large flower and with an incredible exotic Look the only thing the pictures cannot tell is the lovely fruity smell that it Hass And of course the beauty that is unreal I’m not too sure if I’m going to leave her one or two more weeks definitely this girl you don’t want to rush her , you want her to be just perfect thank you for reading I will continue to update have a happy grow.


Likes
9
Share


@Surge
Follow
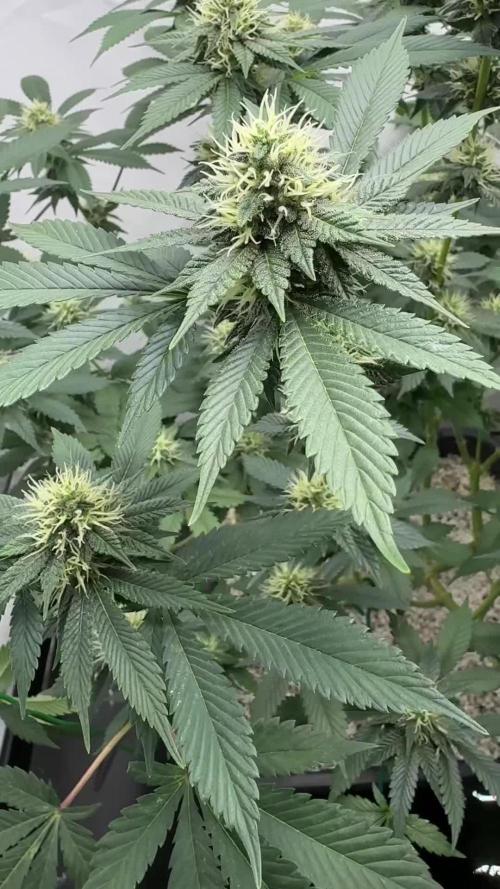
day 6 and 7 of week 12 after the nutes were added at the begining of week 11 and flushing once halfway through week 11 and twice before taking her down on week 12. Will do the harvest week in 5 days


Likes
5
Share


Likes
14
Share


@DaddyPrime
Follow
5/12 day 51. Shes a beautiful fucking bush. Doesnt need much training but im still going to do so. She has medium internodal spacing. Its not symmetrical so its every other one. Im hoping Shes gonna be awesome by the end of the season
5/15 fed finally. My ph meter was broken last week and I got it calibrated right before feeding today. Shes growing good and strong. Cant wait to put her outside

Likes
4
Share


@Canadian_Bud
Follow
3-11-2019
Into week 5 of flower and it's time for a change out of the Nutrients and add some Fresh RO water and Power To Bloom followed 4 days later with some UMP. She takes on a lot of feedings and running the RO water has been a daily task. She looks good and producing well. Buds have been close to the light with no burn so far, keep bending them down against their will every now and then.

Likes
11
Share
@Schubsen
Follow
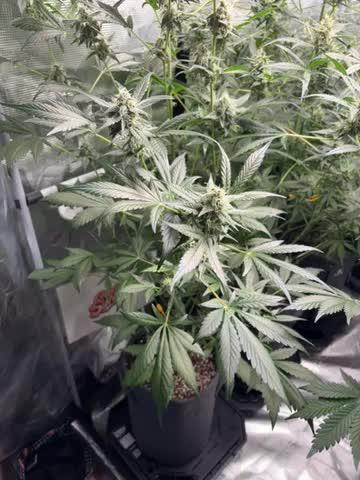
Hey Growmies, only Cutted few fan leafes. Top watered till drain…their are getting kinda massive :) the frostbanger had some serious bulk up this week.. looking near ready..
Likes
4
Share

@Drtomb
Follow
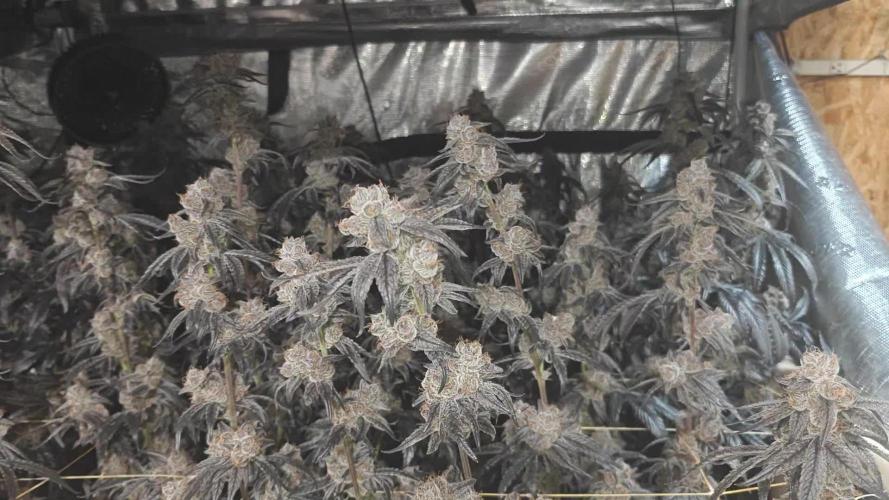
Pictures are the day before harvesting. They were flushed for 2 weeks. Plants are dark purple in color and a very fruity unique smell.
Ill harvest and have numbers shortly.
Likes
12
Share


@MichaelPearson
Follow
Hello. There were difficulties in growth. Corrected the mistakes of the past days.
The ground was too wet. Very few useful items. 4 bush came to life. I'm fighting for the other three.
I created a new report with the same sieve bank, but with a new earth.
Likes
Comments
Share


Likes
7
Share


@B4nkz
Follow
I took off some leaves that were blocking some bud sites to increase light penetration.
I’m still giving them only water with calmag due to the nitrogen toxicity from veg…
I think they are 4-5 weeks away from harvest but we’ll see🙏🏻

Likes
16
Share


@Tipton
Follow
They're getting going good! They love their new homes... Love the 1000w mh in my 5x5

Likes
12
Share

@Suemchen
Follow
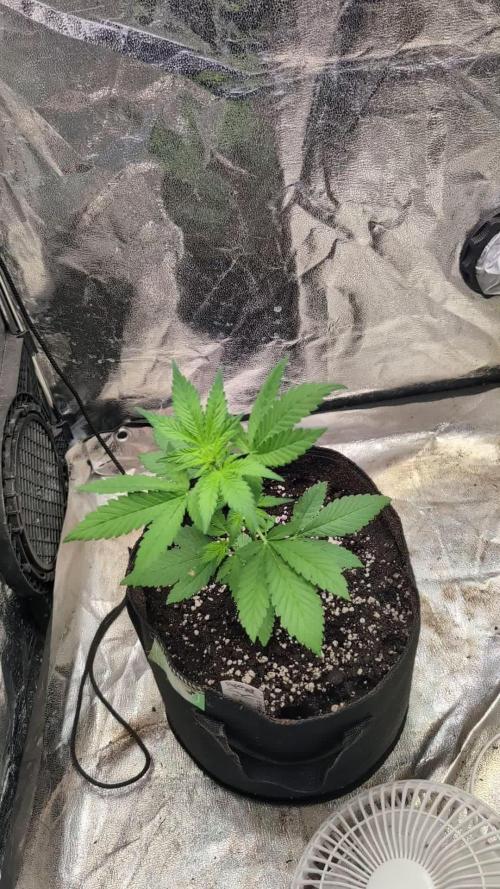
Outside right now untill there is room in the tent
Day 15: Looks good 👍🏻 watered with rain water 👌🏻 keeping the soil moist 🌧️
Day 18: looking good and transplanted her into a bigger pot with Plagron All Mix and Dolomit Lime. 🌊Watered with rain water and 1 ml/l Hesi Boost, 1 ml/l Cal Mag, and 1 ml/l Green Sensation. EC at 1.0 and a pH of 6.4 .
Day 21: looking good and watered again. Watered with rain water and 1ml/l Powerzyme, 1 ml/l Hesi Boost, 1 ml/l Cal Mag, 1 ml/l Bloom Complex and 1 ml/l Green Sensation. EC at 1.0 and a pH of 6.4.
Likes
16
Share


@Mr_Motalovah
Follow
Hello Growers and Tokers! 👋 👩🌾 🧑🌾.🔥💨
Finally got that transpant done.
Added a bit of root juice to help out the transplant.
Won't be adding nutes until next week, directly bloom nutes..
Took waaaay to long to transplant. They didn't get any growth becuase of the bad weather these past weeks.
Very bummed out about that. Two of the are already in prefower.. the tiniest i hope grows a bit more..
can't really ask for much more given the bad weather and that they're autos..
I'll for sure be doing a re run with this strain with better stable conditions.
Take care out there!
One love!

Likes
Comments
Share

@420abbybox
Follow
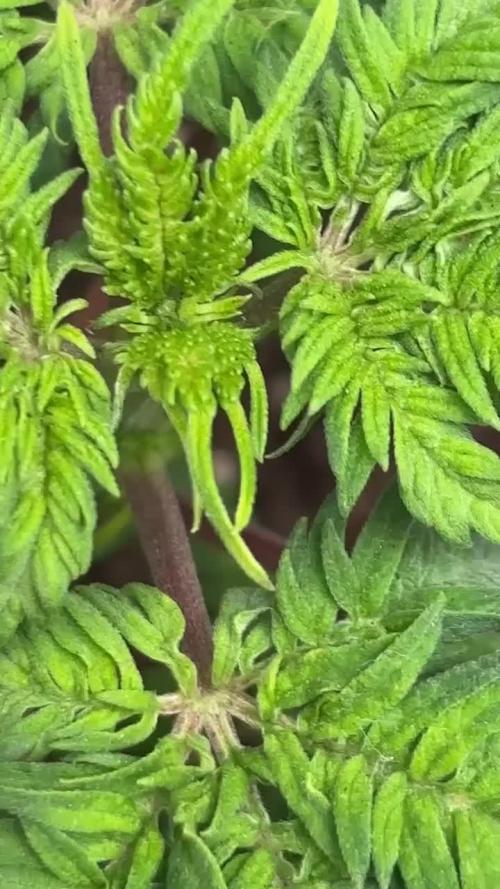
On week 7 of the vegetative stage the plant is stretching more & the root system seems to be expanding in the 14L pot nicely along with some side branches coming from the lower nodes and on the 8th-10th set of leaves

Likes
12
Share


@Ninjabuds
Follow
I wish they didn't make me do this to get a smileI wish they didn't make me do this to get a smileI wish they didn't make me do this to get a smileI wish they didn't make me do this to get a smileI wish they didn't make me do this to get a smileI wish they didn't make me do this to get a smile

Likes
13
Share


@eecc_photo
Follow
Hello people...
So heres the new strains Gellato 41 by SEEDSTOCKERS.
New setup with Heavengrowlights 320w, lets see hoy they do.
left a couple of timelapses for the germination process
cheers feel free to coment

Likes
2
Share

@HappyFarmer2
Follow
Pictures/Videos updated. Plants looking good. Mimosa has more Amber trichomes, looks like that will be harvested first.