
Likes
Comments
Share


@FlowerBloom09
Follow
2 weeks now , I had some mold on my soil I scrapped out with a Spoon , I added more soil & everything seems Healthy! Also had mini fits but they are no longer with us

Likes
31
Share

@Trippie
Follow
First 45gr of tops are off. Keepin an eye on the rest. Ma lenz came in tha mail today, awesome! Will be easy to follow up harvest times.
2nd layer still good

Likes
9
Share


@Xabii
Follow
Values are average of the day.
DATE - °C - RH% (Tent Temp/RH)
20240711 26.2 52.5
20240712 25.2 53.4
20240713 23.5 52.9
20240714 23.5 53.2
20240715 25.6 49.2
20240716 25.0 59.2
20240717 24.1 60.6
DATE - PH
20240711 6.32
20240712 6.32
20240713 6.00
20240714 5.76
20240715 5.91
20240716 5.92
20240717 5.93
DATE - EC(us/cm)
20240711 1074
20240712 1071
20240713 1237
20240714 1265
20240715 1383
20240716 1607
20240717 1576
DATE - °C (Reservoir)
20240711 23.9
20240712 23.2
20240713 22.0
20240714 20.3
20240715 21.6
20240716 22.2
20240717 21.6

Likes
6
Share


@Nune2021
Follow
Alle 10 seeds sind gekommen und sehen soweit ganz gut aus außer eine von den Eldorado og die sieht leicht mutiert aus und häng auch im Vergleich zu den anderen hinter her bin aber im Großen und Ganzen zufrieden mit dem Wachstum !!


Likes
21
Share


@Growhouse_MLT
Follow
Fast Buds Run
Lights at 50% and will start to increase intensity gradually this week until we reach 75% by the end of this week.
Reverse Osmosis water with Base nutrients & additives will also be started this week,starting at half doses and increasing if need be. Bud Labs Advanced recipe from Advanced Nutrients will be used.
03/04/24 - 1L RO Water with nutes per plant.
05/04/24 - 1L RO Water with 1ml/L Cal-Mag Xtra per plant.
07/04/24 - 1L RO Water with nutes per plant.
NOTES : 05/04/24 - Started some light LST on the main branch in preparation of using the scrog net in the coming weeks.
07/04/24 - Plants overall look happy and it seems that they have reacted well to the LST.

Likes
11
Share


@Lazuli
Follow
This week i feed 1000ppm to get 800runoff. She was hungry the past 14days now i keep the ec more in chek


Likes
2
Share


@Mr_nugs_lover_David
Follow
Her 2nd week was pretty good,she could be a little bigger with a few hours more of sun that's why I moved my plants almost everyday.she looks very healthy let's see how she performs


Processing
Likes
15
Share


@eldruida_lamota
Follow
Buenas tardes familia, actualizamos semana y os traigo Malas noticias , una cookies no aguanto y tuvimos que quitarla, quedo atrapada en el caparazón de la semilla y murió.
Pero renovaremos hueco no se preocupen
2/3 y por manazas por no quitar la semilla a tiempo .
No obstante controlamos todo igual temperatura humedad todo correcto , no tiene que suponer problemas sacar el resto adelante.
Os dejo algunas fotos y veis El Progreso.


Likes
48
Share


@MadeInGermany
Follow
Info:
Unfortunately, I had to find out that my account is used for fake pages in social media.
I am only active here on growdiaries.
I am not on facebook instagram twitter etc All accounts except this one are fake.
Have fun with the update.
Flowering day 35
since time change
to 12/12 h.
Hey everyone :-).
Every additional week is extreme 😃.
The buds are starting to develop really well and the growth has stopped.
The water was freshly prepared.
Otherwise nothing happened during the week.
Have fun and stay healthy 🙏🏻
You can buy this Strain at
https://www.amsterdamgenetics.com/product/kosher-tangie-kush/
Type:
Kosher Tangie Kush
☝️🏼
Genetics:
Kosher Kush
X
Tangie
👍
Vega lamp: 2 x Todogrow LED CXB3590 COB 55 W
1 x Sanlight S2W 62 W
💡
Flower lamp : 2 x Todogrow LED CXB3590 COB 55 W
1 x Sanlight S2W 62 W
💡 ☝️
Grow Aero System : Growtool 0.8
☝️
Fertilizer:
Canna Aqua Vega A + B , Canna Aqua Flores A + B , Rizotonic, Cannazym, CANNA Boost, Pk 13/14, Canna Cal / Mag, Canna Ph - Grow, Canna Ph-Bloom
☝️🌱
Water:
Osmosis water mixed with normal water (24 hours stale that the chlorine evaporates) to 0.2 EG. Add Cal / Mag to 0.4 Ec Ph with ph- to 5.2 - 5.8
💦 💧

Likes
15
Share


@Satax
Follow
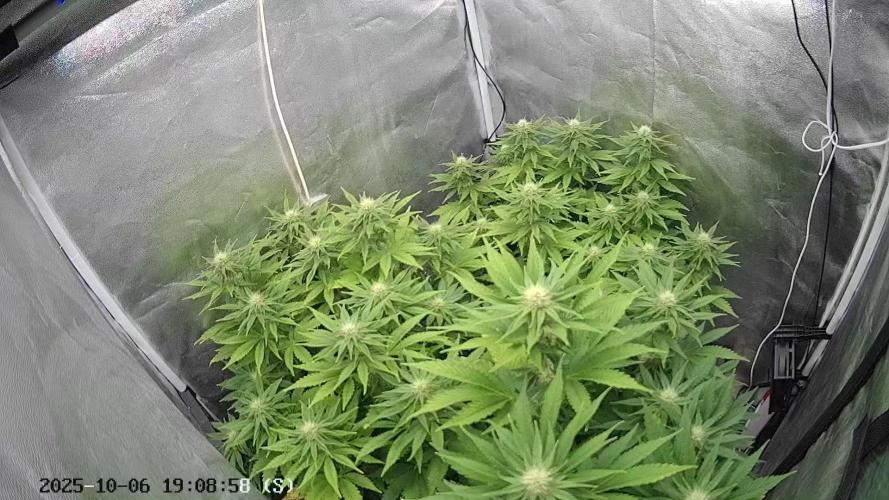
Geeting big!!
Try to defo under the back plants but very difficult to acess there…

Likes
Comments
Share

@RooftopFarmer
Follow
Guava Sundae – Week 8 (Fast Buds Outdoor 2026)
The weather was okay this week. Guava Sundae continues with regular feeding and plenty of sunlight. Apart from a few minor leaf damages everything looks good.
She has reached about 50 cm and is fully in flower. The aroma is outstanding, super fruity, creamy and strawberry like. This is easily one of the best smells I have had so far.
Likes
43
Share


@Sabac
Follow
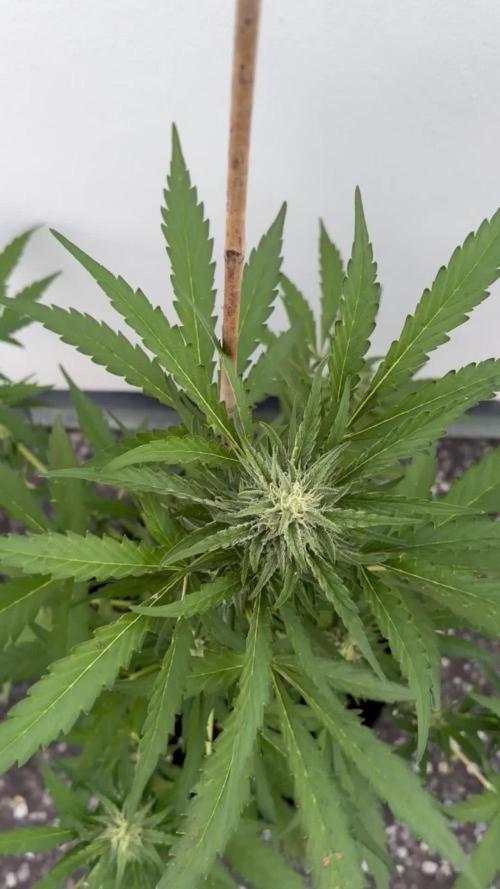
Semana 4 de flora están a full mis plantitas. Creciendo cada día más y más.
Sanitas.


Likes
28
Share

@eldruida_lamota
Follow
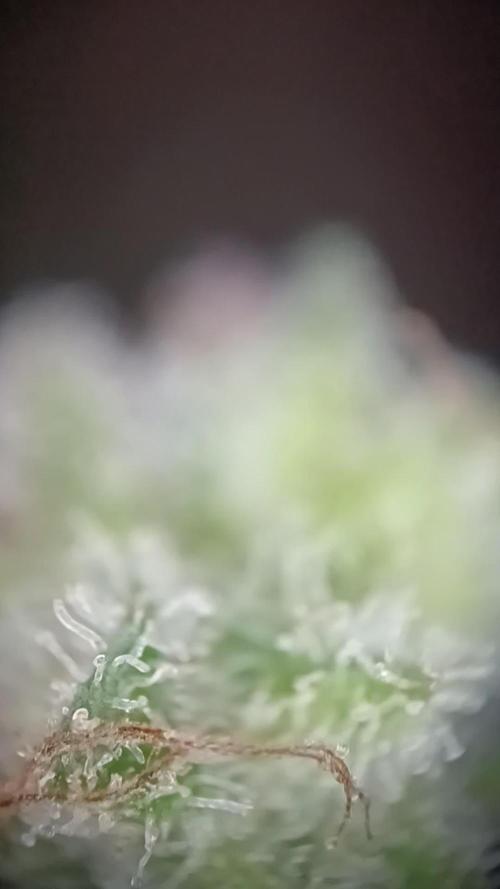
Venga familia que ya viene la cosecha de estas Apple Fritter de ZamnesiaSeeds, que ganas que tenia ya de darles machetazo.
No veas que pinta que tienen estas plantas.
Las flores aparte de prietas se ven bien resinosas.
a sido una genética con la que disfruté mucho cultivarla, es algo complicada cultivarla pero merece la pena si eres cultivador con experiencia no te será problema cosechar.
Agrobeta:
https://www.agrobeta.com/agrobetatiendaonline/36-abonos-canamo
Mars hydro:
Code discount: EL420
https://www.mars-hydro.com/
Hasta aquí es todo , espero que lo disfrutéis, buenos humos 💨💨.
Likes
31
Share


@Hempface86
Follow
Okay here we are day 49 and this morning I threw some trainers on her, and so now we wait.. 16 shoots should be up and ready to flip in the next couple weeks.. i hope everybody is doing well.I'd like to thank Kanabia Seeds for these genetics, and i'm looking forward to this sativa leaning hybrid.. i love sativa strains.. they just hit harder. I don't know why or maybe it's just me, but it goes straight to my head. Rite to where the problems are lol .. everything is looking good though. And I have high hopes for her. Thank you for everyone. Coming by checking it out. Saying hi, giving a thumbs up.It is much appreciated.. Hope everyone is doing well.God blessed and happy growing ✌️


