


Lemon cherry Cookies Auto









Indoor
Room Type
Topping
weeks 2
LST
weeks 3, 5
11 liters
Pot Size
0.8 liters
Watering
Start at Harvest
G
Germination1y ago
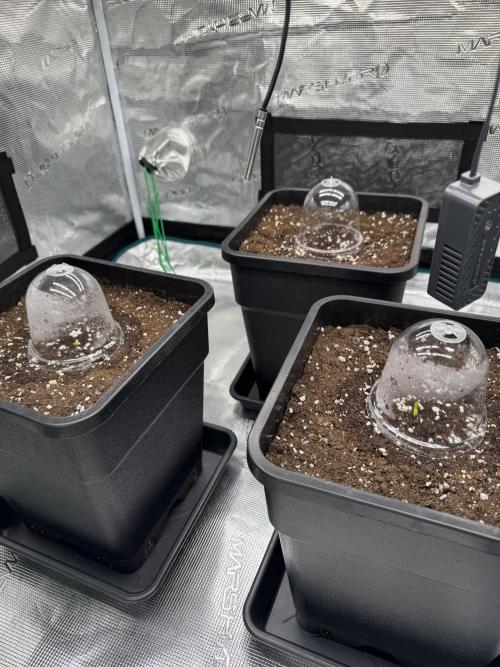
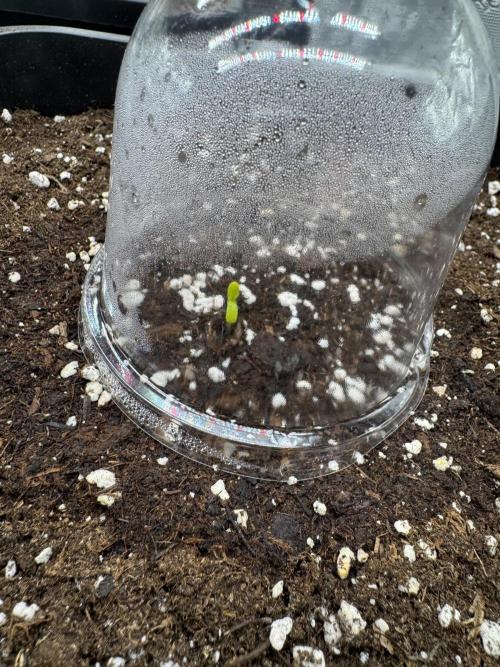
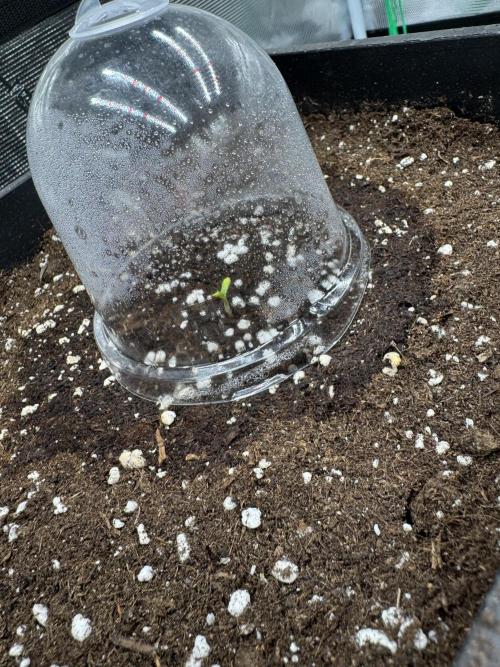
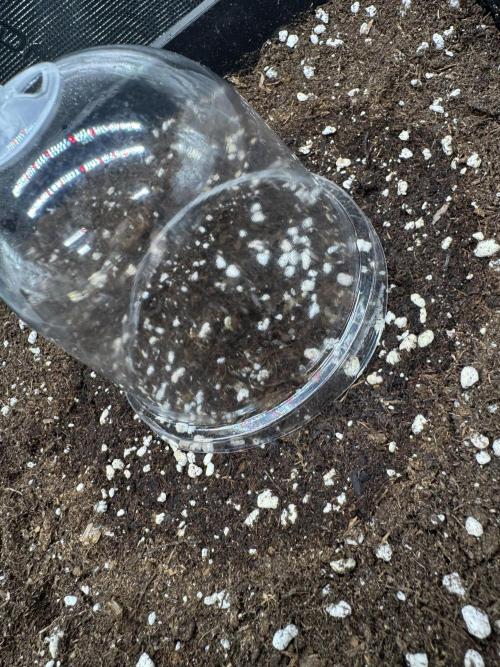
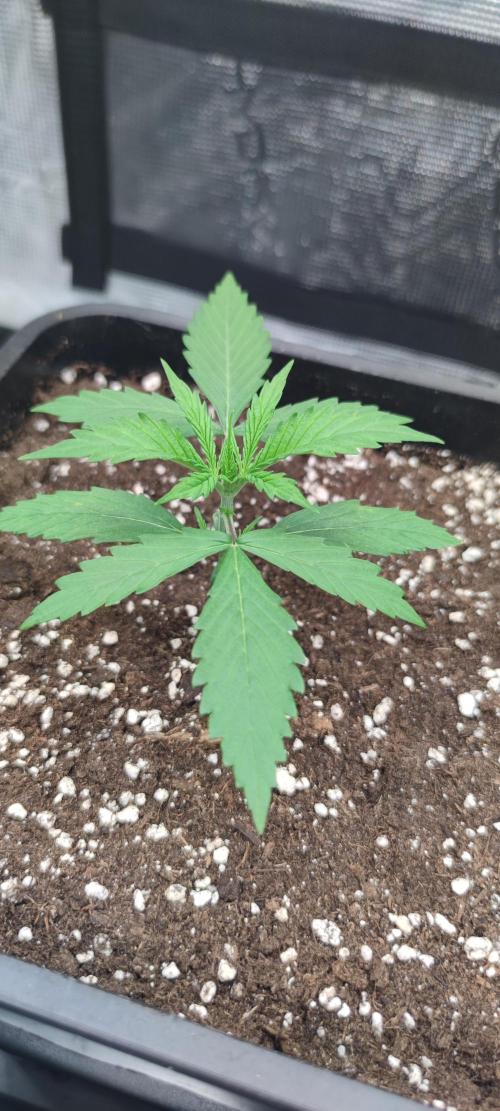
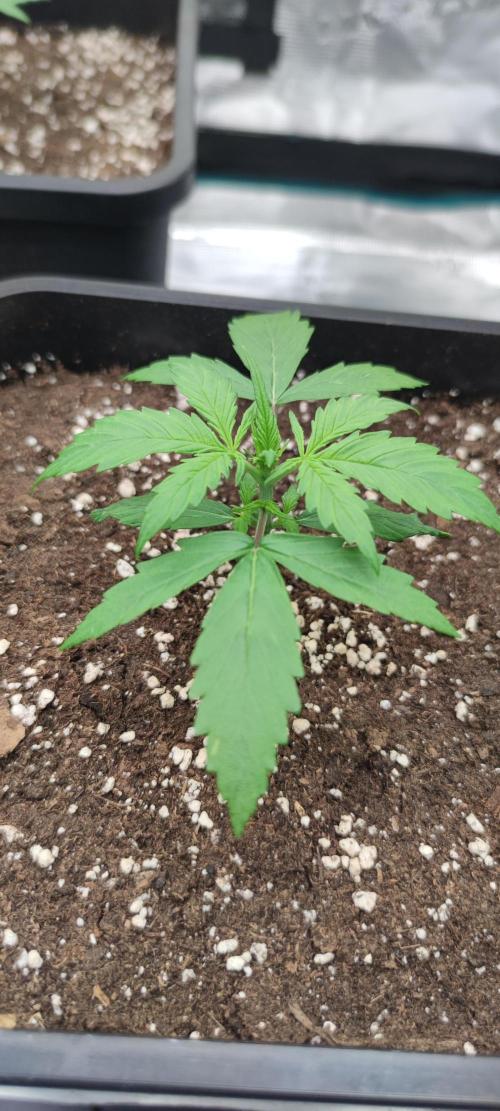
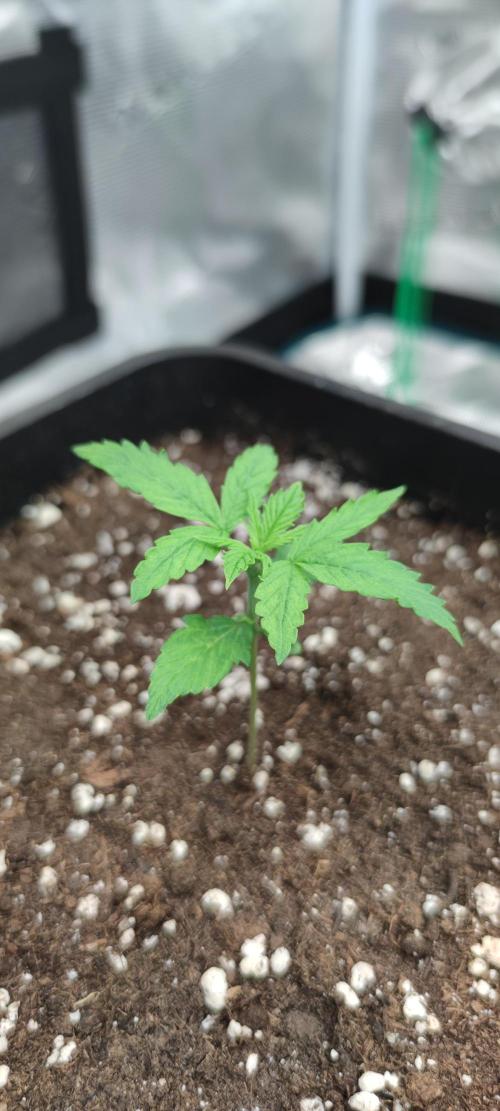
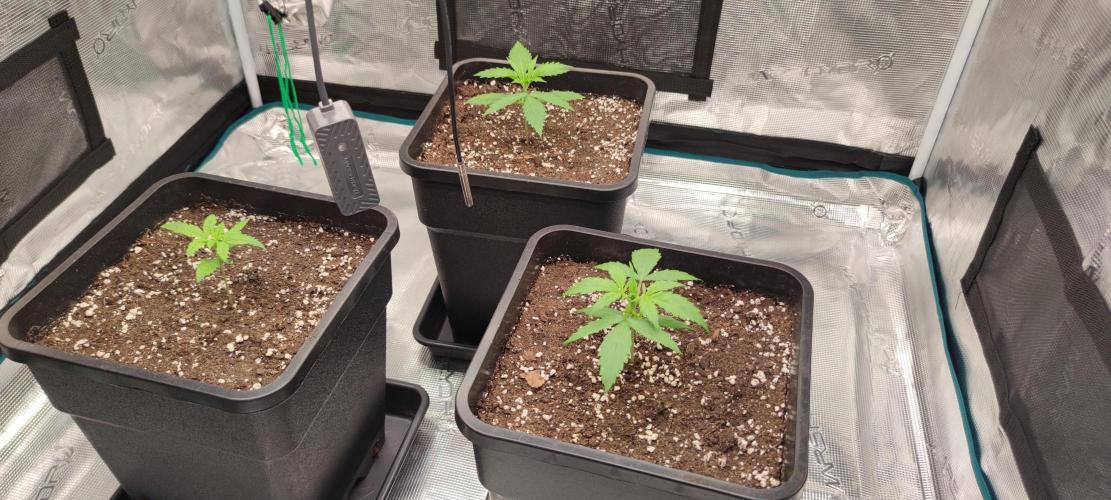
Splashy After 4 days, all 3 are poking their little heads out of the soil, let's goooo!
2 likes
comments
Share
Used method
Directly In Substrate
Germination Method
1
Week 1. Vegetation1y ago
15 cm
Height
20 hrs
Light Schedule
25 °C
Day Air Temp
6.3
pH
No Smell
Smell
70 %
Air Humidity
22 °C
Solution Temp
21 °C
Night Air Temp
11 liters
Pot Size
0.25 liters
Watering Volume
30 cm
Lamp Distance
Nutrients 3

BioBloom
3 mll

BioGrow
2 mll

BioEnhancer
1 mll
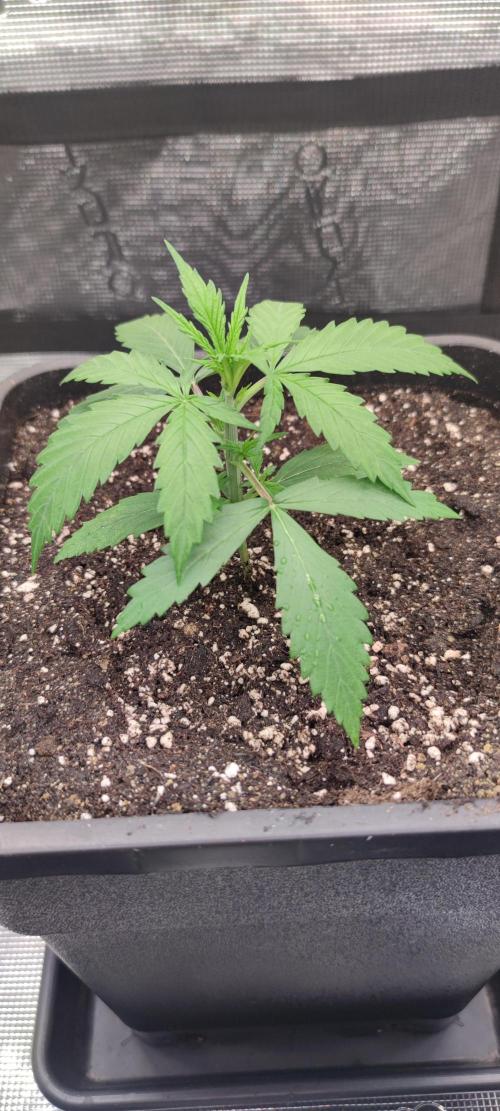
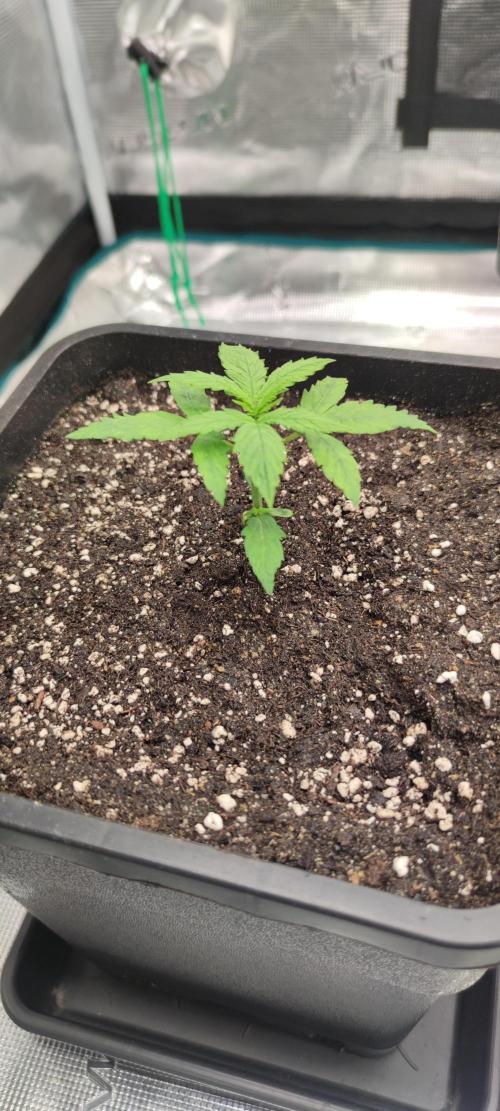
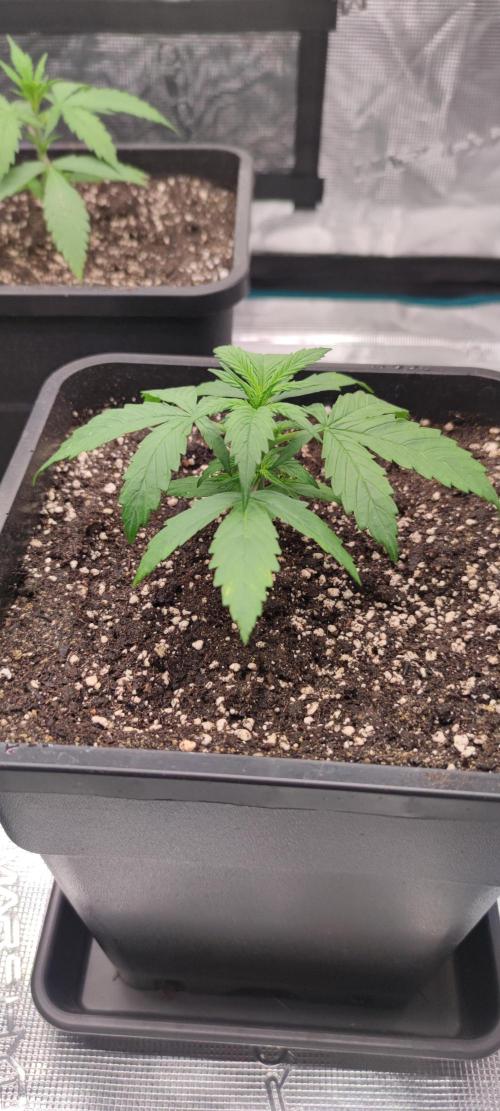
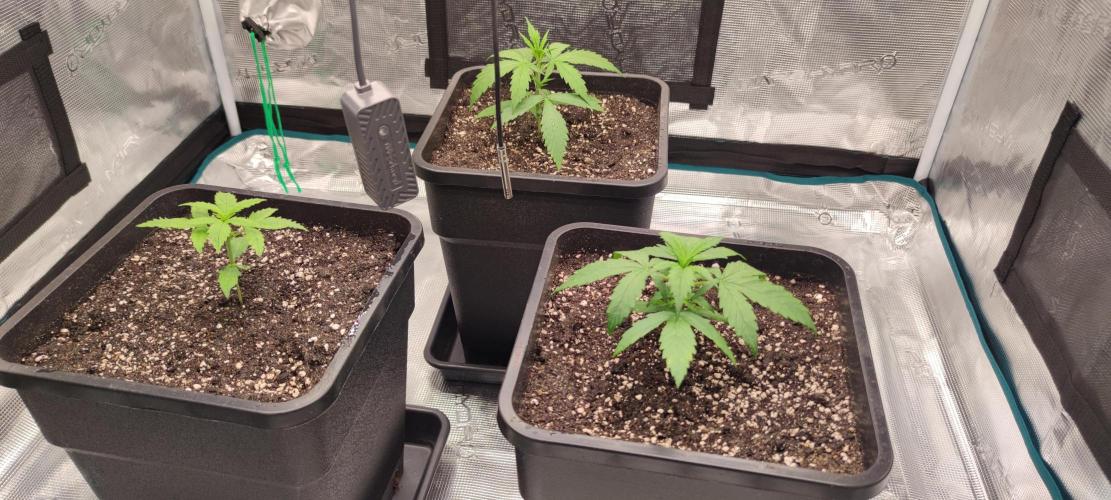
Splashy Today they are big enough that I could fertilize them with the Greenhouse nutrients. In Vince's video, he said it's enough to leave them in the Light Mix without nutrients until they are 10-15cm tall and then start fertilizing. I followed his recommendation that he suggests for autoflowers.
I watered them with 500ml each, divided per watering.
3 likes
1 comment
Share
2
Week 2. Vegetation1y ago
33 cm
Height
20 hrs
Light Schedule
26 °C
Day Air Temp
6.4
pH
No Smell
Smell
65 %
Air Humidity
22 °C
Solution Temp
21 °C
Night Air Temp
11 liters
Pot Size
0.5 liters
Watering Volume
30 cm
Lamp Distance
Nutrients 2

Magnesium
0.36 mll

Calcium
0.69 mll
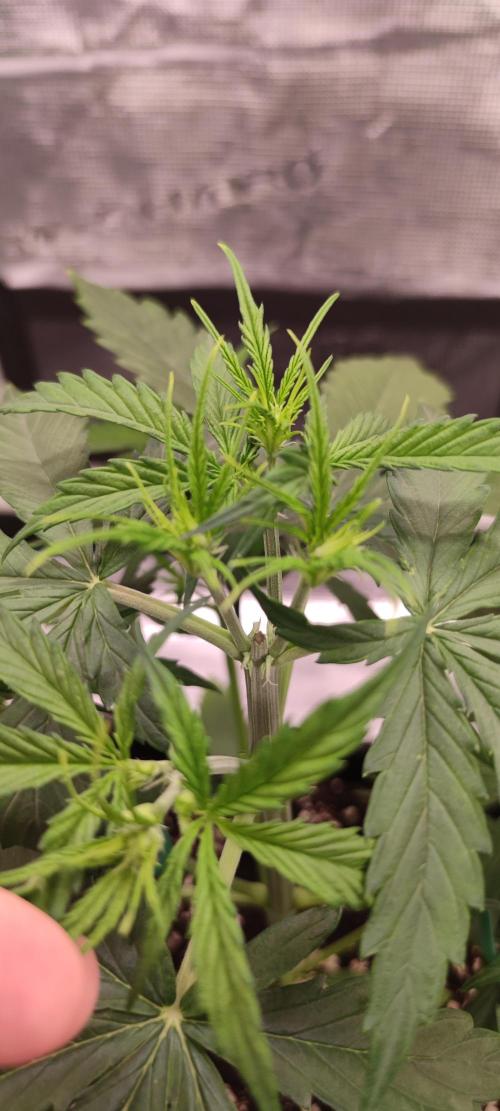
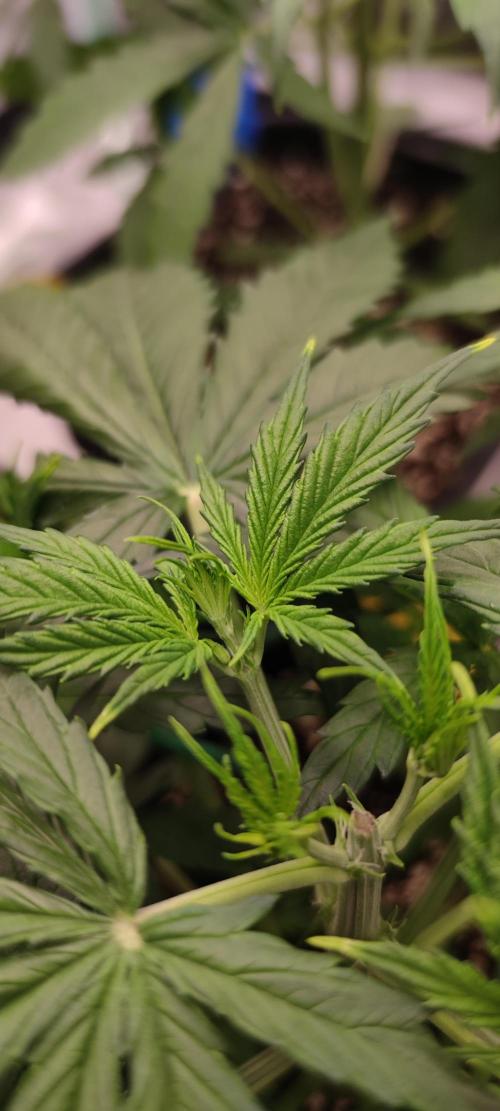
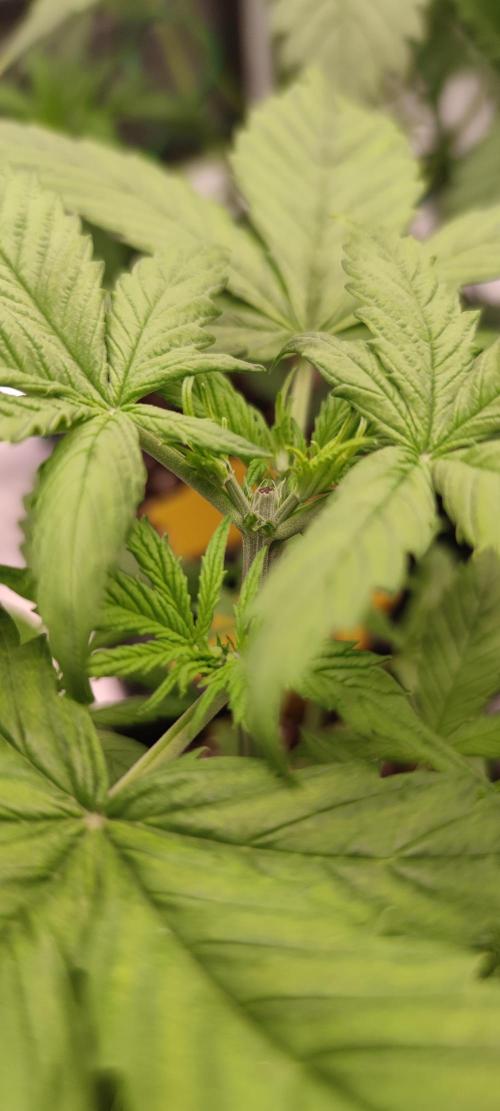
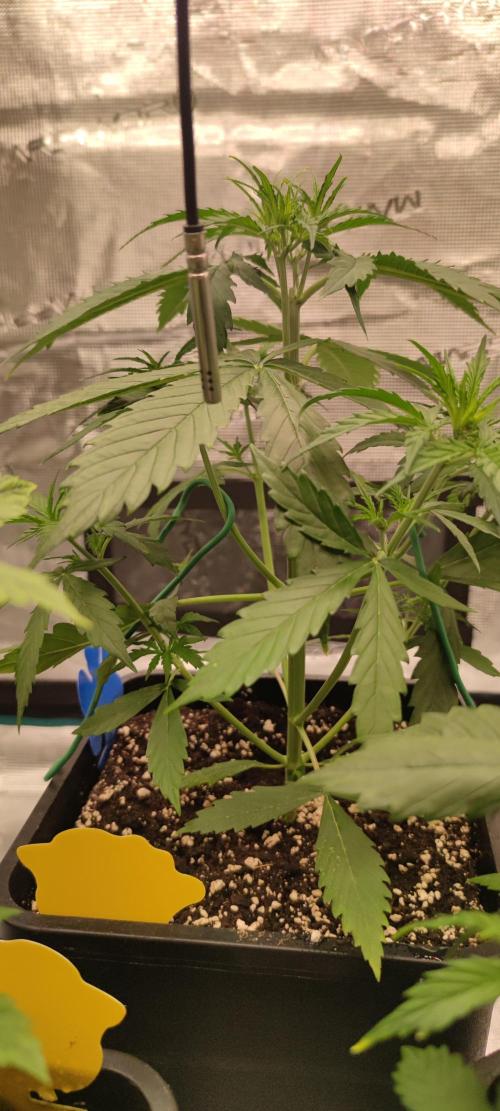
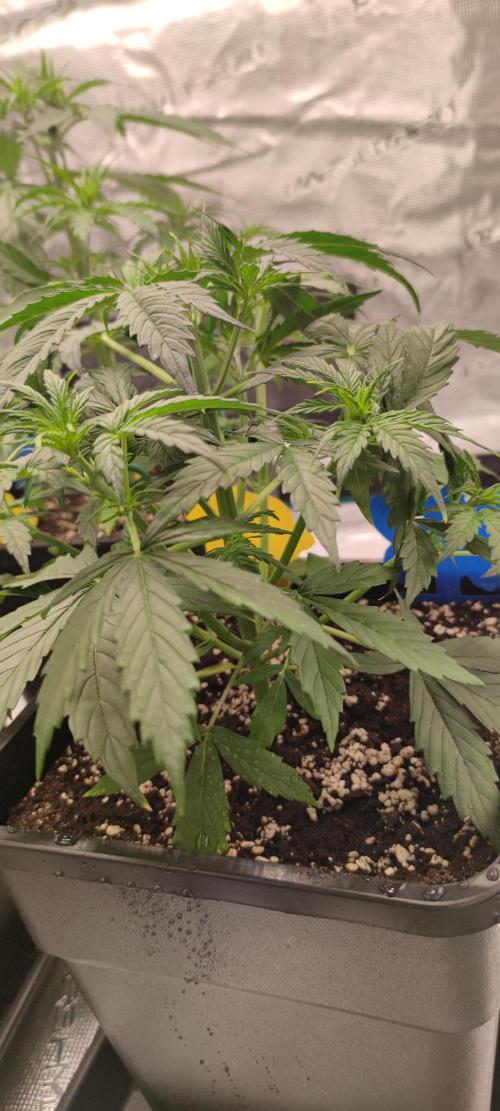
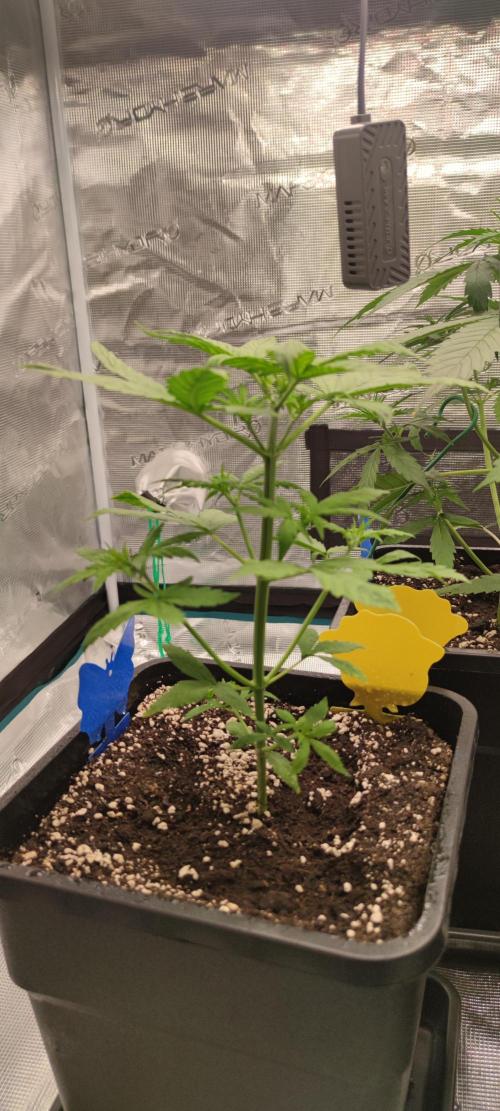
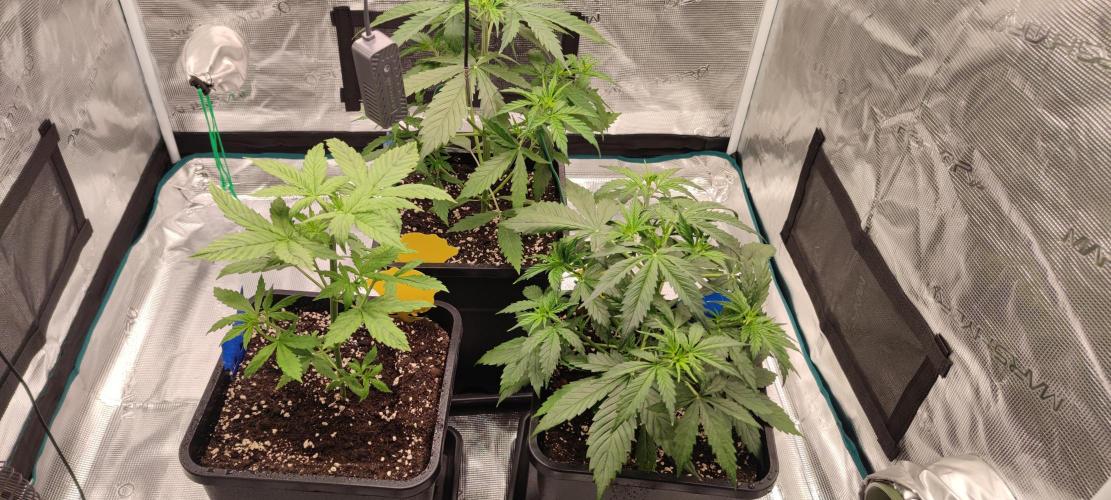
Splashy After top feeding with the Greenhouse bloom and grow, they have slight burn marks on the leaf tips, but I believe that this can't really be avoided with the fertilizer. I only used 2g/l grow and 3g/l bloom, and still, the symptoms appear. I'm not going to stress about it anymore and will accept it.
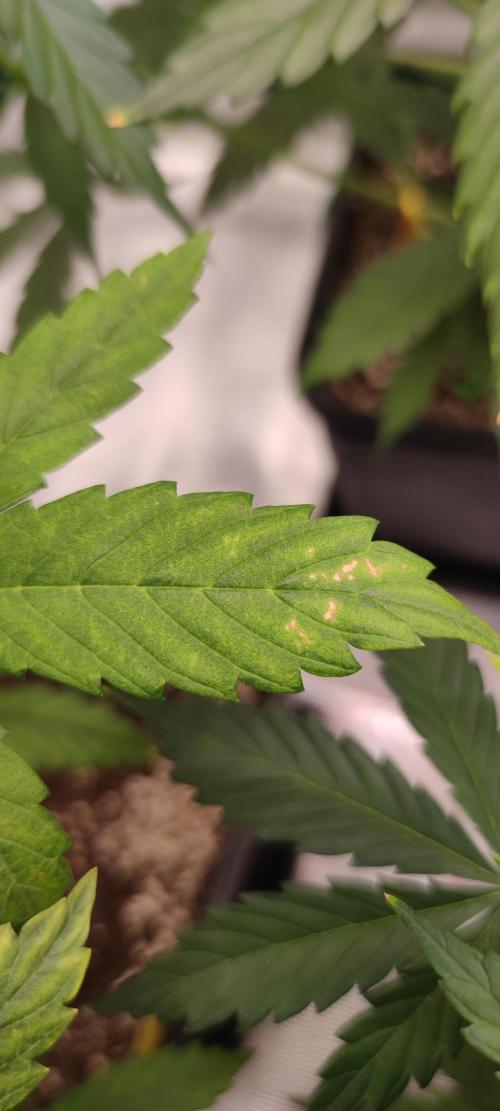
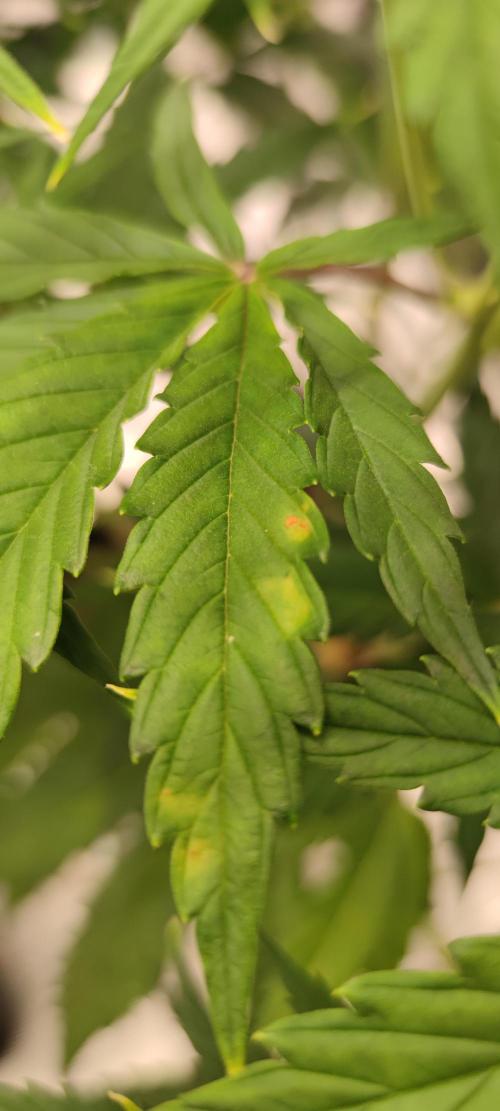
I discovered a brown spot on one leaf and estimate that it's due to a calmag deficiency, so starting today, I will add the amount of calcium and magnesium indicated by the calmag calculator with each watering.
The problem child still looks very strange, very light and odd. I hope the side branches develop further; otherwise, it's going to be a bud-on-a-stick project.
I watered again today after 4 days; the watering edge was already visible 2 days ago, but the pot was quite heavy, and I didn't want to overwater them.
3 likes
comments
Share
Used techniques
Topping
Technique
3
Week 3. Flowering1y ago
48 cm
Height
20 hrs
Light Schedule
26 °C
Day Air Temp
6.4
pH
No Smell
Smell
60 %
Air Humidity
22 °C
Solution Temp
21 °C
Night Air Temp
11 liters
Pot Size
0.5 liters
Watering Volume
30 cm
Lamp Distance
Nutrients 2
Magnesium
0.36 mll
Calcium
0.69 mll
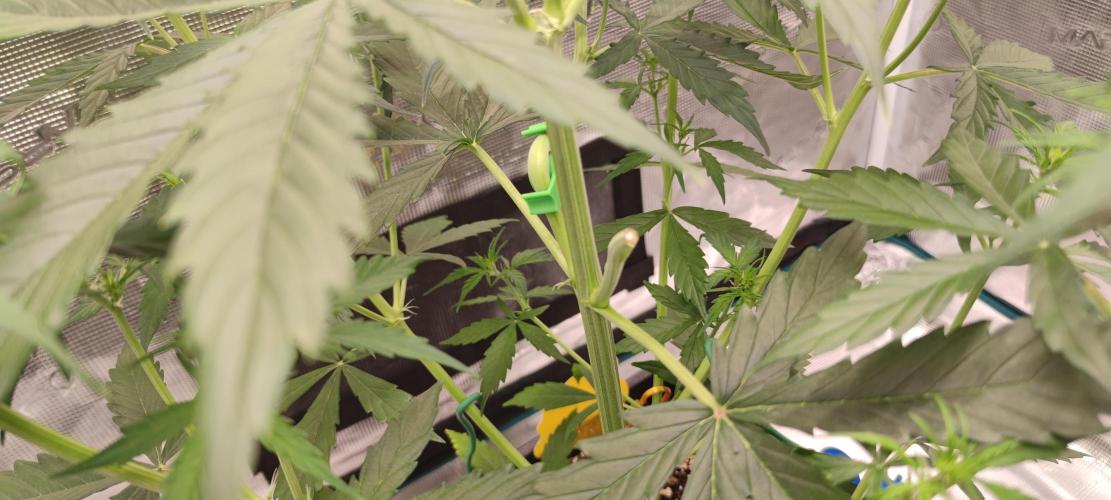
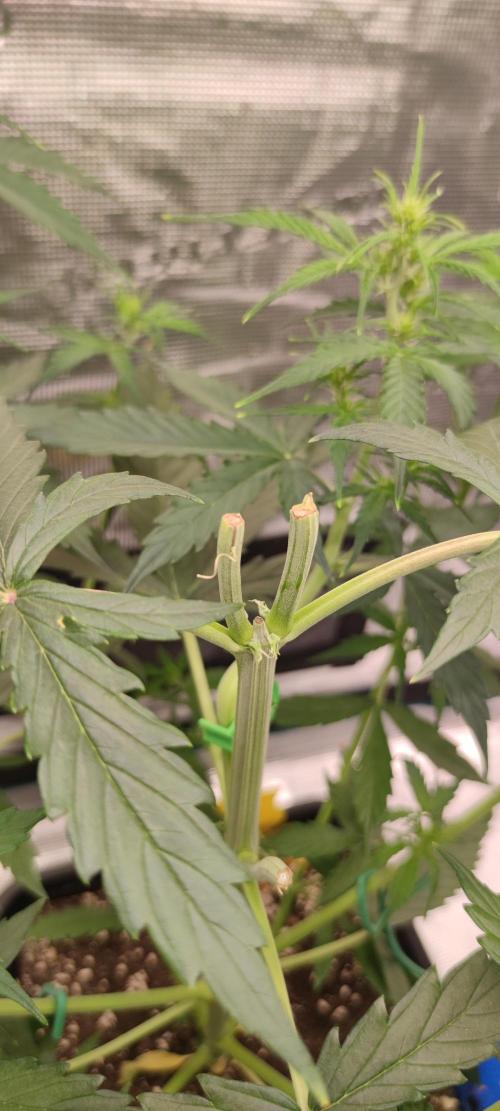
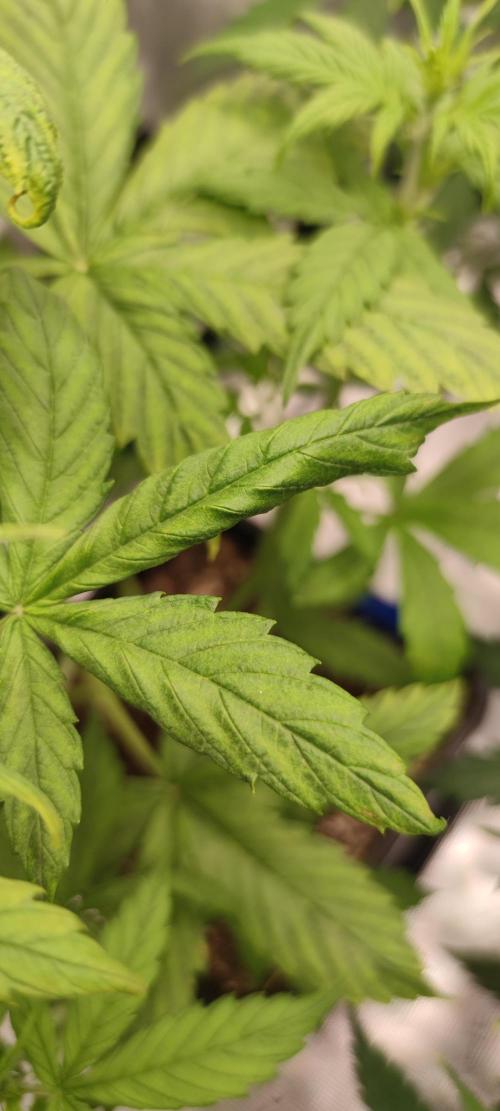
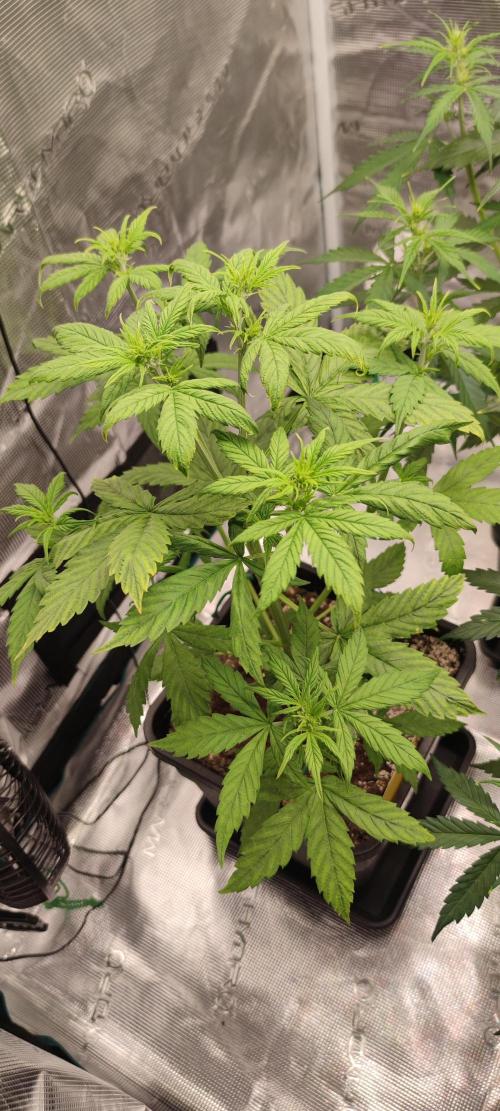
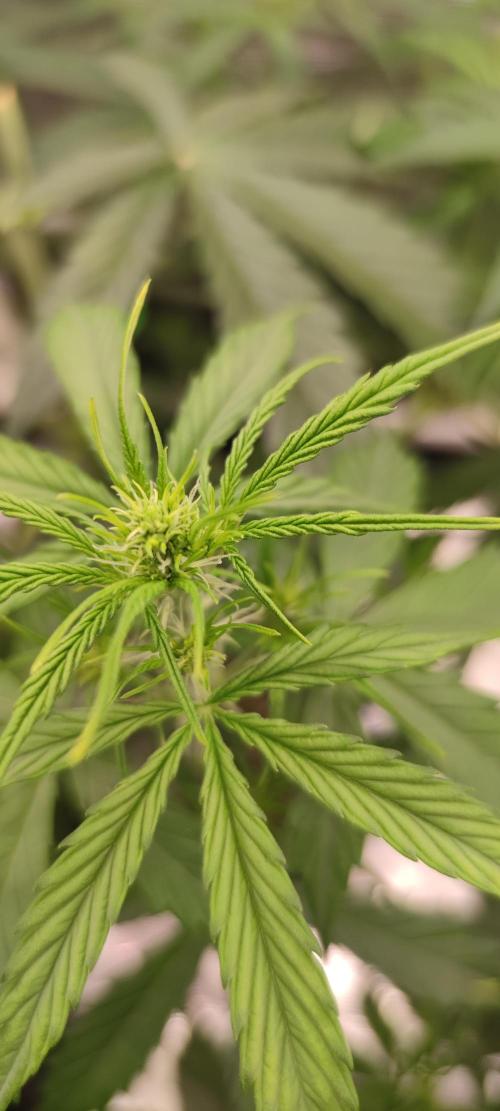
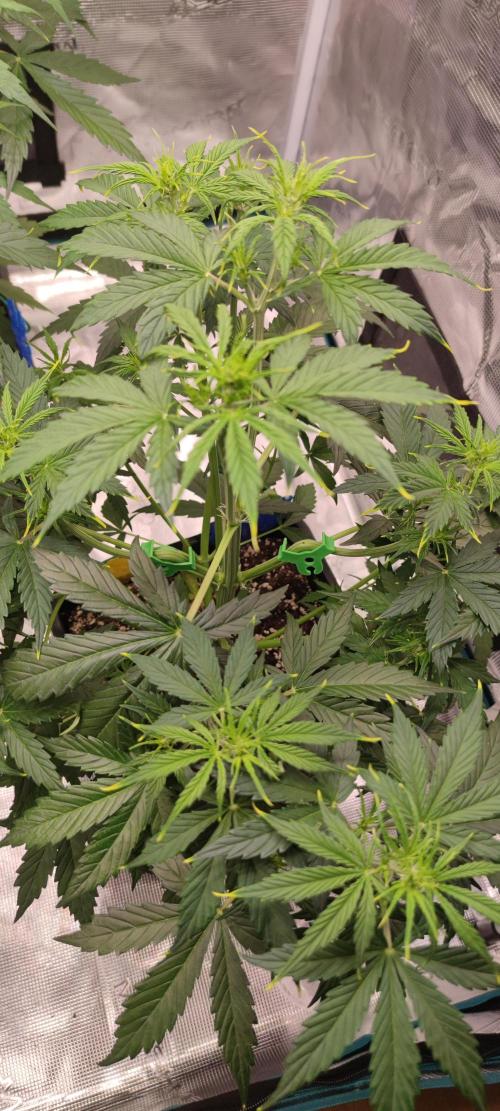
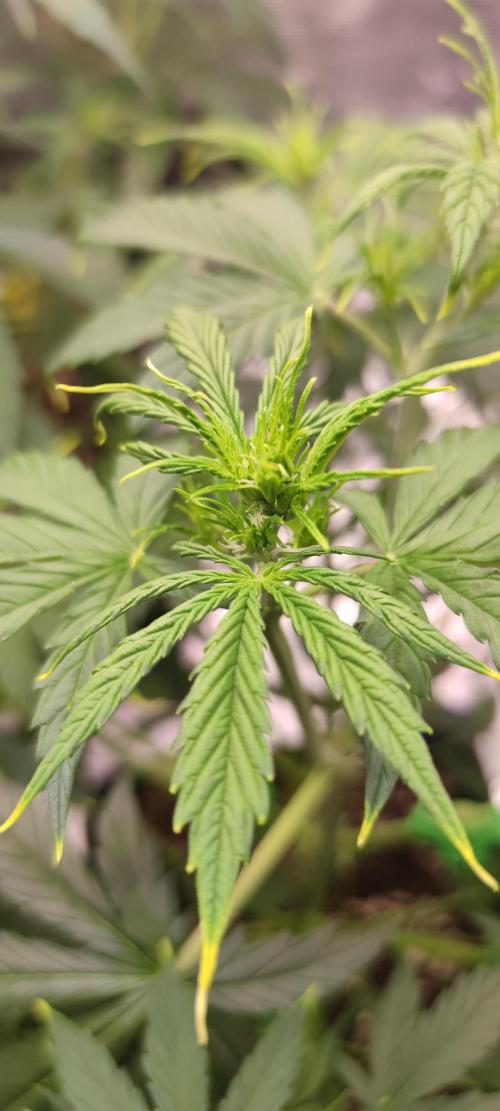
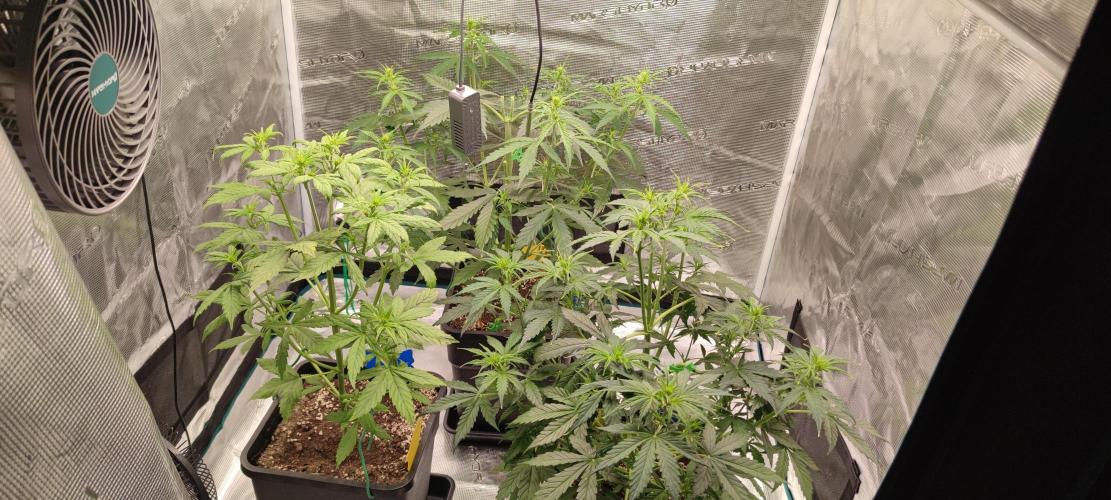
Splashy I think they are slowly in the flowering stage and also stretching. From the biggest one in the back, 3 shoots broke off during LST, very unfortunate especially because they were the two middle ones and one below. That must have happened during the night phase; I only noticed it the next day when the shoot had already drooped down for a while and was all limp. I don't think the oddball will survive; its water consumption is only half of what the other two are, and the leaves are deforming in a really strange way. I think it will be over for it soon, poor thing.
1 like
comments
Share
Used techniques
LST
Technique
4
Week 4. Flowering1y ago
48 cm
Height
20 hrs
Light Schedule
26 °C
Day Air Temp
6.4
pH
No Smell
Smell
60 %
Air Humidity
22 °C
Solution Temp
21 °C
Night Air Temp
11 liters
Pot Size
0.5 liters
Watering Volume
30 cm
Lamp Distance
Nutrients 2
Magnesium
0.66 mll
Calcium
0.42 mll
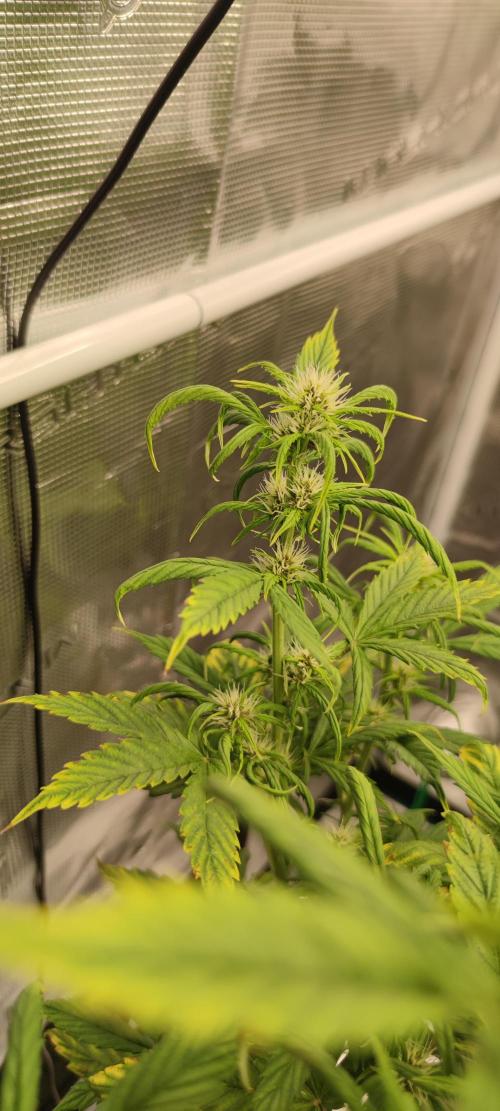
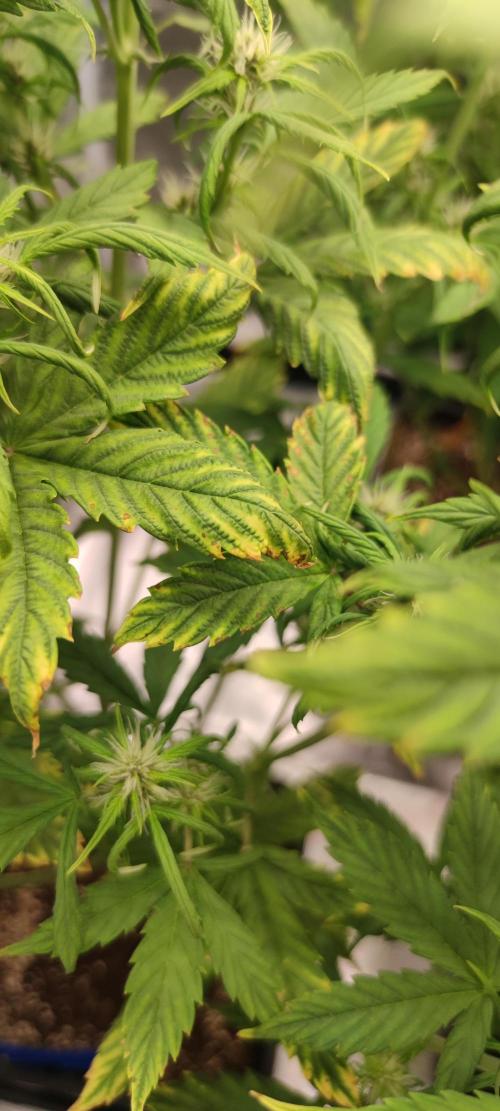
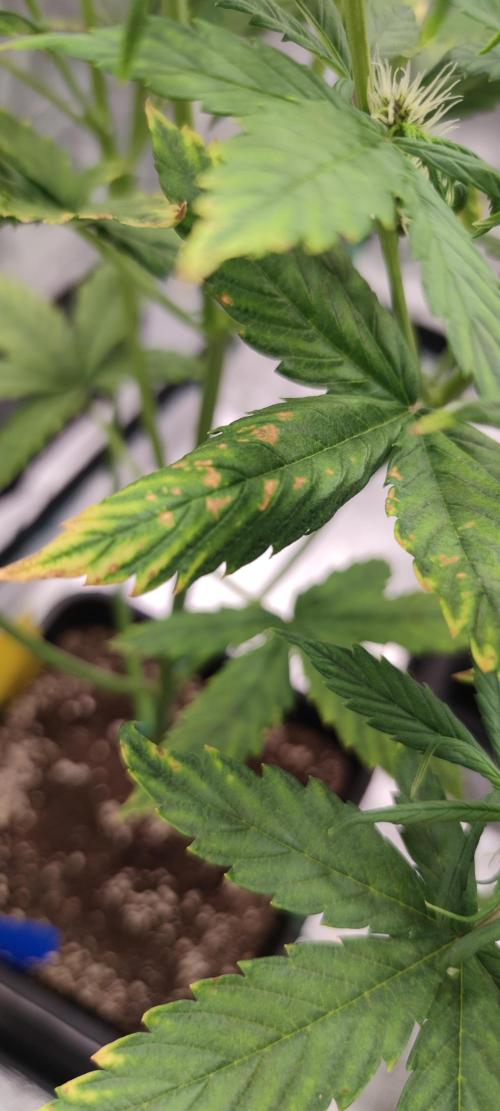
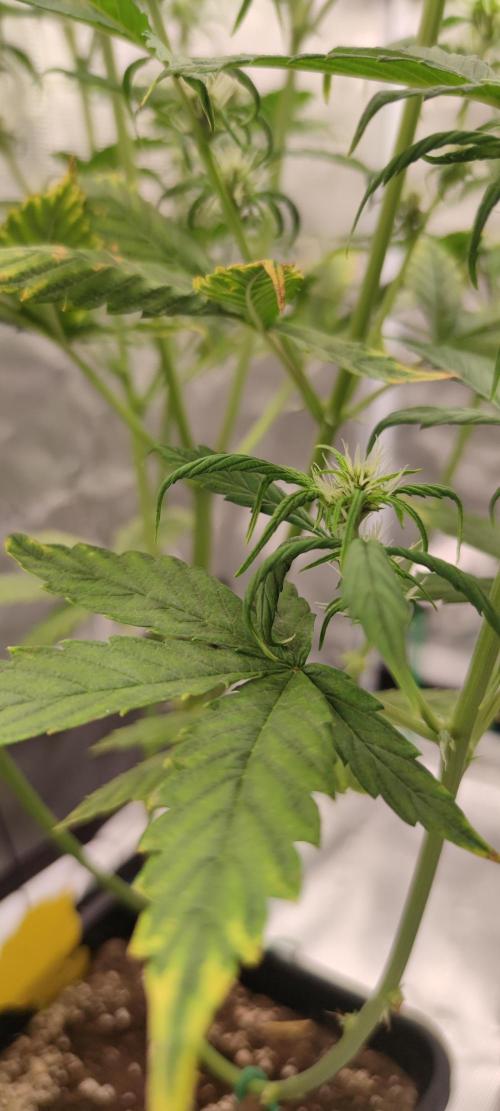
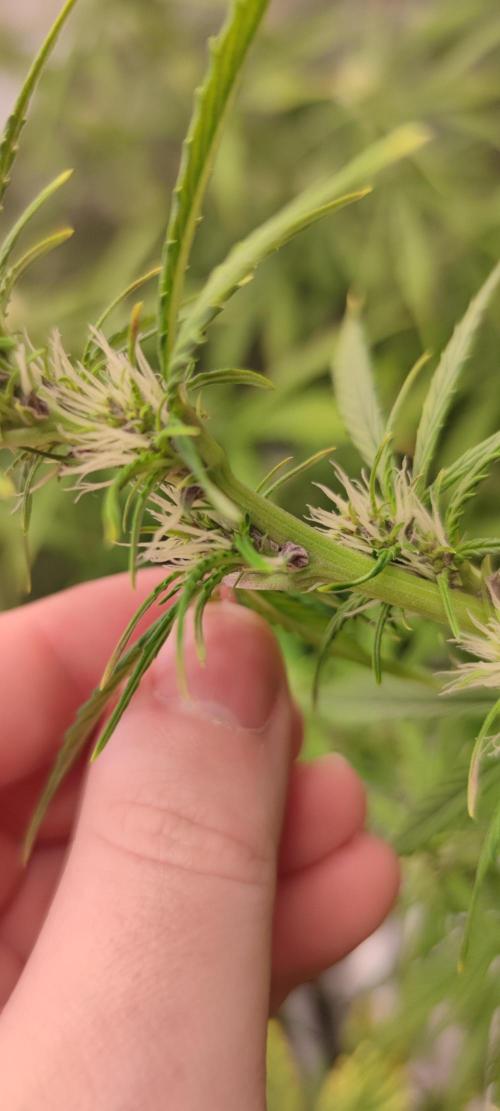
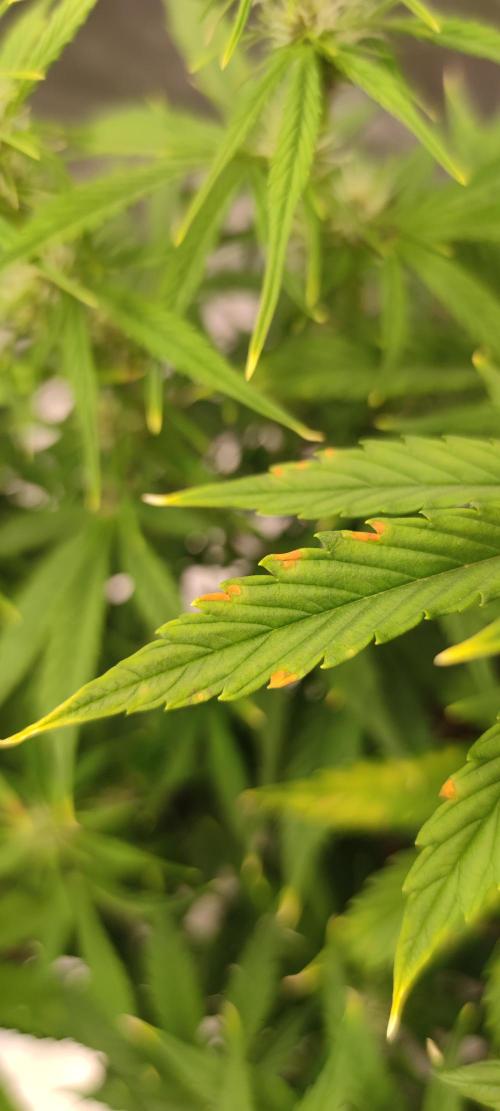
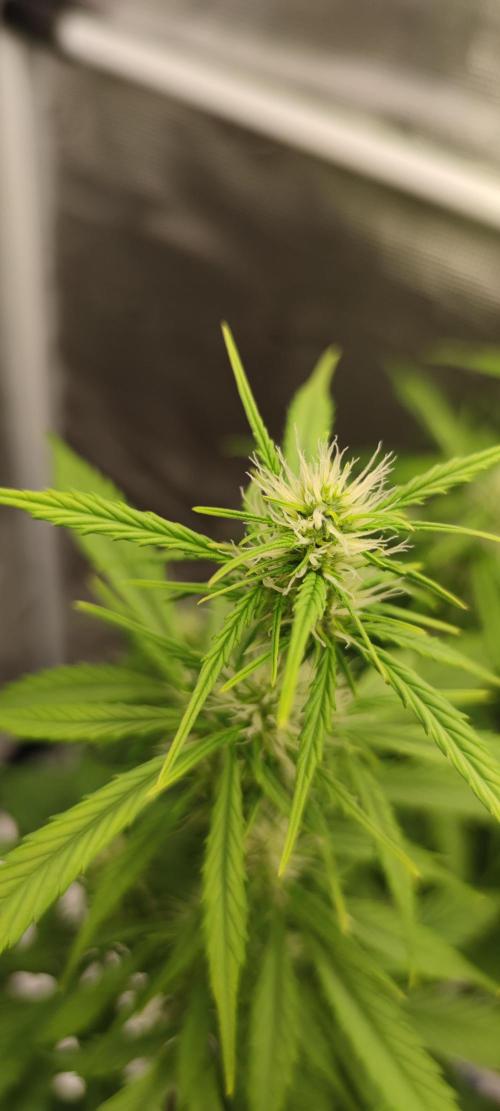
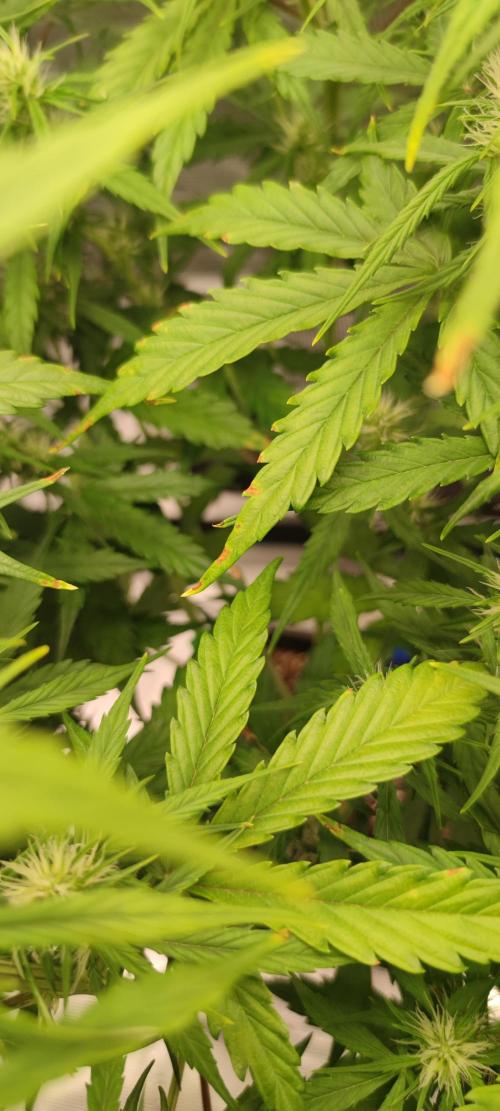
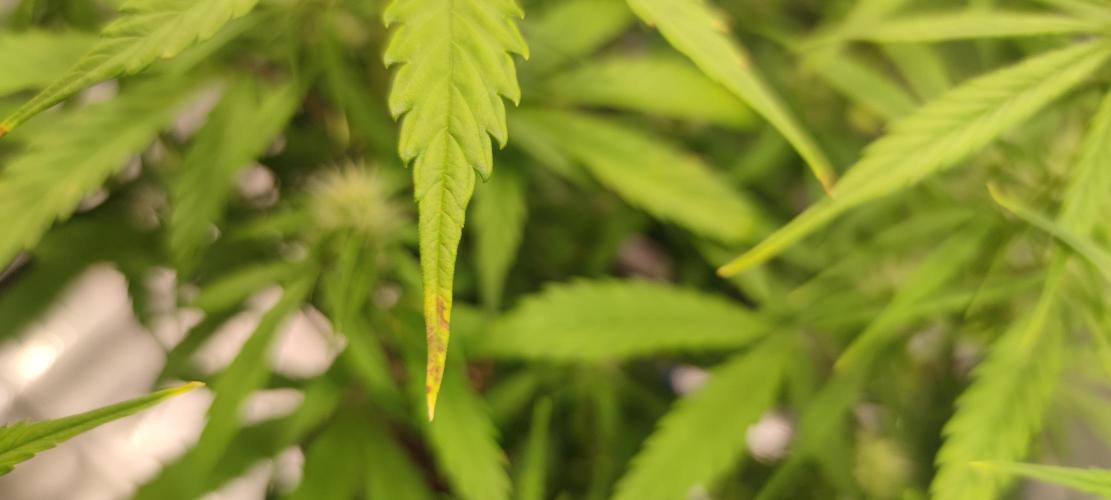
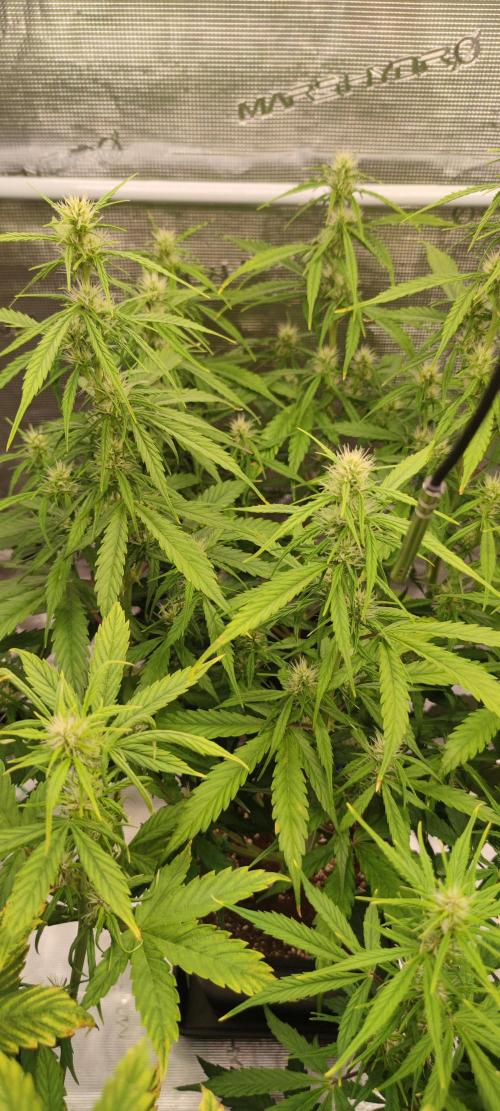
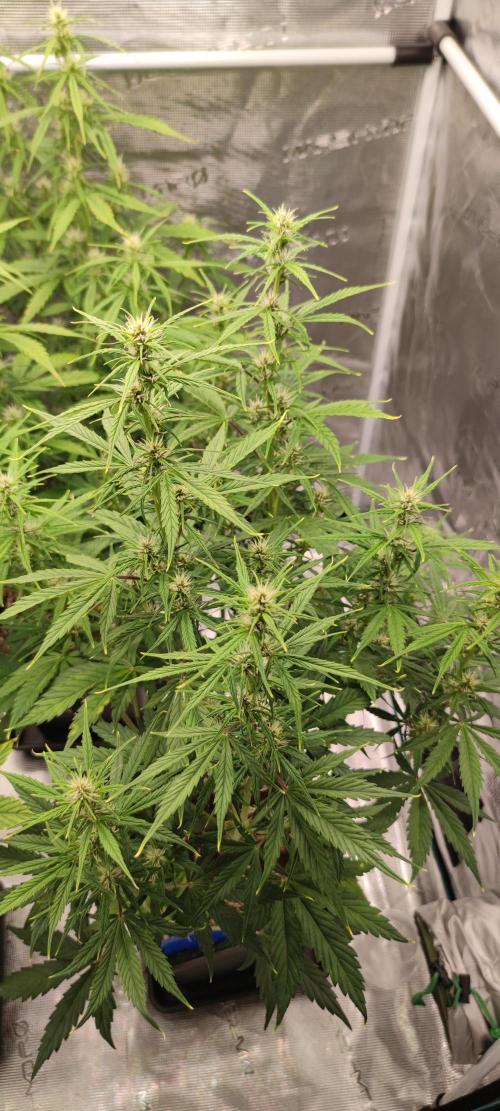
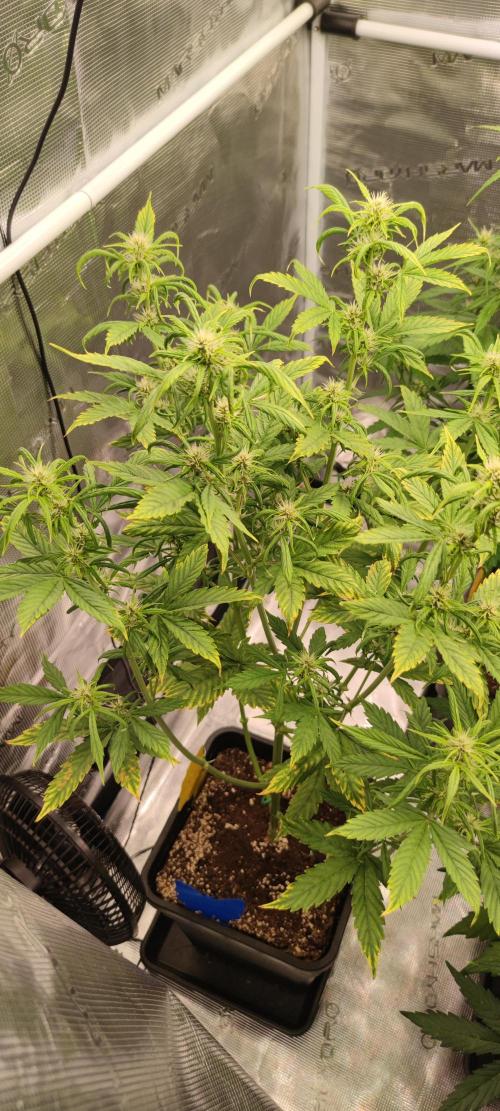
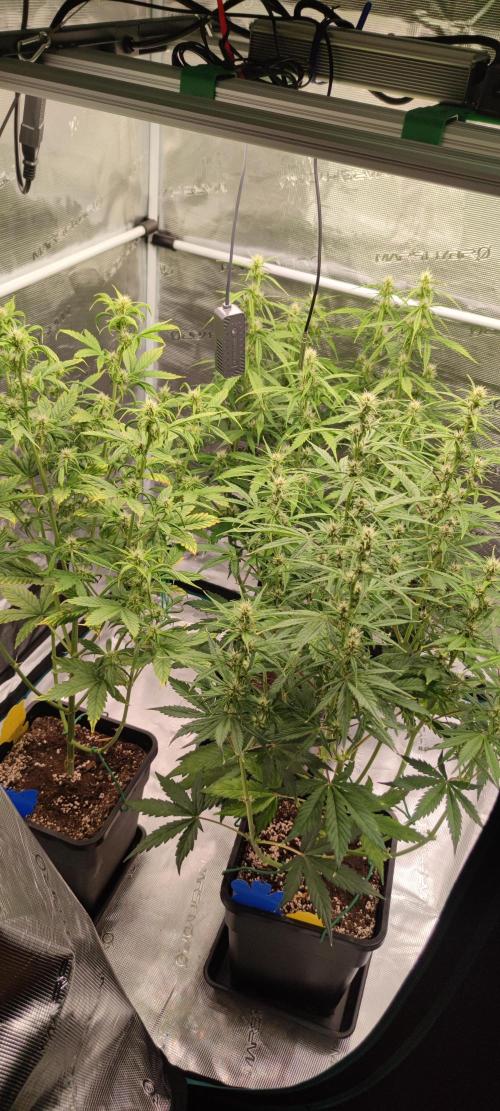
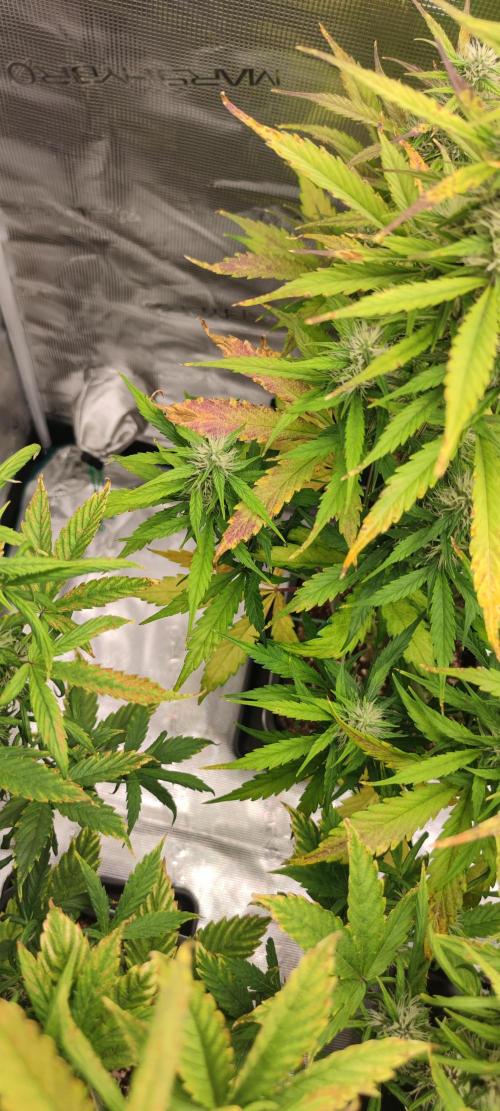
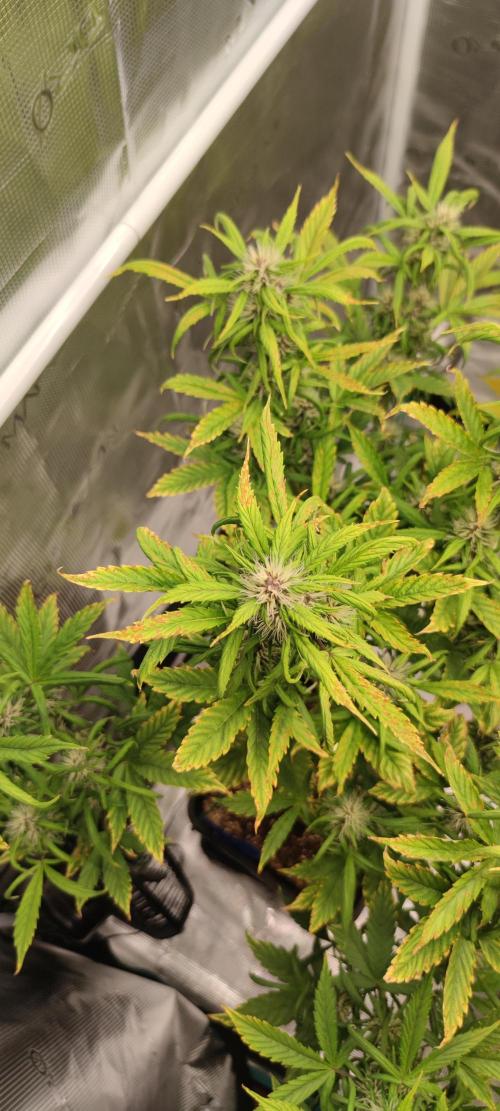
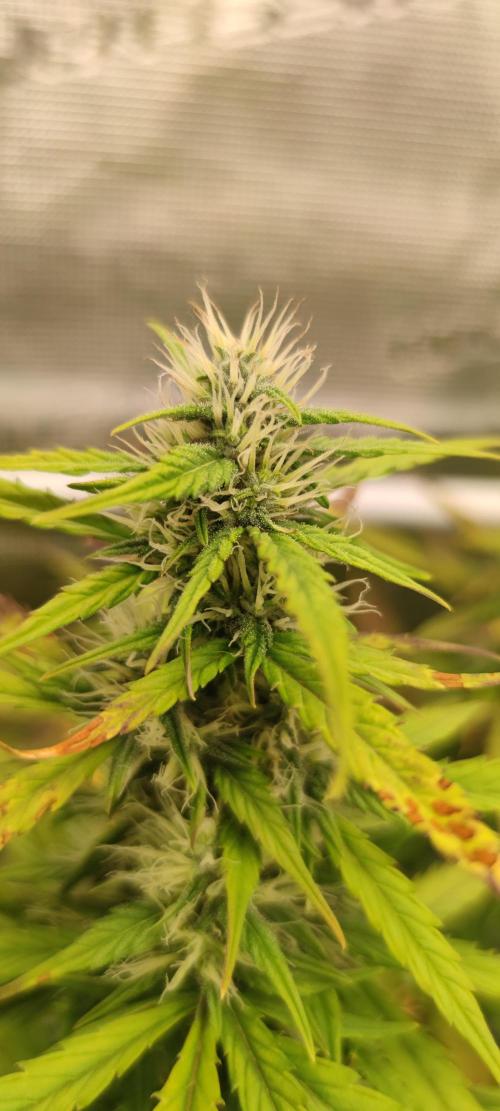
Splashy All 3 of them really don't look good, this has been the grow with the most problems so far. Despite keeping the pH value at 6.4-6.5, adding the right calmag mix, and maintaining the temperature, they are showing such issues. One of them has had stunted growth from the beginning; I don't expect it to survive until the end. The others are now also showing calmag deficiency, even though I'm strictly following the water values and calmag calculator. I can only assume that I need to increase the dosage since the values I'm getting are different from what the water company provides. I'll increase the amount during the next watering and hope it stabilizes again.
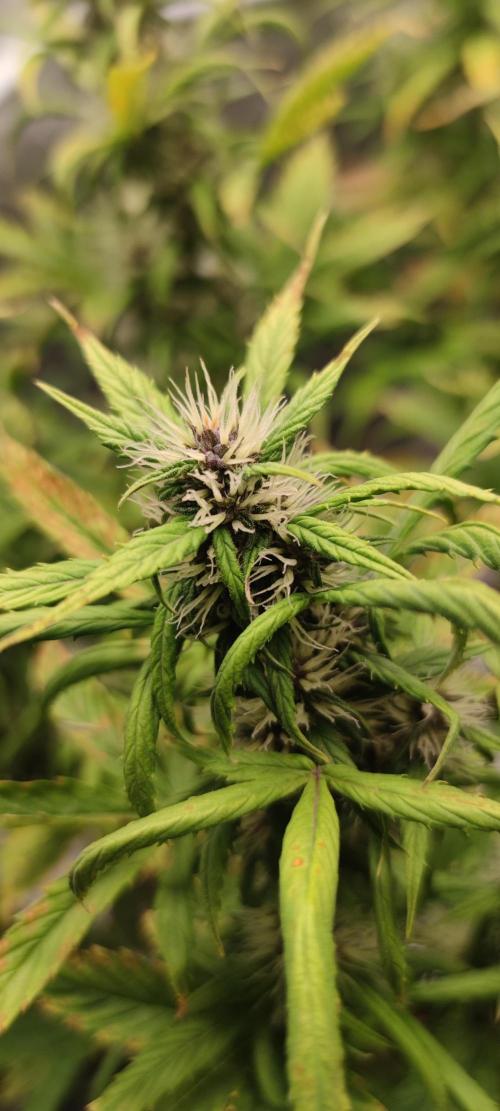
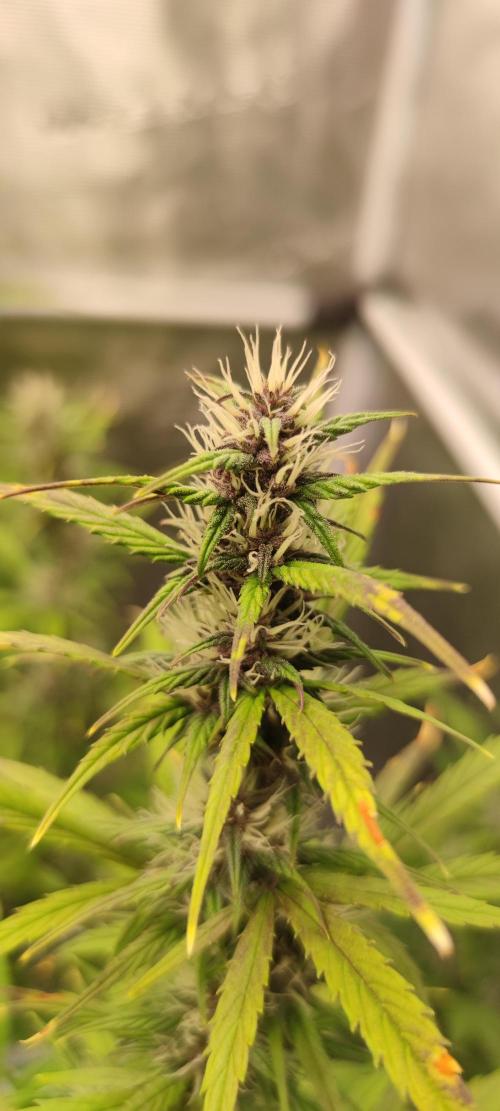
You can see the red discolorations on some individual calyxes, which are known for this strain. I hope this grow turns out well and doesn't go south.
Fingers crossed! 🤞
1 like
comments
Share
5
Week 5. Flowering10mo ago
48 cm
Height
20 hrs
Light Schedule
26 °C
Day Air Temp
6.4
pH
No Smell
Smell
60 %
Air Humidity
22 °C
Solution Temp
21 °C
Night Air Temp
11 liters
Pot Size
0.8 liters
Watering Volume
30 cm
Lamp Distance
Nutrients 4
Magnesium
0.66 mll
Calcium
0.42 mll

Bio-Grow
0.5 mll
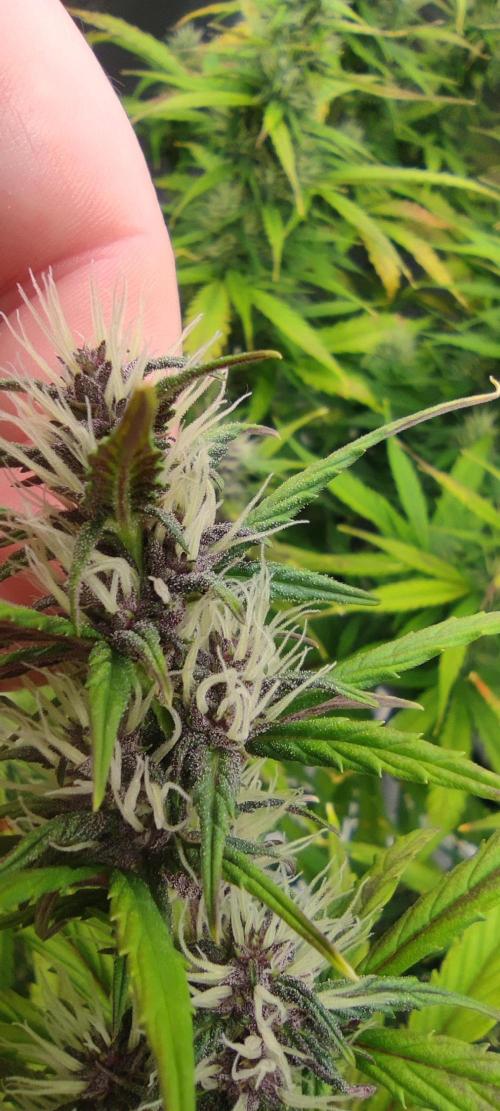
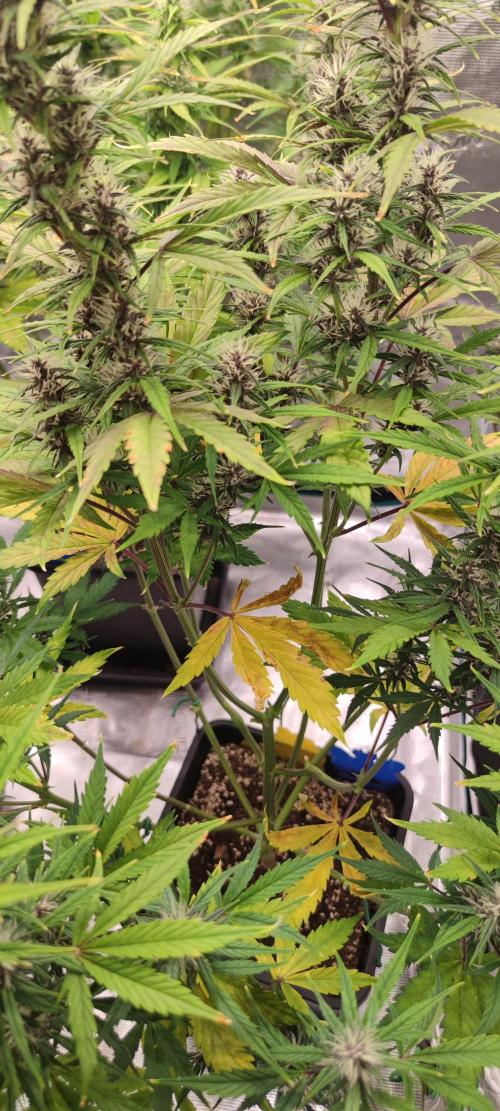
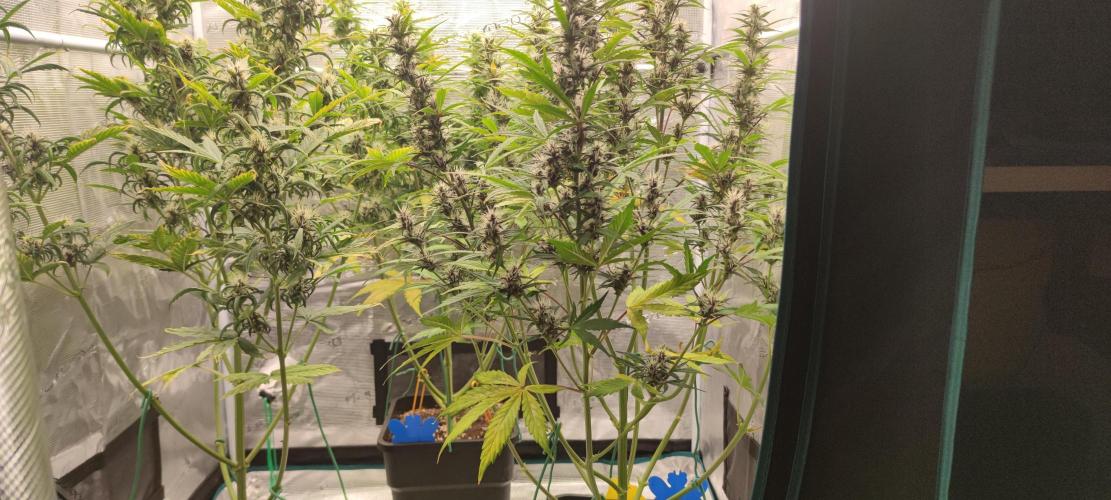
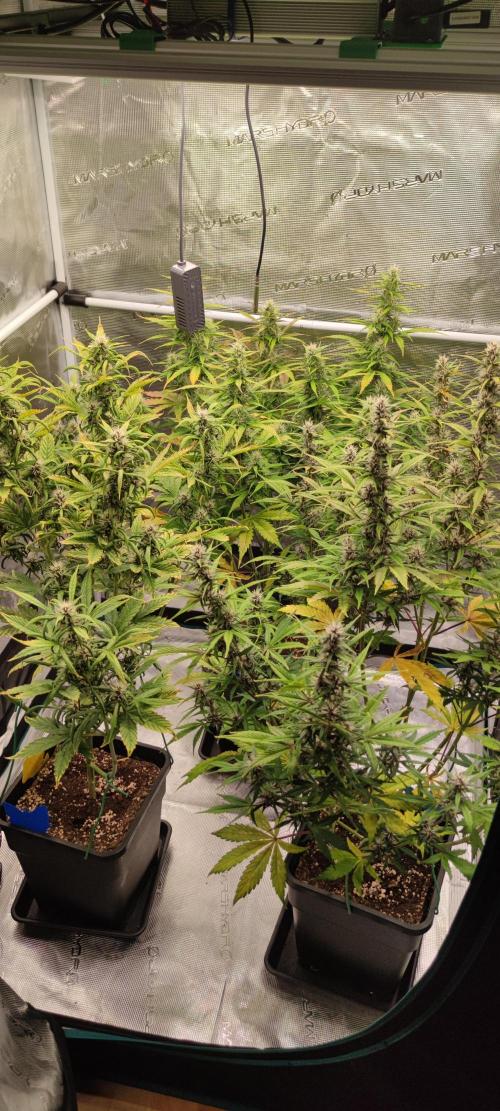
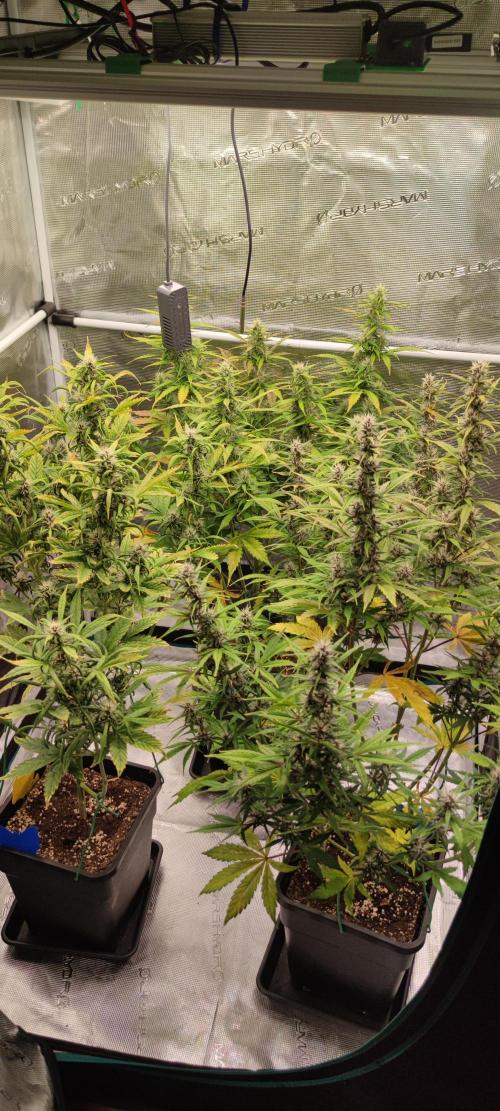
Splashy I pulled apart the shoots today and secured them with plant wire. This way, there's a bit more space between the buds, and more light reaches the previously covered spots. I'm considering whether I should fertilize again with grow nutrients from Greenhouse Feeding, but I'm not sure.
1 like
comments
Share
Used techniques
LST
Technique
6
Week 6. Flowering10mo ago
48 cm
Height
20 hrs
Light Schedule
26 °C
Day Air Temp
6.4
pH
Weak
Smell
55 %
Air Humidity
22 °C
Solution Temp
22 °C
Night Air Temp
11 liters
Pot Size
0.8 liters
Watering Volume
30 cm
Lamp Distance
Nutrients 2

CalMag Agent
1 mll

Green Sensation
1 mll
Splashy After I wasn't so sure with the pH meter and had issues with Calmag in both this and my other grow, I decided to get a new one. I upgraded from a €7 device to a €40 one from Yinmik. The calibration was also easier since the liquids came as liquids individually. It turned out that my old device deviates by about 0.5, which would explain quite a bit.
Also, we are now in week 4 and I’m now always adding 1ml of Green Sensation from Plagron to give the plant and the yield something good. Let’s see how it goes.
I sent Chat GPT my water values from the waterworks and asked which Calmag agent I should use best with those values without having to mix it myself with the Canna Mono. It came back that the Canna Calmag agent fits perfectly with my tap water, so I ordered that and am already using it. Since I have a 10L canister and always mix 10L with Calmag and pH, I hope it pays off with the Calmag agent and the pH tester.
The new leaves that are forming are darker green than the others, which means that the 10g Bio Grow from Green House is already showing effects per pot. Now I can only hope that the nitrogen deficiency gets back on track and that I won’t have more problems.
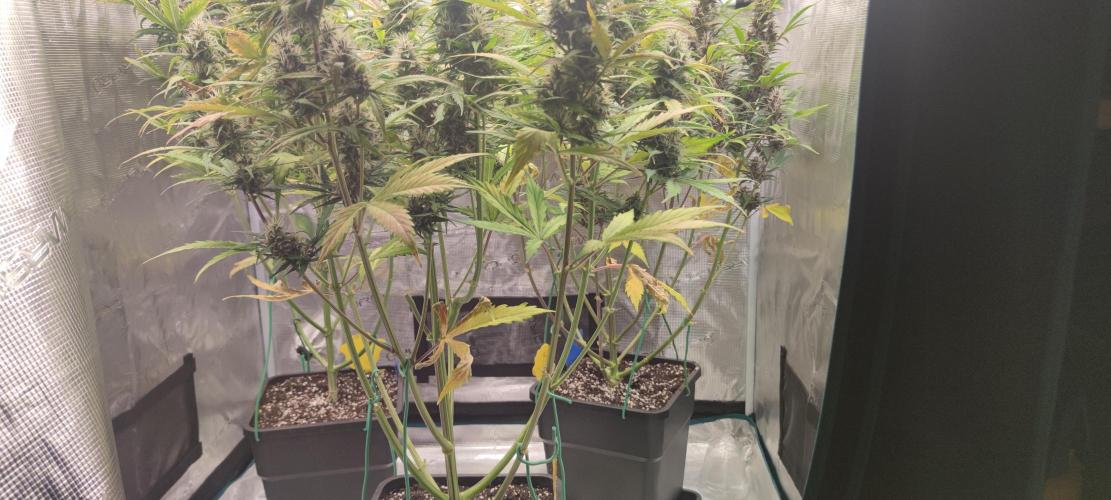
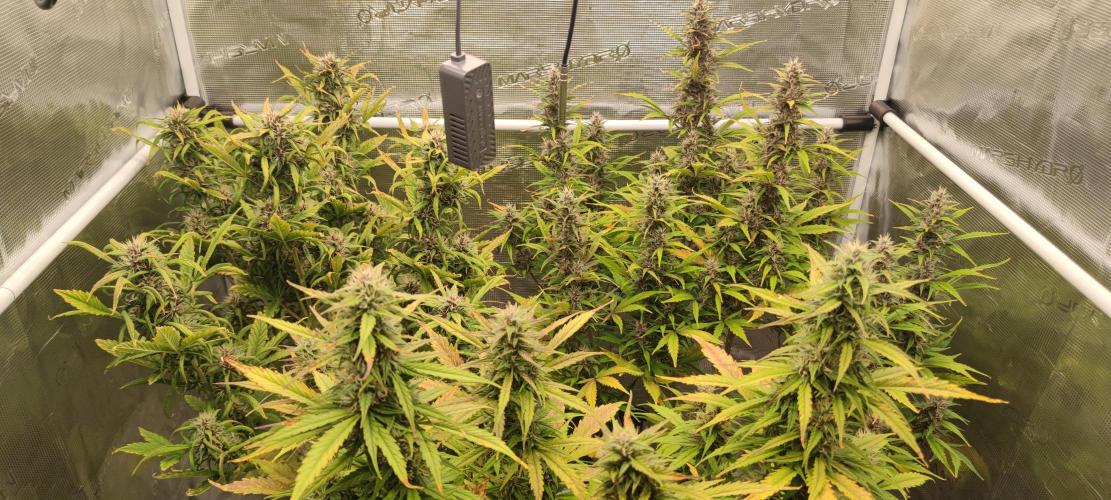
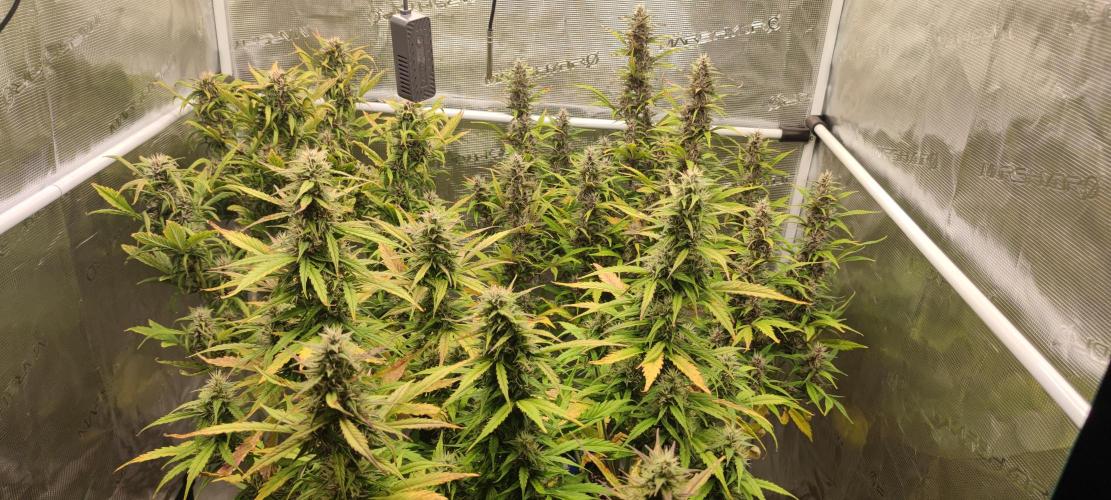
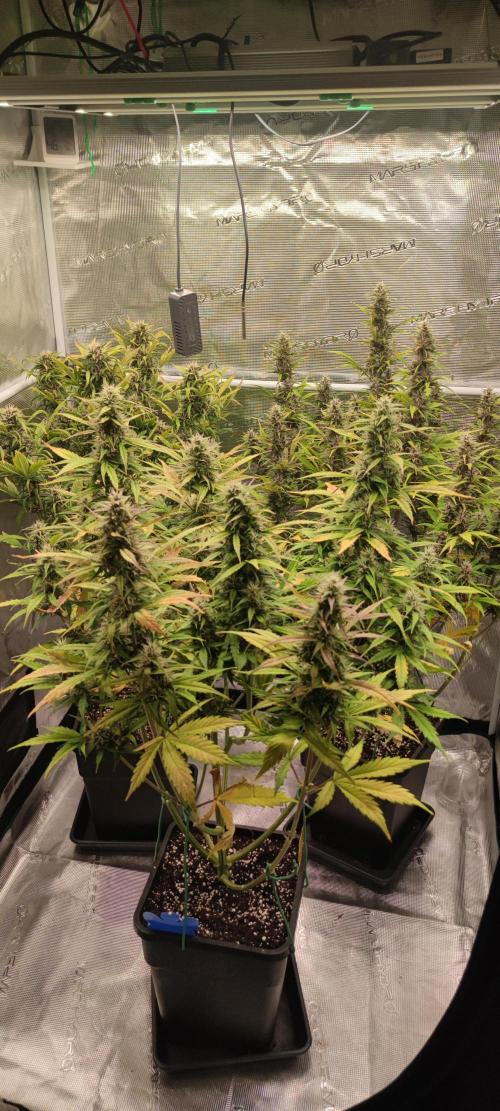
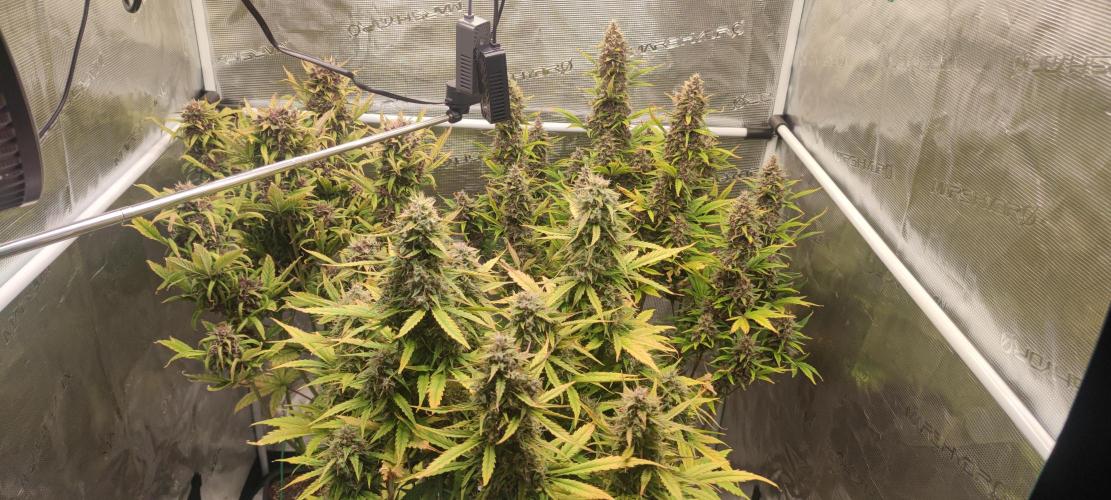
In the pictures, you can clearly see that I changed the positions of the plants since I always had to reach through the other 2 to water the ones in the back. Now it’s much more comfortable and I can reach the back ones better to water them.
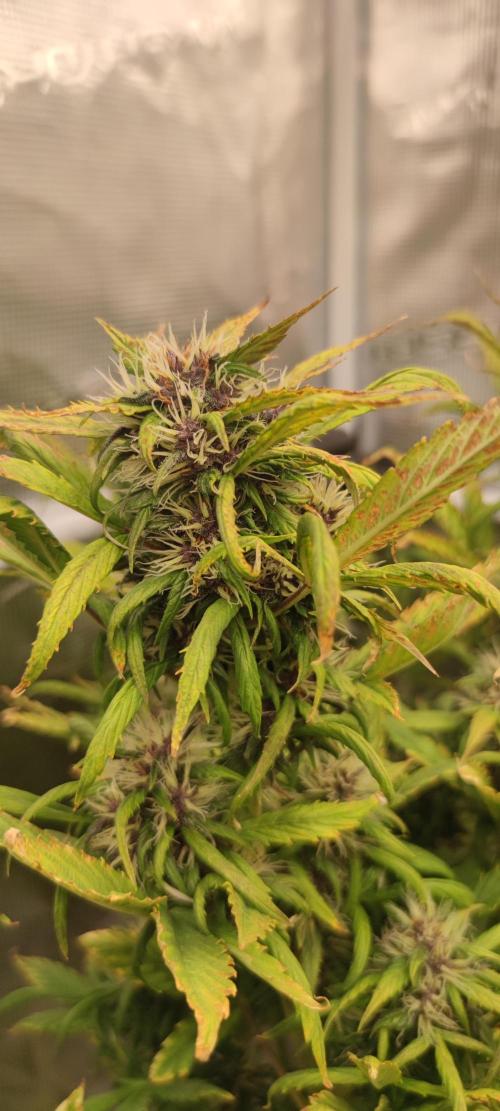
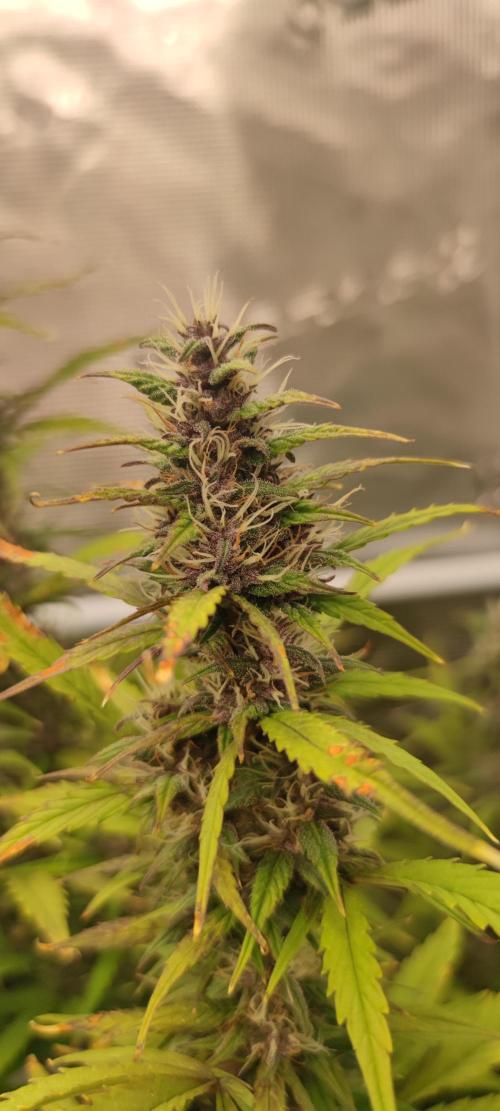
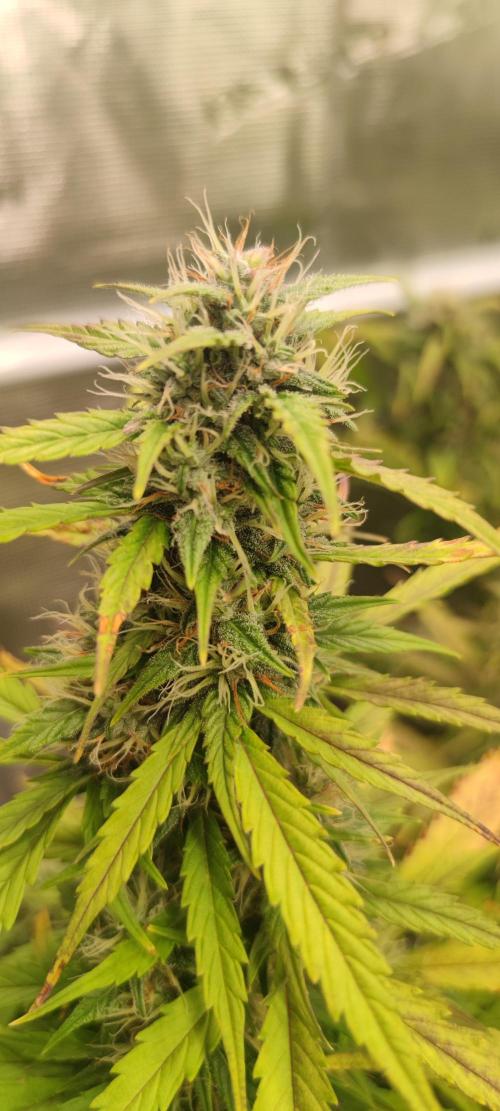
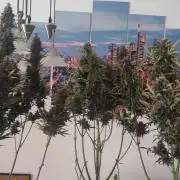
The problem child that still doesn’t look good (back left) is now getting really thick flower sites; I think it could be the most productive one. The one at the back right is also turning reddish, but its flowers are still holding back a bit. Unfortunately, the front plant won’t get reddish buds, but it is gaining mass as well.
2 likes
comments
Share
7
Week 7. Harvest10mo ago
Happy Harvest Day!


7/10
Rated
An sich war es ein durchschnittlicher grow, mit höhen und tiefen. Die eine hatte von anfang an krüppelwuchs, der hat sich bis zum Ende durchgezogen und dementsprechend sieht sie auch aus. An einigen nodien hatten sie auch ein paar pollensäcke, welche ich sofort entfernt habe bevor sie aufgegangen sind. Danach kamen auch keine weiteren mehr.
Die mit dem krüppelwuchs, sieht so aus als wäre sie wieder in die veg Phase gegangen, kann an sich aber nicht sein da sie im selben Zelt stand wie die anderen beiden bei denen das nicht so ist.
Show more
Translate
Spent 44 days
Ger Veg Flo Har
3
Plants
1 m²
Grow Room size
Normal
Difficulty
Height
Day air temperature
Air humidity
PH
Light schedule
Solution temperature
Night air temperature
Pot size
Lamp distance
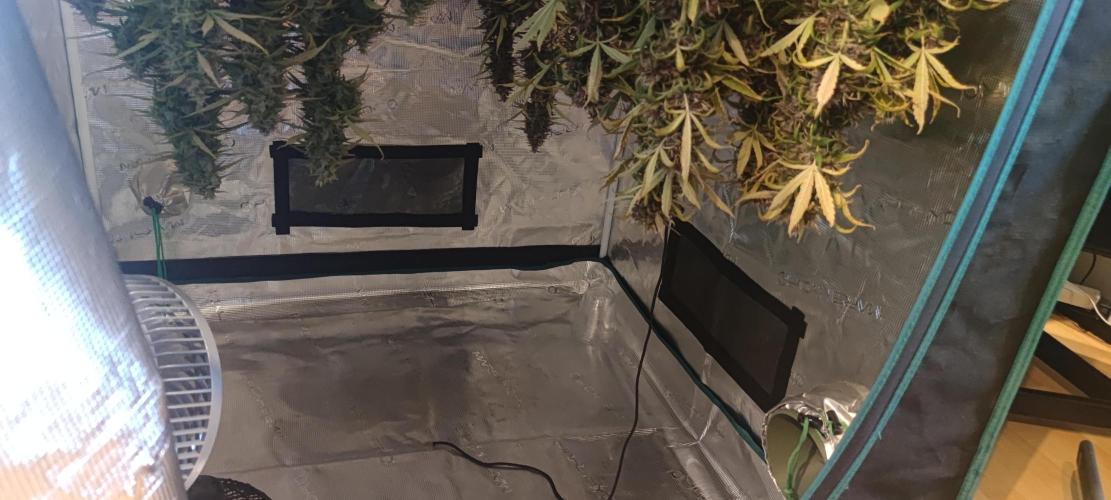
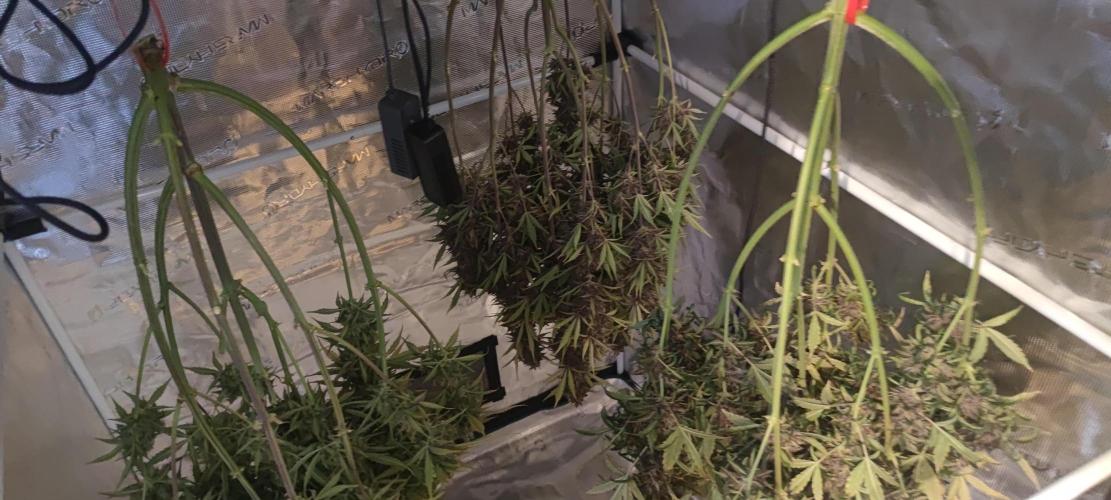
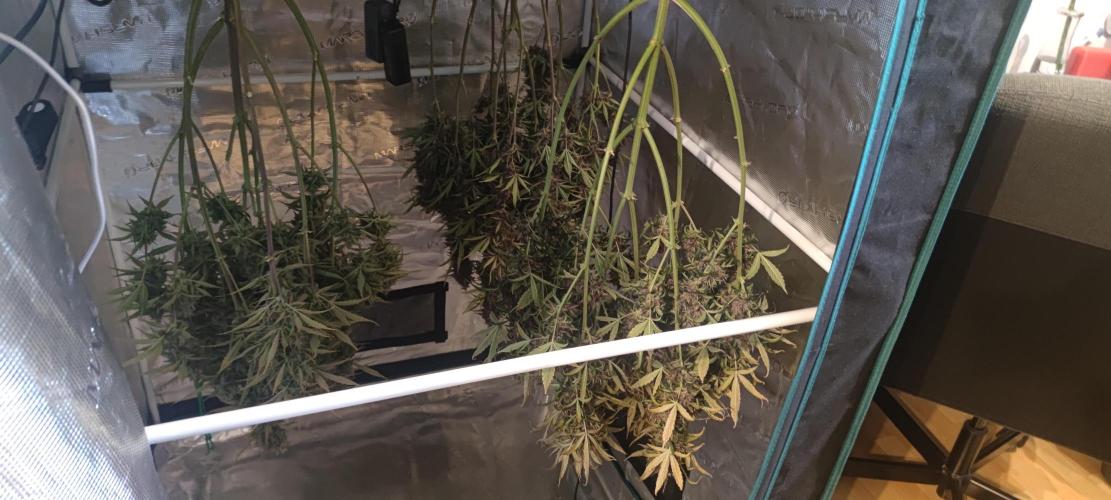
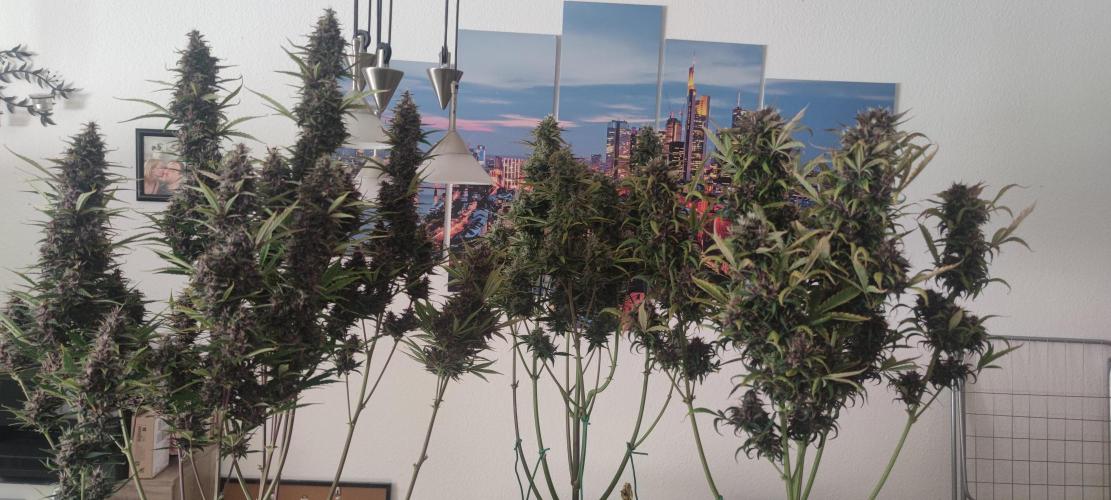
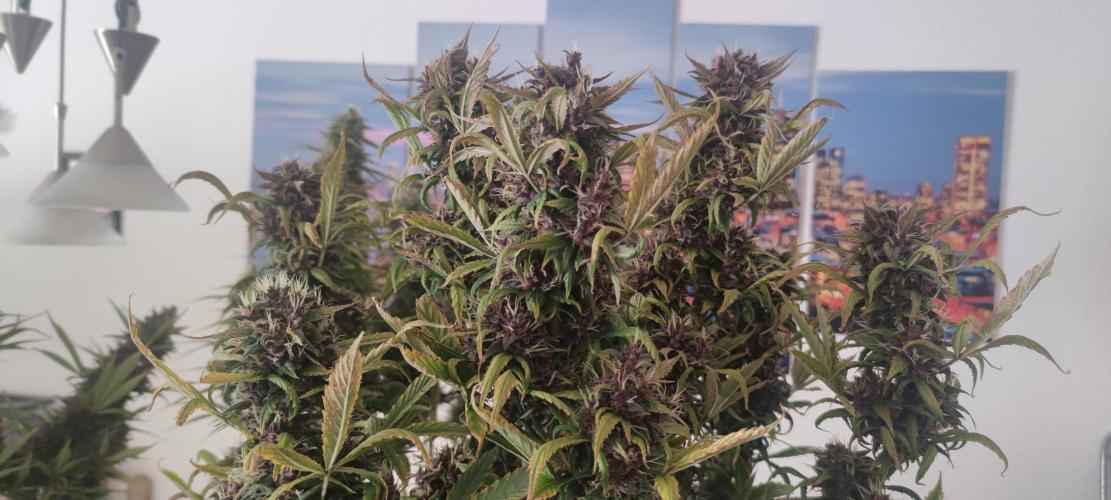
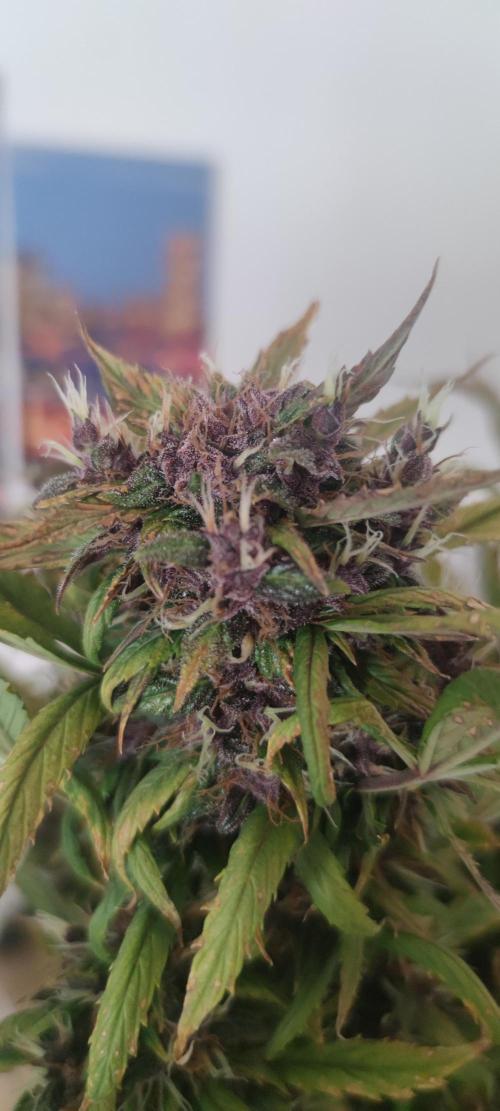
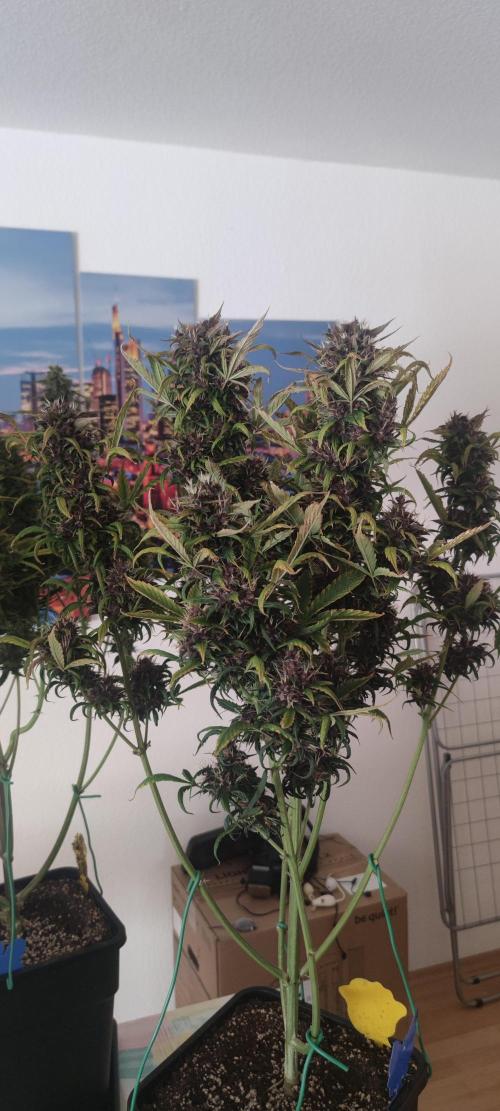
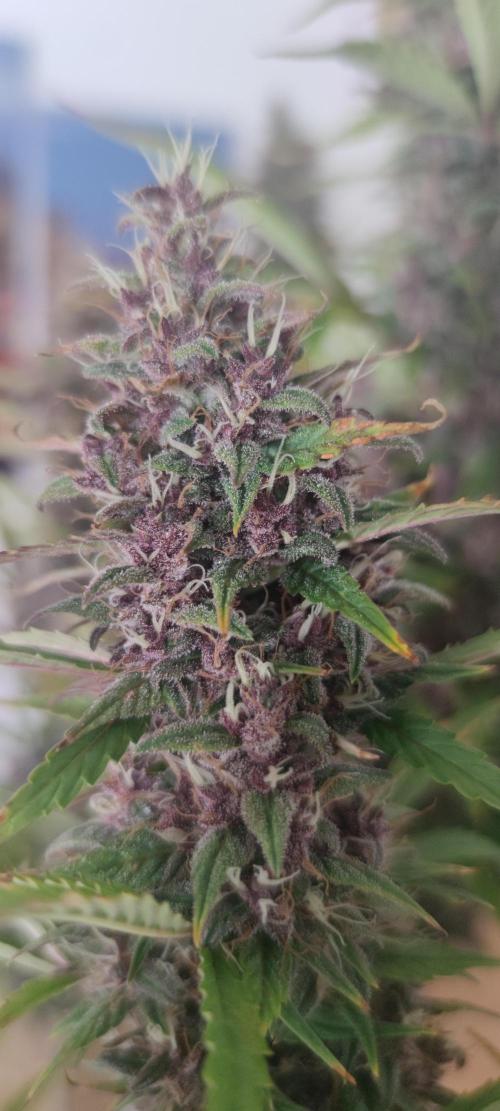
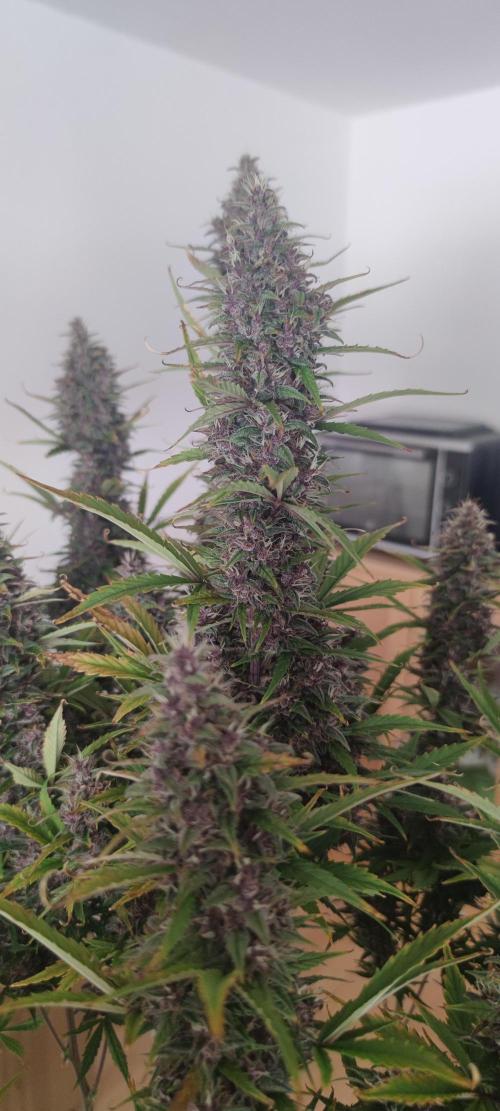
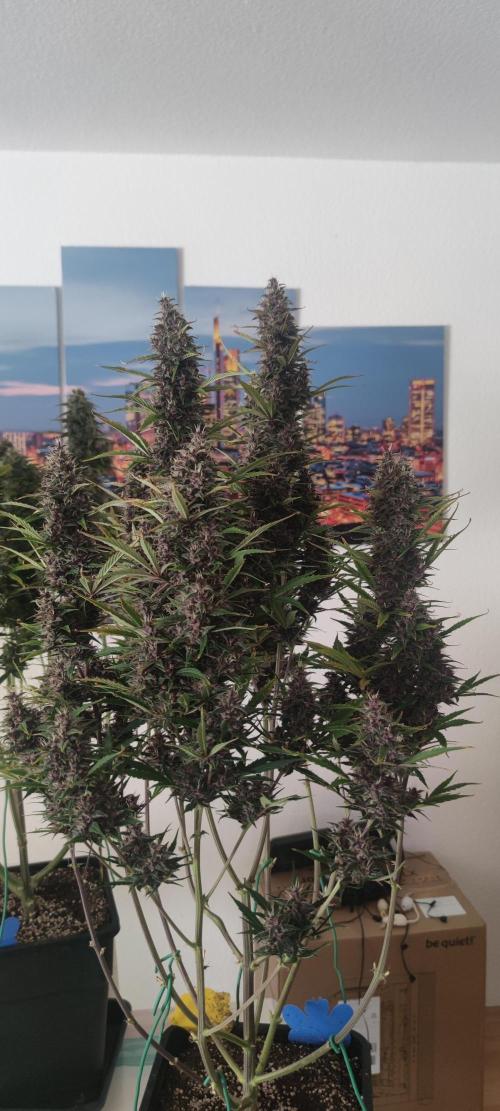
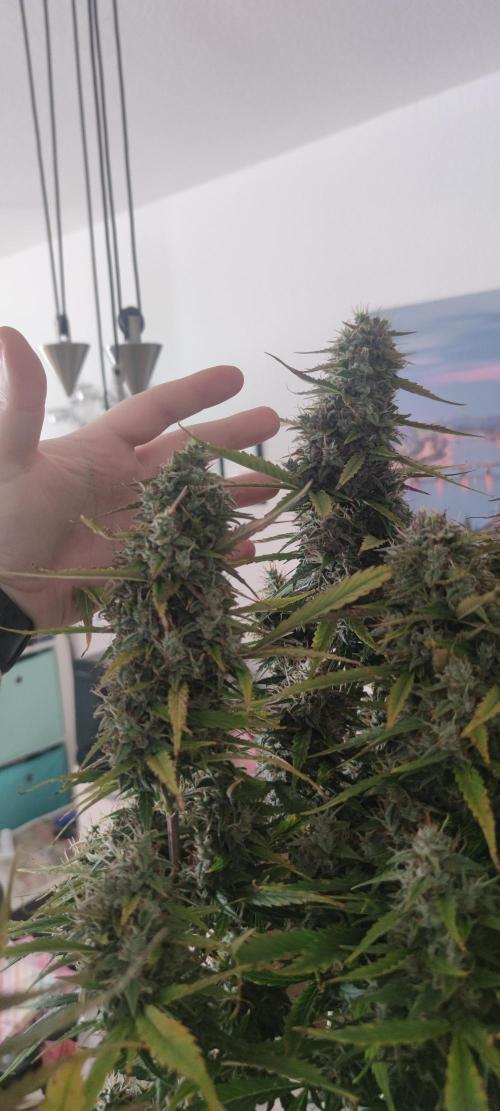
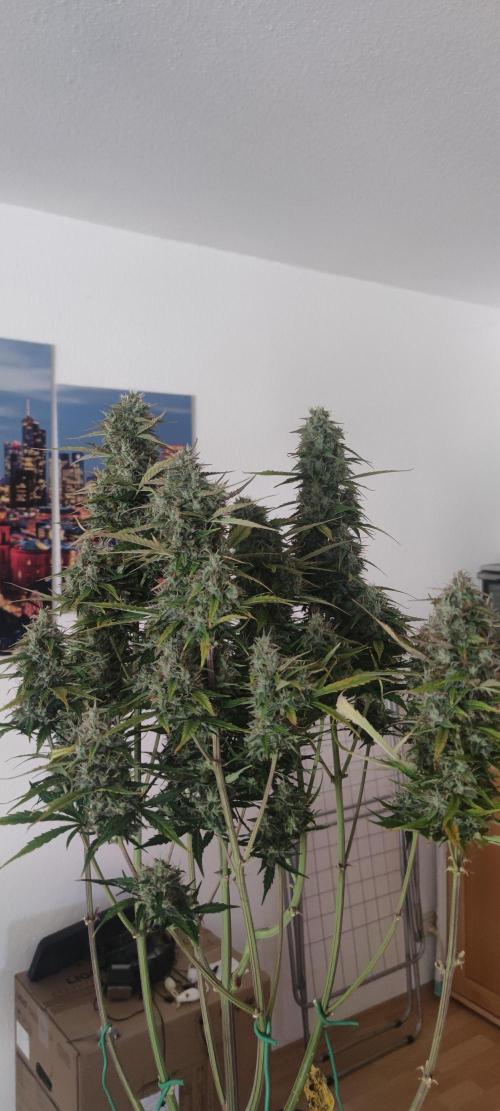
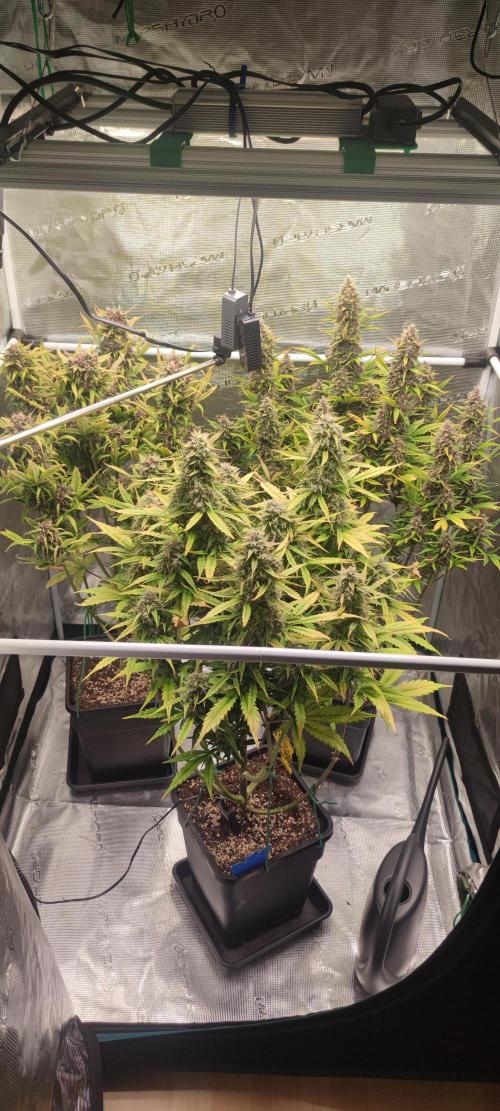
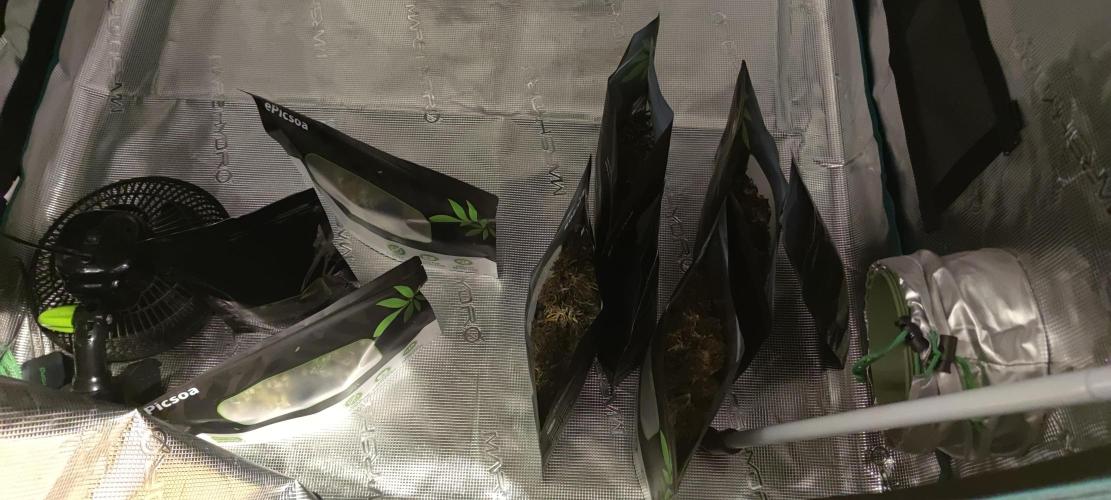
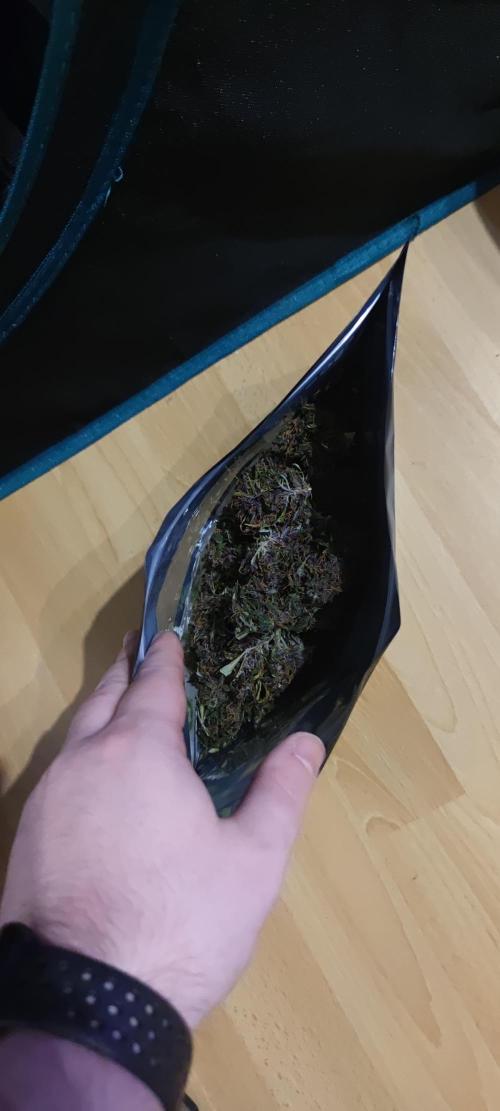
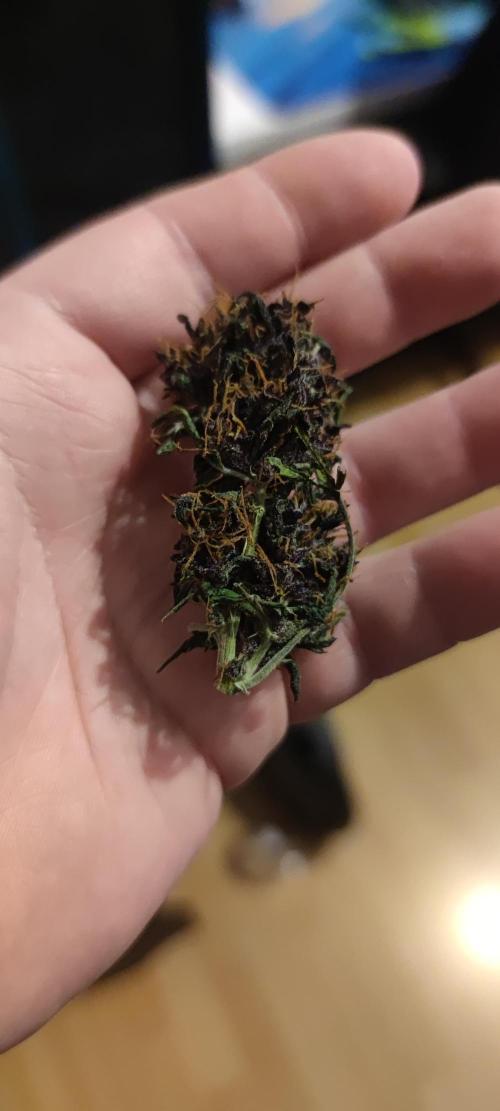
Splashy Since the trichomes are now 5-10% amber, I've decided to harvest. Head over heels and just waiting.
3 likes
1 comment
Share
Equipment Reviews














2 comments
Sort by
popularity
popularity
newest
oldest

Kruqkruq commentedweek 710mo ago
Very nice colas 😉
like 1

GERGrowDesigns commentedweek 11y ago
Good Luck and keep up Growing 🌱⭐
likes

the end.
Enjoying this diary? Follow for more updates!
Prefer the old Diary view?
Go back to the old Diary view