


Likes
Comments
Share


@Roberts
Follow
I just cut her down like 3 weeks ago. Gd was having update issues. It had pretty purple flowers. They had a nice layer of resin on them. I will update more when I do the smoke report, and have it processed and ready. Thank you Gen1:11, Medic Grow, and Ganja Farmer. 🤜🏻🤛🏻🌱❄️
Thank you grow diaries community for the 👇likes👇, follows, comments, and subscriptions on my YouTube channel👇. ❄️🌱🍻
Happy Growing 🌱🌱🌱
https://youtube.com/channel/UCAhN7yRzWLpcaRHhMIQ7X4g

Likes
15
Share


@Brickie74
Follow
First time trying this strain and seed company. I have an Altoids box that i lined with sand paper (120 git) i shake my seed(s) for about 30 seconds to a minute in the box. I then soak them in water for about 15-18 hours. When done soaking i put the seeds on a plate with paper towels until i get a tap root that is atleast 1/8" prefer 1/4". Then at that point i put them in a Jiffy Pod until about 1.5 - 2.0 inches.

Likes
4
Share


@Strife957
Follow
This week was hottt
Record breaking temps wer cooking my girls sooo
I let them out.
I took out their light also (saturday)
I also put green celophane on all the house windows (that dont have blinds) because i dont want the house lights to disrupt their sleep. ( i dont know how sensitive they r )
Next week will be their first full week of flower

Processing
Likes
1
Share


@WolverineGreens
Follow
Never again without a trellis....everything still goin smooth...the smell in startin to get stronger...don't know if they need another week
Likes
15
Share


@SweetheartOG
Follow
Girls doing well but have run into some calcium deficiency which will hopefully be fixed soon.

Likes
21
Share


@Insaniac_0
Follow
Flower Week 1 Day 0 to 6 - 4/22 to 4/28
Flip week and same day extreme defoliation to encourage top stretch. (flip day was actually 4/24) The defoliation of everything below the bottom two nodes really shows the difference of breakage on these. I'm glad I ran these through to the end as you can see the difference more directly on the same plants rather than 2 separate plants. (although Im sure you can gather the same information that way too)
Feed this week was an auto pot reservoir feed at 600ppm total before add-ins. I used 450ppm Veg concentrate mix (recipe week 2) and increased to 150ppm Bloom concentrate mix (recipe week 5). I also added 1ml/gal of CaliMagic (General Hydroponics 1-0-0) and ph balance this week was for 5.8 as it will be for the rest of the grow
Videos
Defoliation before and after
Next week I plan to train the stretch and lowest branches for Schwazze defoliation on day 21 of flower. Feed next week will increase to 650ppm and it will be the first reduction of Veg Mix.
Likes
18
Share


@Green_Blood
Follow
Really enjoyed growing this one out.
Super frosty, dense, and beautiful structure.
In my garden the Blueberry Cookies had the smallest buds, but they were pretty uniform, pretty, and frosty.
You open that jar and the terps are there. Would grow again to look for a pheno with a better yield.

Likes
18
Share

@GREENPHOENIX6262
Follow
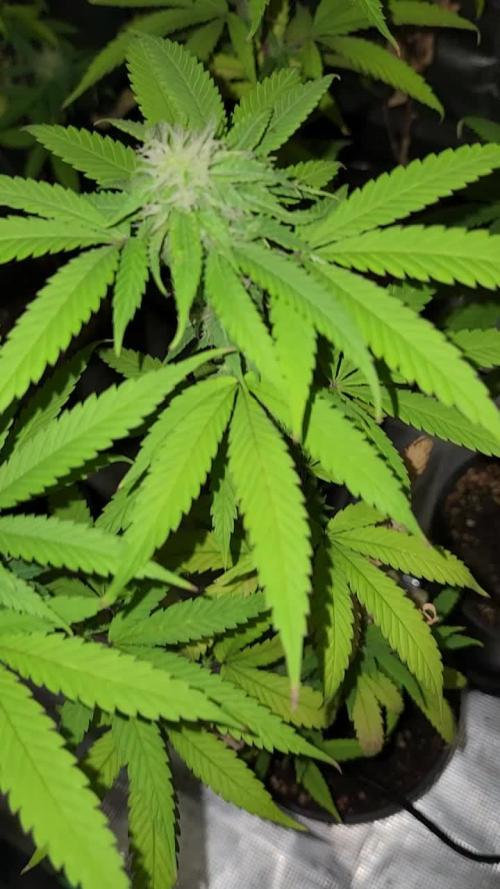
*Disclaimer - Please disregard the counting weeks - The mother is ready to be harvested so the updates moving forward are only for the clones*
05/17 - (C) - The babies are flowering accordingly - Long strans on the flower sites and healthy plant structure on all of them - I will increase their molasse intake to provide more carbohydrates on the feeds - I replaces the C02 bag with a fresh one to give the ladies fresh CO2 through out harvest. I will begin to decrease the light intensity on in the tent to ensure a clean productive harvest.
05/18 -(C)- The ladies trichomes are setting in nicely - they are in week 3 flower and the bud-sites are going in volume every day - Increase in "Raw NPK Cane Molasses" have increased their terp production.
05/23 - (M) - The mother was harvested last week - She yielded a little under 3ozs - She also produced nice dense buds with heavy trichomes and a nice earthy citrus smell - Pictures will be uploaded soon.
05/23 -(C) - The babies are flowering amazingly - nice earthy lemon citrus smell coming off the babies - Trimmed the bottom dead grow and some mid larf to redirect that energy back to the top.

Likes
5
Share


@HoffmanShulgin
Follow
Hoy quiero compartir mis pensamientos sobre el estado de mis plantas. Sinceramente, quería creer que no habían sufrido mucho por el frío, pero desafortunadamente la realidad resultó ser diferente. Algunas de ellas parecen un poco deprimidas y su crecimiento se ha ralentizado. Pero no me doy por vencido y sigo esforzándome por su recuperación. Además, no me gusta el régimen de luz que se ha utilizado desde el inicio de la siembra de las semillas, 12/12. La próxima vez utilizaré 18/6. Espero que esto ayude a estimular su crecimiento y desarrollo.
Ayer empecé a darles a las plantas PK13/14 en una dosis de 1 ml/l y Diamond Nectar en una dosis de 2 ml/l. Espero que estos aditivos les ayuden a obtener los nutrientes necesarios y a estimular el proceso de floración y crecimiento. A pesar de algunas dificultades, no me doy por vencido y sigo cuidando de mis plantas. Creo que con el cuidado adecuado y las condiciones apropiadas, podrán superar las dificultades y crecer saludables y fuertes. Sigo siendo optimista y seguiré creciendo junto con ellas.
Likes
3
Share

@The_Doctor_Green
Follow
Hola a todos!!
Esta semana he regado con fertilizantes (dia 52)
con 1 litro de agua y 1.5 ml de Top auto - top bloom -top candy
Ph 6.4 ec 600 y 1 litro solo de agua, manteniendo ambos valores de ec y ph respectivamente. Y al momento de drenar seguía alto el ph (7.8) y ec 980ppm.
El dia 55( ayer 07/10/25) volvi a regar pero no controle drenaje, regue con un ph más bajo 6.1 y ec 600ppm.
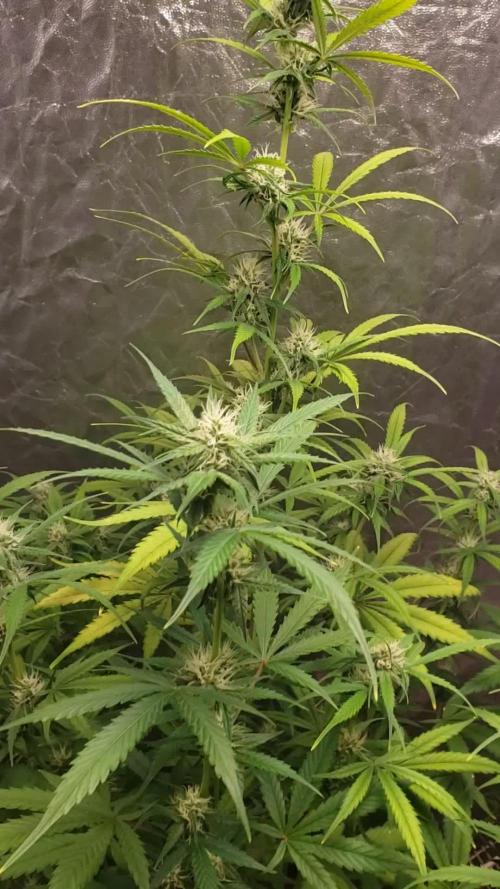
La planta esta recien terminando esta semana empezó a mostrar algo de resina.😋😋😋.
En cuanto a su altura no creció más, solo se dedico a engordar los cogollos.

Likes
126
Share


@ScotlandDrGreen420
Follow
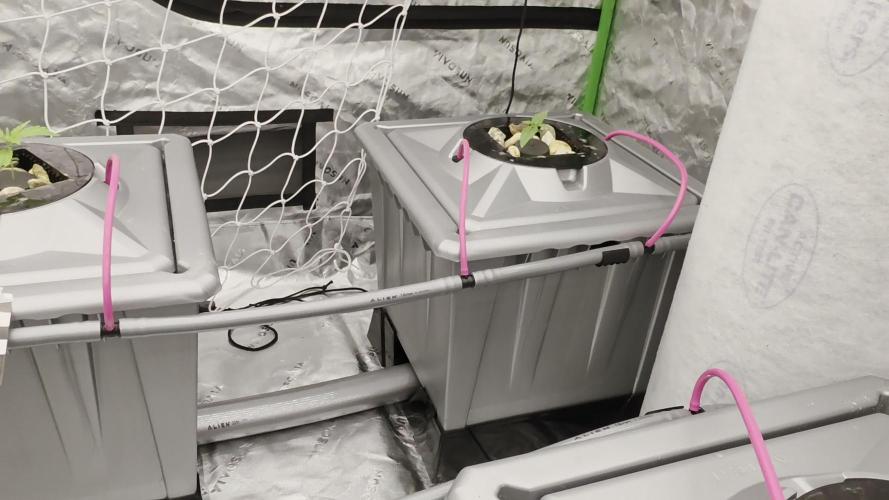
Day 1 of week 2.. really dont know how this plant is doing as I'm new to autos and DWC however , seems to to be growing....
Please , if anyone sees something that could be a diagnosis of a problem then then please let let me let me know guys , thick skinned haha...
Week 2 Day 6: plants starting to fill out nicely now , one root has grown roughly 2" in length in the past 24 hours and there are now numerous roots poking through through the net pot dangling in the res :)
Likes
6
Share




Likes
53
Share


@Schnabeldino
Follow
We go into the second week of Flowering...
The plants accepted the fertilizer change very well. Everyone looks very healthy. The strong green just looks beautiful in my eyes
---------------------------------------------------------------------------------------------------
Controller AC Infinity Pro
- connector for the external light control, RJ-12
- 2 plugs with which I can control dehumidifier and humidifier.
- 2 fans run 24/7, 1 Oscillating from spider farmer
Light - 12/12 h
PPFD - 900-1000 nmol
VPD - 1,3 - 1,6


Likes
6
Share

@3rnest
Follow
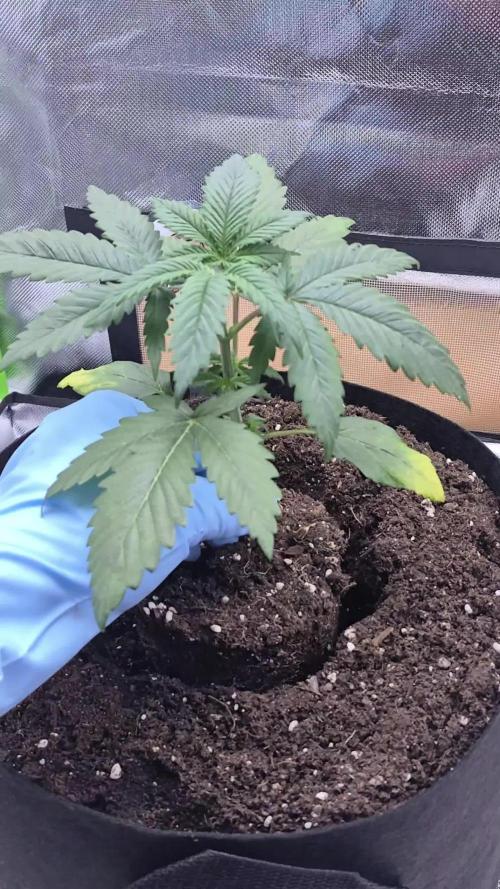
Zu Beginn der vierten Vegetationswoche habe ich die Pflanzen umgetopft. Leider habe ich dabei einige Fehler gemacht und den Pflanzen zu viel Kompost unter die Erde gemischt, sodass die Erde zu scharf wurde und der pH-Wert nicht stimmte.
Auch die Temperaturen am neuen Standort haben nicht gepasst, und ich musste erst die richtige Einstellung für die Beleuchtung finden. Schlussendlich habe ich die Erde noch einmal komplett ausgetauscht, das Growzelt in einen wärmeren Raum gestellt und die LED-Lampe läuft jetzt auf 100W. Inzwischen erholen sich die Pflanzen langsam wieder von den Strapazen und gewinnen zunehmend an Vitalität.

Likes
Comments
Share

Likes
8
Share


@MadeInGermany
Follow
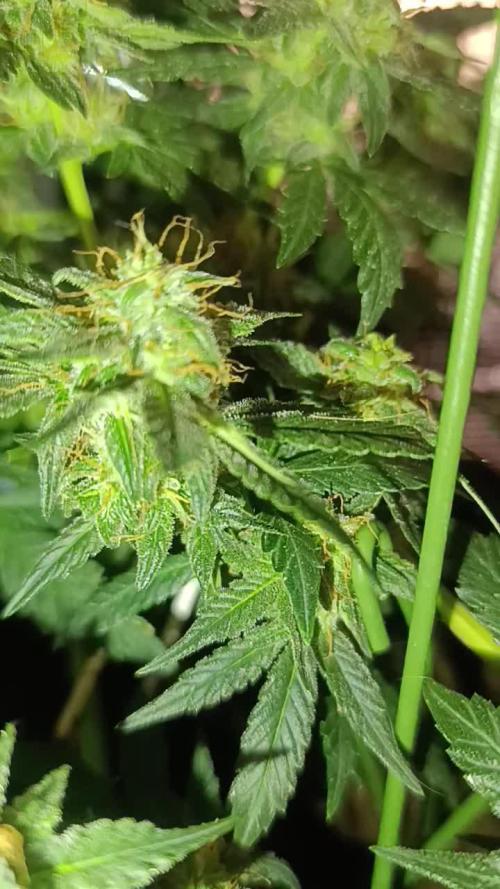
Hey guys :-)
They are developing very well :-) .
Was watered twice this week with 1 l each (nutrients see table above)
Maybe I'll train them this week.
But I'll think about that spontaneously for reasons of space :-) .
Otherwise everything is going according to plan and I wish you a lot of fun with the update and stay healthy 💚🙏🏻
👇🏼👇🏼👇🏼👇🏼👇🏼👇🏼👇🏼👇🏼👇🏼👇🏼👇🏼👇🏼
You can buy this Nutrients at :
https://greenbuzzliquids.com/en/shop/
With the discount code: Made_in_Germany you get a discount of 15% on all products from an order value of 100 euros.
👇🏼👇🏼👇🏼👇🏼👇🏼👇🏼👇🏼👇🏼👇🏼👇🏼👇🏼👇🏼
You can buy this strain at :
Clearwater Seeds
Water 💧 💧💧
Osmosis water mixed with normal water (24 hours stale that the chlorine evaporates) to 0.2 EC. Add Cal / Mag to 0.4 Ec Ph with Organic Ph - to 5.8 - 6.5
MadeInGermany

Likes
8
Share

@MistaOC
Follow
25.02. F 37
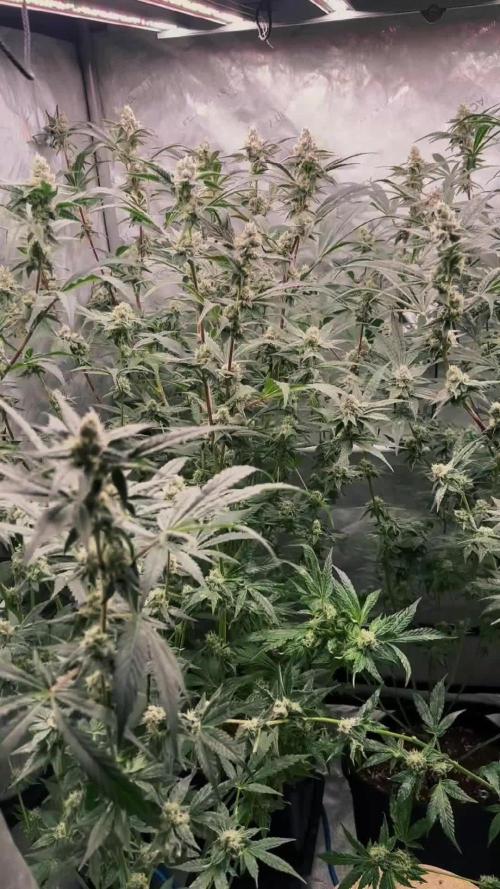
Day 37 of flower and the girls are looking absolutely stunning.
The buds are stacking beautifully and getting heavily dusted with trichomes. Resin production is clearly ramping up now, and you can really see the genetic potential coming through. On top of that, they’re still praying — leaves angled up, full of life, full of energy. That’s always a sign the environment and feeding are on point.
Now for the slight setback: powdery mildew.
It’s nothing dramatic, but enough to make me adjust my strategy. As of today, I’m switching to biological fungicides that work as antagonists against mildew. Instead of just reacting, I’m aiming for a long-term solution that stabilizes the microclimate inside the tent and prevents future outbreaks.
I’m confident this will bring it under control sustainably. The plants are strong, the system is stable, and overall this run is still performing at an exceptional level.
We keep pushing. 🌿🔥.


Processing
Likes
4
Share


