


Likes
Comments
Share


@Gorrilla420
Follow
This was probably one of best looking plants I’ve done outdoor, grew really well in the new spot. Had a great main cola with many decent sized side branches. Didnt even do any training on this girl and produced plenty. Next year will do this again but peak summer and do some training on her.
What a great plant, especially in the uk weather she holded off nicely.
Big thanks to barneys farm for sending me these strains to try out.
That’s all, happy growing 🌱

Likes
2
Share

@magicbudsgrow
Follow
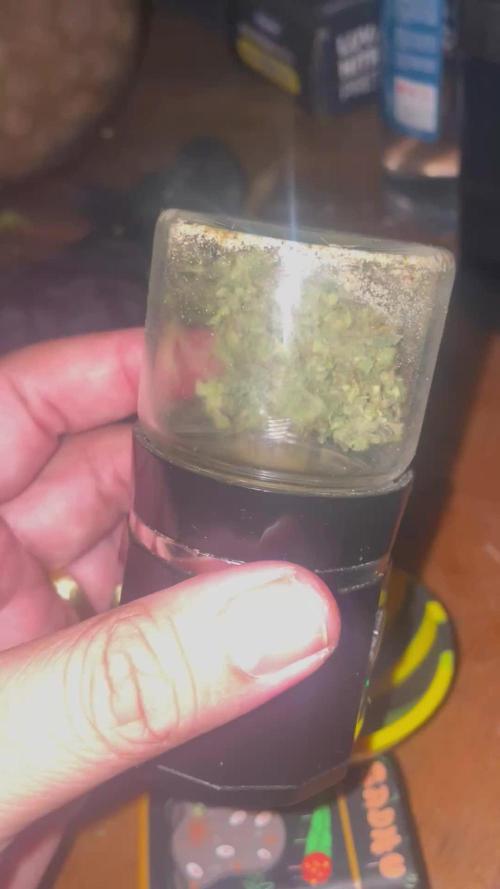
Sem poda top, a estrutura natural é ótima e os buds densos e resinados. Vou deixar secar mais para testar os buds


Likes
13
Share


@Growyourownathome2x2
Follow
Friday the 19th of May Day 23 of 12/12 recently started with the new nutrients mills part A and mills part B ppm 870 all in full flower now still not impressed with the front left plant but what can you do il be happy with a small yield from that one hopefully the quality is as good as my last grow 🍁😎 also need to upgrade my light been using cheap lights for awhile now and the grow is better each time so I’d like to see what I can do with a well known light from a good company

Likes
66
Share


@Prof_Weed
Follow
Ich hätte noch locker 2 Wochen dranhängen können..
Aber ich habe bewusst jetzt schon geerntet da ich die kleinen Buds und Sugar Leafs zu Bubble Hash verarbeiten werde, das sind satte 479g,ich habe keine Ahnung was das dann an Bubble Hash ergibt.
Falls das jemand weiß schreibt es mir in die Kommentare..
Ich habe ein wet trimming gemacht, hat mich 4 Stunden gekostet, aber:
857g Nass Gewicht !!
Wandert jetzt für 8 Tage in den Cannatrol Cool Cure.
Edit: 186g Trocken Gewicht nach Curing, alle Stängel sind zudem entfernt.
Riecht sehr frisch.
Der Smoke ist sehr mild, aber die Wirkung haut mächtig rein, eher Sativa Effekte, hatte nen mega Laber Flash..
Auf jeden Fall viel THC.
Das war ein Hochsommer Grow, die Sour Jealousy von FastBuds hat die hohen Temperaturen problemlos weggesteckt.
Man muss dazu sagen, dass mein Zelt prinzipiell immer offen steht, so kann auch kein Schimmel entstehen denke ich.
Nur muss ich eben mit 2 Luftentfeuchtern arbeiten..
Ich bin mega happy und auch stolz, das ist erst meine 4. Ernte, ich habe erst Mai 2023 angefangen mit dem Anbau.
Vielen Dank lieber Grow Gott für die reiche Ernte!!


Likes
4
Share

@TTerpz
Follow
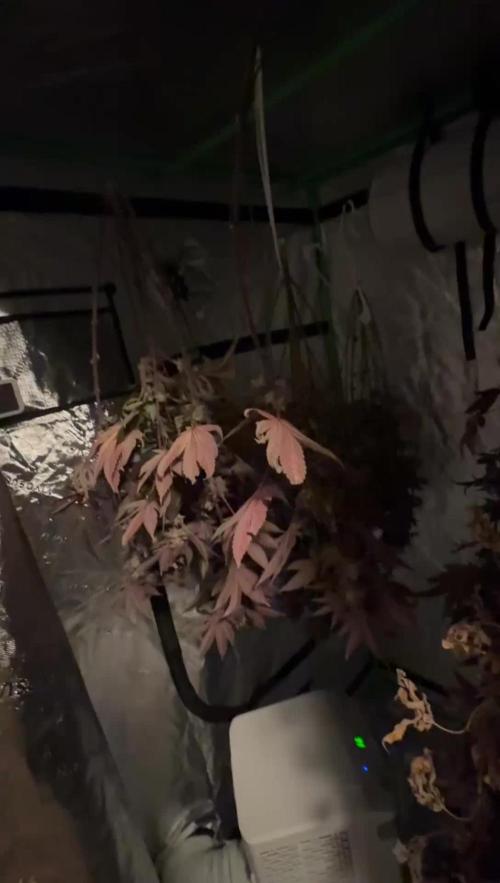
Harvest day! Whole plant gets chopped and hung
First day of of dry 10/2/25
Day 4 of dry 10/6/25 buds are drying up not much chlorophyll smell left except for on the bigger fan leaves that I kept on the plant buds are giving off a nice pungent smell
Likes
16
Share


@Sur_cannabico
Follow
La tercera semana de floración se hace presente en nuestro jardín para las green gelato de RQS.
Continuamos con las dosis de fertilizantes correspondientes a su tiempo de cultivo. Notamos ya la correcta formación de las flores lo que nos asegura unos resultados realmente esperanzadores!
#Surcannabico #heavengrowligths #Royalqueenseeds #nutrientesquemanta

Likes
10
Share

@MrsHinduGod
Follow
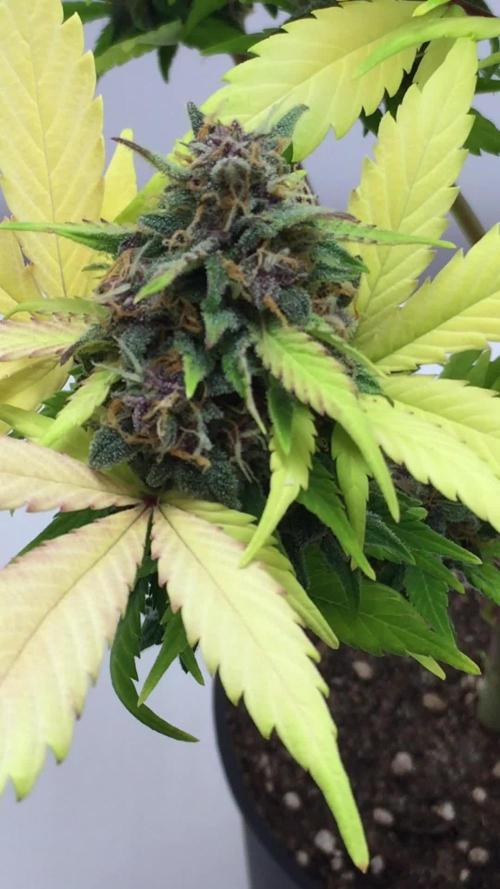
wow look at dat!!! i grew my first cannabis plant!!! da plant faded out a tad bit early!!! dat was due to da small pot size dat had a small amount of medium!!!! if da plant was in a 2-3 gallon pot dat would have been very very good!!! thanks to my husband for letting me go on dis journey!!!!
Likes
6
Share


Likes
38
Share


@GMSgrows
Follow
The Ak2.0 are flowering up nice. Cycle nutrients seem to be feeding them nice. Girls are large, will give them more wattage next run. Cmd lights were just not cutting it. Will use the hid for vegging like I always did.

Likes
17
Share


@HowtoBubatz
Follow
We’re in the second week of flowering, and the plants are really starting to stretch! 🌿
They’ve gained good height, especially the one without LST, which has grown tall very quickly.
It’s been exciting to watch them reach upward as they prepare for the bud development phase.
Everything is looking good overall, and I’m happy with the progress so far. I’m really looking forward to seeing how the buds will start forming in the next few weeks! 😁✨
Likes
14
Share


@GODSGIFT_2005_JM
Follow
For LIQUIDS & NUTES ******GREEN BUZZ NUTRIENTS***** organic.
Also i’m using their LIVING SOIL CULTURE in powder form!
MARSHYDRO ⛺️ has large openings on the sides which is useful for mid section groom room work. 🤩
☀️ MARSHYDRO FC 3000 LED 300W
💨MARSHYDRO 6” in-line EXTRACTOR with speed-variation knob, comes complete with ducting and carbon filter.

Likes
7
Share


@Coughy
Follow
Just another growth week. Random topping, FIMMING, light stress training. I will not be changing reservoir, just adding water with calcium nitrate, jacks and magnesium sulphate with pH corrections.

Likes
2
Share


@EtnoGrow
Follow
this is the beginning of the 4th week along with the publication of the end of the 3rd week, this is how the fourth week is received, another intensive pruning that has no choice but to do it due to the size of the indoor, which is working great for us and we believe that I will always work like this, I am happy, here then the pruning of its results a little before and after and how it is receiving this fourth week, with the threads I touch a little bit of hair I hope it does not affect much but all in favor of opening the field to all the branch buds alike.WE CHANGE THE MESH FOR A BETTER ONE AND OF THE IDEAL SIZE AND AGAIN WE USE THREADS THAT HELP US VERY WELL, WONDERFULLY
Likes
Comments
Share

@DogDoctorOfficial
Follow
📁 Folder 11 – LSD
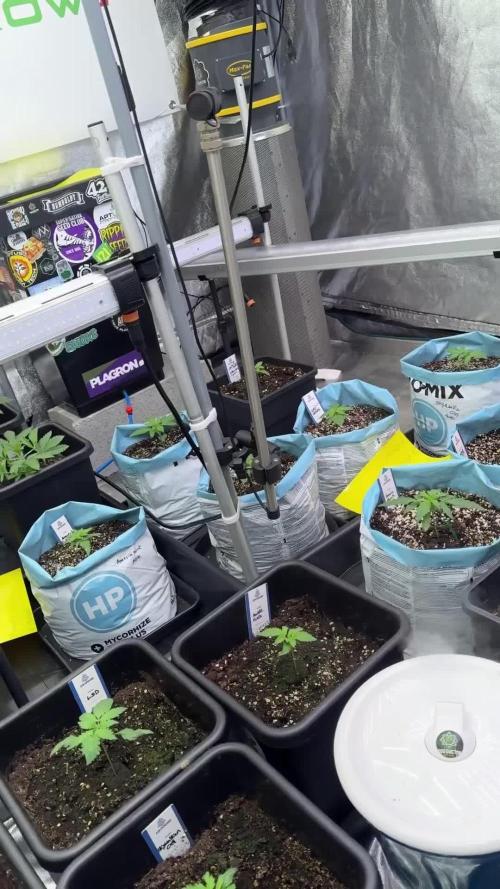
Week 3 · VEG (12/12 from Seed)
Week 3 closes with beautiful, confident growth across all plants. Uniformity is strong, vigor is consistent, and it’s becoming very clear that we are working with solid, stable genetics.
Despite different timelines, all plants are responding exceptionally well to the environment, the feeding program, and the hands-on approach.
⸻
🌱 Plant Development & Structure
• 15-day VEG sister
• Clearly larger and more established, as expected
• Already pushing into approximately the 7th node
• Strong vertical structure and well-spaced internodes
• Acts as a reference point for genetic potential
• 12/12-from-seed sisters
• Currently working through the 3rd to 4th node
• New true leaves actively emerging
• If counting early single leaves, development aligns perfectly for Week 3
• All plants are remarkably similar in structure and expression
Across the board, plants are showing:
• Lush, healthy green coloration
• Strong leaf posture
• Excellent response to the soil and feeding regimen
No signs of stress. No confusion. Just steady progression.
⸻
🌿 Leaf Expression & Genetics
Leaf shape, color, and texture are extremely consistent across all individuals. This level of similarity reinforces the idea that these genetics are well-selected and stable.
So far:
• No erratic behavior
• No weak individuals
• No outliers
Everything feels balanced and intentional.
⸻
💧 Watering Philosophy (Hands-On Approach)
At this stage, everything is hand-watered, one plant at a time.
• No automated irrigation
• No connected systems
• No shared reservoirs
Each pot is lifted, weighed, and observed individually.
Watering decisions are based on:
• Pot weight
• Visual cues
• Leaf posture
• Overall plant behavior
This approach allows for:
• Individual attention
• Better understanding of each plant’s needs
• Stronger grower–plant connection
While this method will later be explained in more depth through video content, it’s important to document it here so readers understand how decisions are being made during these early stages.
⸻
💡 Light & Environment (Baseline)
Plants continue to grow into the light under a controlled PPFD range. No pushing, no forcing — just gradual adaptation.
Everything else remains aligned with the locked baseline:
• Stable temperatures
• Balanced humidity
• Consistent feeding
• Clean, predictable conditions
⸻
🔮 What to Expect
• Continued node stacking and leaf expansion
• Increased growth speed as root systems mature
• Clearer differentiation between the 15-day VEG plant and the 12/12-from-seed plants
• Preparation for more visible vertical movement in the coming weeks
🚫 What Not to Expect (Yet)
• No explosive stretch just yet
• No need for stronger feeding
• No aggressive training
• No automation at this stage
Observation remains the priority.
⸻
📝 Final Notes
Week 3 confirms that LSD is thriving under this approach. The combination of strong genetics, consistent environment, and hands-on care is producing predictable, healthy results.
This is one of those weeks where nothing dramatic happens — and that’s a very good sign.
Everything is right where it should be.
FOR DISCOUNT CODES AND MORE JUST FOLLOW THE LINK https://website.beacons.ai/dogdoctorofficial
📲 Don’t forget to Subscribe and follow me on Instagram and YouTube @DogDoctorOfficial for exclusive content, real-time updates, and behind-the-scenes magic. We’ve got so much more coming, including transplanting and all the amazing techniques that go along with it. You won’t want to miss it.
GrowDiaries Journal: https://growdiaries.com/grower/dogdoctorofficial
Instagram: https://www.instagram.com/dogdoctorofficial/
YouTube: https://www.youtube.com/@dogdoctorofficial
⸻
Explore the Gear that Powers My Grow
If you’re curious about the tech I’m using, check out these links:
🔆 Lighting & Environmental Control
• Future of Grow — Advanced LED lighting technology
https://www.futureofgrow.com/
DISCOUNT CODE: DOG20
• Lumiflora — Under-canopy LED lighting
https://lumiflorade.com/
• TrollMaster — Environmental controllers and automation gear (past collaboration)
⸻
Genetics
• Zamnesia Seeds — Genetics used in this project
https://www.zamnesia.com/
⸻
🌱 Soil, Substrates, Boosters & Root Support
• Plagron — Substrates, bio mixes, and supportive products
https://plagron.com/en/
⸻
🎒 Storage, Curing & Preservation
• Grove Bags — Curing and storage solutions
https://grovebags.com/
⸻
📸 Photography Equipment & Tools
(Not sponsors, but part of my creative toolkit)
• Sony A6700
• Sony full-frame macro lens + few more
• Stacking photography workflow - learning
• iPhone (for behind-the-scenes shots)
We’ve got much more coming as we move through the grow cycles. Trust me, you won’t want to miss the next steps, let’s push the boundaries of indoor horticulture together!
As always, this is shared for educational purposes, aiming to spread understanding and appreciation for this plant. Let’s celebrate it responsibly and continue to learn and grow together.
With true love comes happiness. Always believe in yourself, and always do things expecting nothing and with an open heart. Be a giver, and the universe will give back in ways you could never imagine.
💚 Growers love to all 💚
📸 P.S. – The Eye Behind the Lens
All photos in this diary (for now — except for the ones showing the camera, which I took with an iPhone) are taken with a Sony A6700 paired with a Sony full-frame macro lens and a few more.
Photography is part of the story — it’s how we share the fine textures, the glow, and the quiet details that words can’t always capture.
I’ve also started experimenting with photo stacking — a technique where multiple images, each taken at a slightly different focus point, are layered together to create one perfectly sharp image from front to back.
It’s not digital enhancement or AI; it’s pure photography — a way to reveal the plant’s beauty in microscopic depth, from trichome to petal.
You’ll even see a few shots of "ghost me" capturing the shots — camera, lens, setup — because every grow deserves not just to be cultivated, but documented like art.
FOR DISCOUNT CODES AND MORE JUST FOLLOW THE LINK https://website.beacons.ai/dogdoctorofficial
NEW DISCORD - Official Server Invite Link : https://discord.gg/ksjAkA5T74

Likes
15
Share


@GanjaFarmerGrow
Follow
She is going verry nice...
dispite the bad quality of the air..
really fully flowering..
I have increaed the feed...
hope it all goes good...
fingers crossed 👍

Likes
10
Share


@byte_me
Follow
Fellow growers, week 5 of flowering brings fascinating updates. The buds are forming nicely and becoming denser daily. Unfortunately, the plants shot up in height more than expected and I couldn't raise the light further.
Our growing space is filling with a delightful, intensifying aroma. Despite the height challenge, I remain hopeful for a successful end. Excited for the week ahead!
Happy growing!

Likes
22
Share


@LSDMan
Follow
(CAN) Une météo parfaite cette semaine. Je dispose des grillages plus gros autour des plants, je dégage également les alentours afin de laisser passer plus facilement les rayons du soleil et de faire baisser l’humidité ambiante. Les plants ont maintenant beaucoup plus d’espace et peuvent se développer pleinement pour prochainement, passer en floraison. Je renouvelle le marc de café autour des plants pour éloigner les potentiels nuisibles. Je pulvérise les plants au purin d’orties le jour 59. Arrosage à l’engrais de croissance le jour 60.


Likes
5
Share


@Terrell_Growens
Follow
Nothing too exciting to report. Kind of stretched more than I'd like so I'm propping it up. I'll let it grow for another week or 2 before putting it in a bigger pot.

Likes
5
Share


@SpliffDoc
Follow
WOW! What a stinky little powerhouse this apricot is turning into, I've never smelt weed like this, so unique. She was always a runty little thing but what she's lacks in size she makes it up with her character, purple, pink resin coated gem buds💎
Likes
25
Share

@ThatsmyGrow
Follow
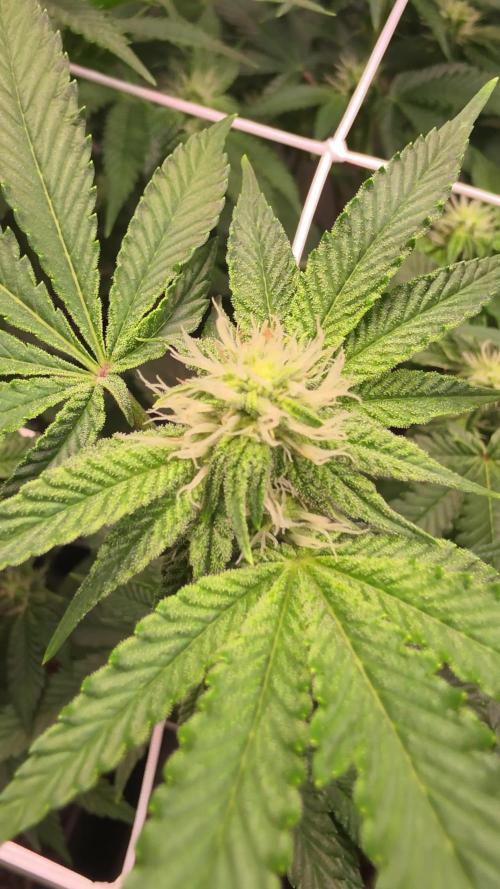
Another week is complete, and there wasn’t too much happening this time around, but the plants are continuing to develop nicely.
I did another round of defoliation and some additional lollipopping, taking my time to remove everything as cleanly as possible and keep the plants focused on the main flowering sites.
The nutrient schedule was also adjusted to better support the plants as they move further into the bud development stage.
What really stands out this week is the amount of trichome production. The flowers are getting noticeably frostier, and even some of the larger fan leaves are starting to develop a surprising amount of trichomes. That’s something I’m not used to seeing this strongly from my autoflowers, so it’s definitely interesting to watch.
Overall, everything is progressing well, and I’m really looking forward to seeing how much more frost these plants can put on over the next few weeks.