
Likes
Comments
Share

@Lowbabymedz
Follow
What to say ? Outstanding genetics and gargantuan nuggs on this lemon AK stinks like citrus/lime more and more day by day.
Believe me this one is different i can’t wait to pop another one of these. Takes a bit time to rippen because of it’s heavy sativa lineage but the buds clearly lean on the indica side becausw of the monster density and tightness
S/O my boys and gals from fastbuds

Likes
8
Share


@Froggman
Follow
The ICE is almost done; the NL doesn’t even seem close. Interesting since ICE sprouted a day later than the NL.
Likes
39
Share


@Belverde
Follow
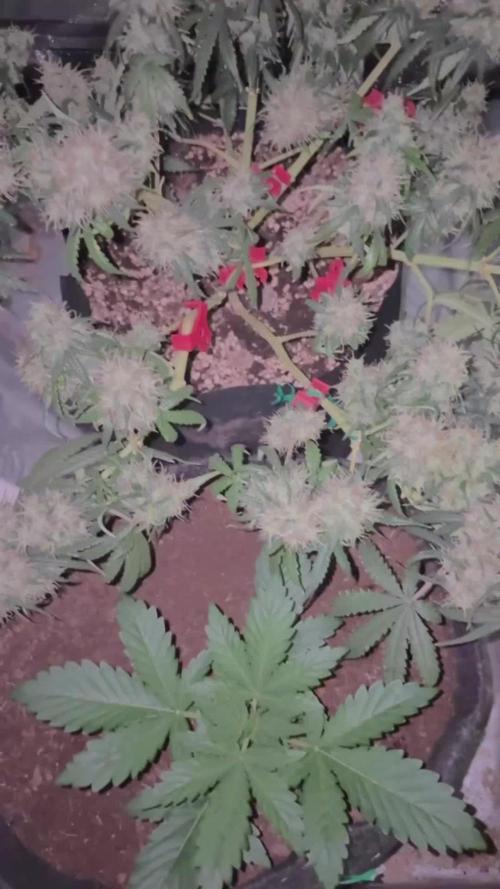
Hello everyone ... please excuse me if I start the diary from the end of 4th week of flowering, but I'm new and wanted to post something right away :) Anyway ... I have these three beautiful girls ... two are in light mix + coco + perlite + micorizze(MICOSAT F {Italian product}) + guano Kalong and Atami worm humus ... instead one(SSOIL written in photo) is a super soil with biobizzlight mix / biobizzcoco / Atami worm humus + leonardite + alfalfa + kelp + krill + azomite + basalt + calcium carbonate + phosphorite + neem soil(1/3substrate ) and micorrize ..in to the top only light-mix/perlite and coco with a little bit of humus ... they suffered defoliation, also caused thrips and various problems that let me to conclude that it was better to follow this path ... ah and the grow rom the walls have been removed, hot cause ..... The plants imself are very vigorous and resistant ... fairly uniform growth, takes a lot from Critical, and even perfumes are very similar for now, always tending more to Critical with light notes of kush ... but it is still early ...... Ps. Sorry for the English 😅.
Update
On advice, I decided to move one of the three (the one with the super soil) in a separate diary, also to be clearer and more precise ... sorry for the confusion, but I'm learning😅🙏✌️

Likes
28
Share

@PPFDaddy
Follow
Hey everyone! This week I harvested another one of the girls, the one that looked the most ready in my opinion, at least judging by the trichomes. She still had quite a few white pistils, so it was a slightly cautious call, but I felt she was ready to come down.
That leaves only two plants in the box, and one of them is honestly doing the work of four. Every time I open the tent, I’m still shocked by how much this Sticky has exploded. I may have found the magic seed. 😄
She is also the only one that has kept her buds truly huge and dense. The resin hasn’t spread heavily onto the leaves, but the flowers themselves are absolutely covered. I’ve already taken a couple of tops that were blocking light from each other, and I honestly can’t wait to try them.
For the coming week, I’ll keep fertigating while lowering the EC by another 0.2 points. That’s all for now. As always, critiques and advice are more than welcome. Happy growing everyone! 🙌

Likes
361
Share


@Ju_Bps
Follow
Hello my friendly growmies 👩🌾👨🌾🌲🌲,
These Fat Banana had had continued the crazy stretch, the #1 more than 90 cm.
The hedgehog 🦔🦔 are biggest
I didn't found new balls 👌👌
I'm totally in love with those cute ladies 🌲🌲🌲😁😁💜💜
I've continued to train a bit.
Since the treatment, I didn't found thrips or other bugs, look on the good way!! 👌👌
💦I give water each 2 or 3 days and more and more/plant
1.75 l Water + RQS Bio Flowering Booster
2 l Water + cannazym
2 l Water + RQS Bio Flowering Booster
2.25 l Water + sugar royal
@PH6
RQS Bio Flowering Booster - Week 2
THICKER 0.4 ml/l
BIGGER FLOWERS 0.8 ml/l
The RQS liquid kit, look doing the job, not overfert or deficiency sign for the moment.
Lamp @100%
Thanks community for follow, likes, comments, always a pleasure 👩🌾👨🌾❤️🌲
Mars Hydro - TS1000 💡💡
https://www.mars-hydro.com/ts-1000-led-grow-light
Mars Hydro - FC3000 💡💡
https://www.mars-hydro.com/fc-3000-samsung-lm301b-led-grow-light
RQS - Fat Banana Auto 🍌🍌🌲🌲
https://www.royalqueenseeds.com/autoflowering-cannabis-seeds/487-fat-banana-automatic.html

Likes
29
Share


Processing
Likes
113
Share


@PEAKYPLANTERS
Follow
my experience with these strains has not been one of the best .... in the last few weeks there has been a sharp increase in temperatures making things very difficult ...
very slow growth for coockies considering that in the same tent I had 3 other autoflows that had been ready for a few weeks.
discrete power .... almost light ... lighter flowers inside the buds ...
ABUNDANT HARVESTS FOR ALL OF YOU ... FRIENDS
PEAKYPLANTERS GREETS YOU


Likes
15
Share


@IRIETHINGZ
Follow
Iniziata la seconda settimana di fioritura, le ragazze hanno fatto un bellissimo stretch in altezza, ed hanno iniziato a riempire tutto l'ambiente di coltivo, quindi munito di forbici ben disinfettate ho eseguito una piccola defogliazione delle parti basse delle piante e tolto qualche foglia grande che impediva il passaggio della luce e dell'aria. Vedrò nei prossimi giorni come reagiranno
Likes
5
Share

@3rnest
Follow
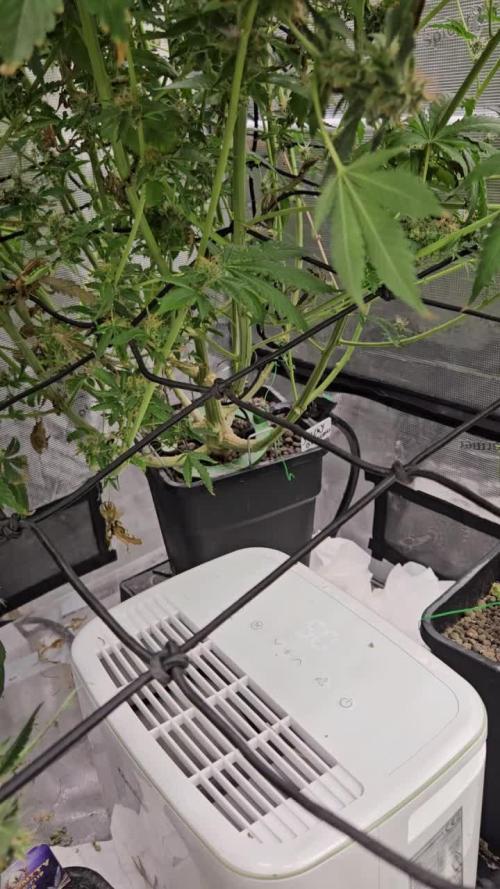
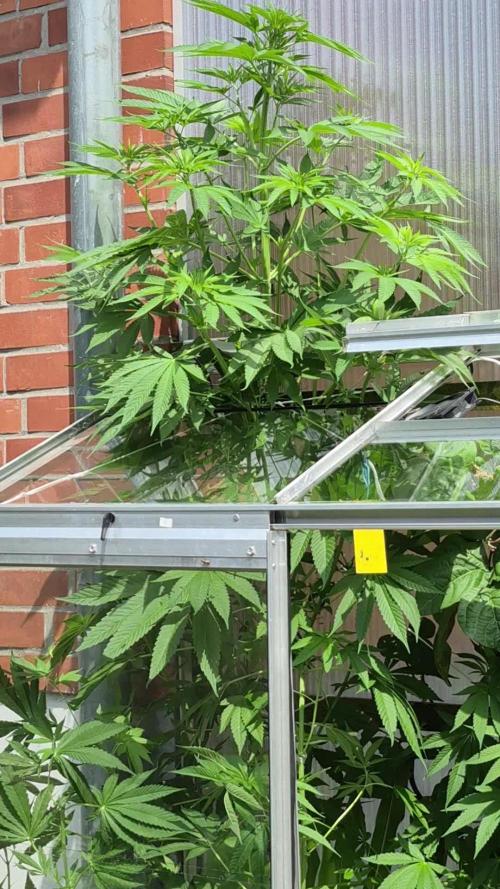
Die Pflanze wächst und wächst...
Ich musste jetzt mal ein paar Äste und Blätter abnehmen, damit wieder etwas Luft in das Gewächshaus kommt.
Likes
7
Share


@GermanGrow182
Follow
Die zweite Reihe Photos hat richtig aufgeholt und ist fast so hoch wie die 2wochen älteren , aber noch nicht so verzweigt. Habe ja die beiden Haupttriebe nach außen gebogen, dadurch sprießen jetzt die Seitentriebe stark.die Special Queen Auto sind alle fleißig am blühen.es sind komische phenos geworden. Zwei sind sehr klein geblieben und werden nur wenig abwerfen. Da ich einen 4.run außerhalb der Doku habe, wo auch noch 6autos wachsen, ist es mir egal 🙂. Es läuft. Deas wichtigste sind die Photos und die machen,was sie sollen.. bis nächste Woche ✌️
Likes
8
Share


@Gardens_of_Of
Follow
3rd week of Flower is over without any issue.
Lollipoped them all end of the week and applied an heavy defoliation.
Rearranged pots’ heights for the final time as the stretching is over and moved the bottom isolating fan to the left hand side. Also set the target VPD to 1,5 with 24 Celcius Target Temp.
Top Left: Wonder Pie (GHSC)
Top Right: Lemon Orange (GHSC)
Middle: Mimosa Evo (Barney’s - Clone)
Bottom Left: Runtz (Barney’s - Clone)
Bottom Right: Exotic Runtz (Exotic Seed)
Likes
10
Share


@JeyGanesha
Follow
Per fortuna non è lei l'hermafrodita.
Pensavo era lei ma poi guardando bene ho visto che è la strawberry 🍓 banana 🍌 della fast buds..mai successo prima...sarà che s'è stressata troppo con il taglio del apicale..boh non so. .,


Likes
14
Share

@all_about_420
Follow
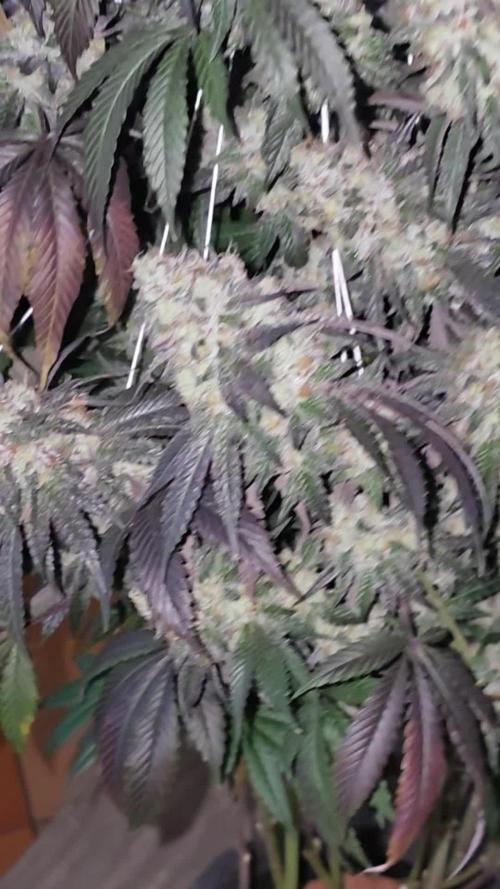
Der Erntetag markiert den beeindruckenden Abschluss für diese Naughty Dawg. Wie deutlich zu sehen ist, haben die Blüten eine solche Masse entwickelt, dass die installierte Stützkonstruktion bis zur letzten Minute notwendig war, um die schweren Zweige zu stabilisieren. Die Pflanze zeigt eine exzellente Struktur mit voll besetzten, kompakten Fruchtständen.
Besonders hervorzuheben ist der extreme Besatz mit Trichomen, der in den Nahaufnahmen fast wie eine glitzernde Kristallschicht wirkt. Passend zur Abstammung der Genetik verströmt die Lady nun ihren markanten, stechenden Geruch: Ein schweres, chemisch-dieseliges Aroma, das von einer erdigen Würze und einer dezenten, aber präsenten Note von feuchtem Waldboden begleitet wird – typisch für ein hochwertiges „Dawg“-Profil.
Diese Kombination aus visueller Brillanz und der intensiven Geruchskulisse macht das Endergebnis zu einem echten Highlight für jeden Enthusiasten. Ein absolut gelungener Run, der nun in die Trocknung geht.