


Likes
Comments
Share


Likes
10
Share


@Jbcultivates
Follow
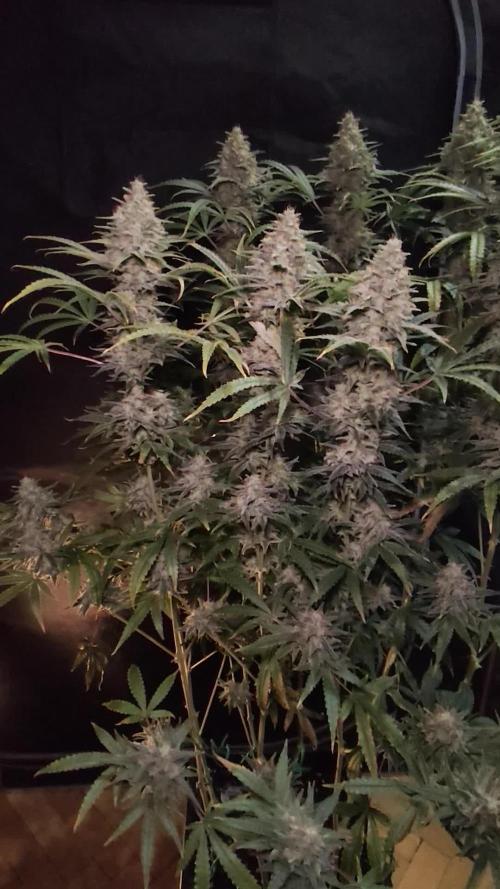
Week 9 of flower, the buds are still showing white hairs and 50/50 clear/cloudy trichomes. Buds getting too heavy to hold themselves up! Tried out using a single scrog, I would definitely use two nets going forward.

Likes
142
Share


@MadeInGermany
Follow
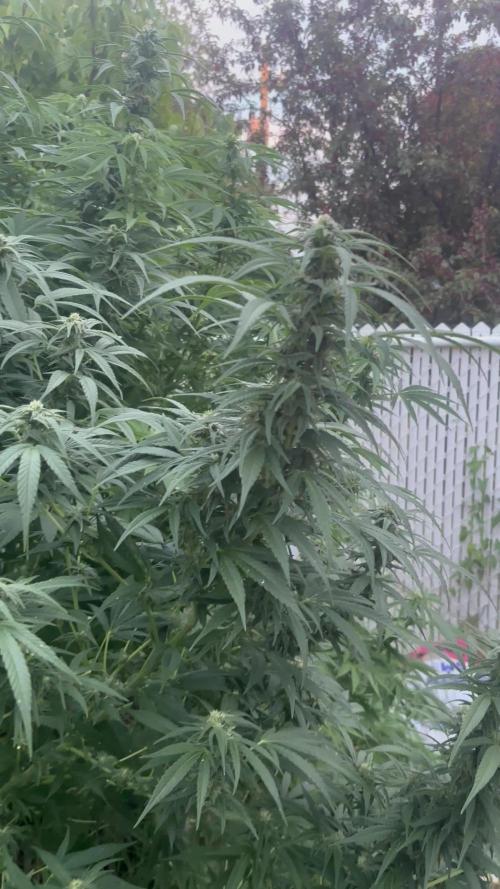
Hey everyone :-).
The last plants were also placed in the bloom chamber kammer.
Everyone has made great progress this week 🙏🏻.
There is not much to say about this week, I think videos and pictures say more like words 🙈😎.
I wish you all a good start into the week :-) Stay healthy and let it grow 🙏🏻👍







Likes
21
Share

@Sadhus
Follow
---
**Semaine 4 : Quatrième Semaine de Floraison (11-17 mars 2026)**
### Contexte et Objectifs de la Semaine
On entre pleinement dans la **phase bulk** (gonflement massif des buds). Transition douce du steering génératif vers steering végétatif : runoff légèrement plus élevé, dry back réduit (15-20 % VWC), irrigations un peu plus fréquentes et VWC plus stable.
**Pourquoi ce changement ?** Le steering génératif des semaines 1-3 a forcé le stretch final et initié la densité des buds via un stress hydrique contrôlé. En phase bulk, le steering végétatif maximise l’absorption des nutriments, l’expansion cellulaire et le volume des fleurs sans limiter la prise de poids. GrowOps IA confirme cette transition (alertes VWC + VPD).
**Petit cours éducatif : Nouvelles feuilles et petites têtes qui poussent sur les fan leaves**
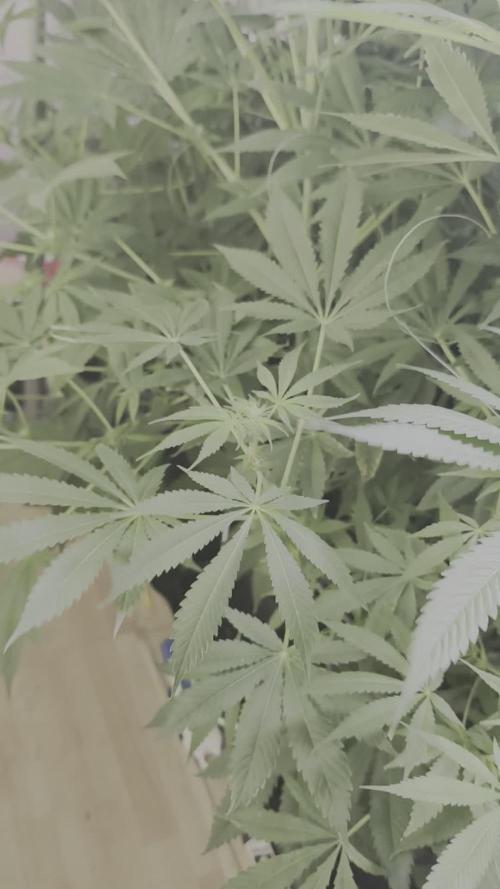
Ce que tu observes (« feuilles qui poussent sur les feuilles » + petites têtes sur fan leaves) est un phénomène de croissance très vigoureuse, parfois appelé « leaf-on-leaf growth » ou expression locale de foxtailing sur le feuillage.
Au lieu de se concentrer uniquement sur les buds, la plante, boostée par le steering végétatif + Sugar Royal + PK 13-14 + Green Sensation + enzymes, produit de nouvelles petites feuilles (et parfois de minuscules structures florales) directement sur les grandes fan leaves existantes.
C’est **positif** ici : signe d’énergie abondante, bonne uptake et santé excellente. La génétique Sticky Broccoli (indica-dominante mais vigoureuse) peut exprimer cela en bulk quand les conditions sont optimales. Contrairement au foxtailing stressé (trop de chaleur/lumière), celui-ci reste modéré et accompagne un bon gonflement des buds. On laisse généralement évoluer (ça augmente la photosynthèse locale), mais on surveille pour éviter un excès qui pourrait diluer l’énergie des fleurs principales.
### Observations des Plantes
- **Jour 43-45 (11-13 mars) :** La plus belle plante passe de 1m20 à **1m40** haut × 60 cm large (l’autre ~95×50 cm). Apparition de nouvelles petites feuilles et structures sur les fan leaves, en plus du gonflement visible des buds. Pistils blancs abondants, résine précoce brillante.
- **Jour 46-47 (14-15 mars) :** Croissance bulk forte (+4-6 cm/jour). Canopée dense, clones enracinés 70 % (prêts au repiquage). Ajout Sugar Royal + PK 13-14 : réponse explosive (vigueur accrue).
- **Jour 48-49 (16-17 mars) :** Plantes en pleine forme, zéro pest, zéro signe de stress, carence ou excès. Vert profond, santé excellente. Steering végétatif visible : buds plus charnus et densification en cours.
### Paramètres Environnementaux (Analyse TrolMaster + GrowOps)
Graphs très stables (14-15 mars). CO₂ enrichment actif (900 ppm jour / 500 nuit).
- **Température (°C) :** Moyenne Jour 23.4 °C | Nuit 20.4 °C | Max Jour 25.5 °C | Min Jour 19.6 °C
- **Humidité (%) :** Moyenne Jour 64.27 % | Nuit 60.37 % | Max Jour 70 % | Min Jour 60.6 %
- **PPFD :** Moyenne Jour 756.9 (max 837)
- **DLI :** ≈ 32.7 mol/m²/jour (optimal bulk)
- **VPD :** Moyenne Jour 1.03 kPa (stable et idéal)
- **EC tank :** 2.5-3.5 mS/cm | pH 5.9-6.0 | Runoff EC ~2.0-2.5 / pH ~5.7
- **Soupe :** NPK de base + CalMag + Silice + Enzymes Plagron + Green Sensation + **Sugar Royal** + **PK 13-14**. Eau à 20 °C.
- Irrigation : Transition végétatif, dry back 15-20 %, VWC plus stable.
### Problèmes et Ajustements
Aucun problème. Plantes saines, GrowOps IA optimise sans intervention.
Ajustements : Intégration Sugar Royal + PK 13-14 + monitoring de la nouvelle croissance sur fan leaves.
### Plans pour la Semaine 5
- Légère défoliation (retrait branches basses inutiles).
- Maintenir steering végétatif + ajustement PK si besoin.
- Évaluer clones + nouvelles photos buds.
- Surveiller l’évolution sur les fan leaves (rester modéré).
Ce journal sera mis à jour hebdomadairement.
#GrowLegendary #Zamnesia #Plagron #EternityGrowCup2
---
Je suis désolée pour la qualité des photos, je ne peux malheureusement pas déplacer les plantes pour les isolé et faire de jolis photos, elles sont sous 2 trellis de tuteurage donc impossible a déplacer

Likes
57
Share


@Regenwurm
Follow
Am 27.01.21 die Ladies nach 5 Wochen vegetativer Phase in die Blüte geschickt. An den höchsten Zweigen superscropping durchgeführt um ein gleichmäßiges Höhenwachstum hinzubekommen. Dieser Strain entwickelt bis jetzt sehr viele große Blätter. In der nächsten Woche wird zum ersten mal großzügig entlaubt um das Licht an alle wichtigen Punkte zu bekommen. Durch den Stretch in den ersten Blühtewochen habe ich mich entschieden in der ersten Blühtewoche noch Wachstumsdünger zu gießen und erst in BW 2 umzustellen. Die Temperaturen sind aktuell bei ca. 18-19 Grad in der Nacht und 23-24 Grad am Tag. Die RLF liegt relativ konstant zwischen 43 und 50 %. Die Ladies sehen gesund aus. Für die aktive Zuluft ist es noch zu kalt. Der CO2 Gehalt ist aber auch so okay! Sorry für die schlechten Bilder unter dem Licht, nächste Woche wirds besser 😁

Likes
2
Share


@KannaGrowing
Follow
Primera semana - Germinación en Placas de Petri sobre un invernadero calefactado, utilizando papel de cocina y pulverizando agua.
Entre 24h y 48h después germina el 50% de las semillas y a las 72h el 95%.
Mientras espero a que germinen, preparo el sustrato;
· Coco-Kaya by BioBizz and Julian Marley 75-25.
Utilizo macetas altas de 1,4L que riego con abundante agua, antes de plantar las semillas.
Cuando germinan las planto bien etiquetadas y pulverizo agua, sin regar. Así evitamos movimientos indeseados de las semillas.
18h de luz 6h de oscuridad. Los balastros ajustados a 250w.
Durante la semana, van saliendo los cotiledones de todas las plantas.


Likes
30
Share


@EdsterGrows
Follow
Alright ladies and gents, finished shooting the last scenes for my Christmas video contest 😅 I had a couple of divas on set, and you'll see who I'm talking about.. lol
Alright; all three girls are getting ready for chop, it has been a lovely time and I've been patient, but I also wanted to make sure that I'm harvesting at the correct time. I purchased a jewel loupe off of Amazon and to my surprise all three girls had amber trichromes mixed with milky trichs. I went ahead and fed lightly and will be harvesting by day 75. I'll update with pictures of the trimmed flower before hanging. Blessing fellow cultivators! 🙌✌️
Edit:12-18-2017
I've finally uploaded my contest video, I really hope to win, and hope you all enjoy! 😸


Likes
Comments
Share


@Leonweed10
Follow
En pleno proceso de engorde los 16 clones en macetas de 7 litros,con un leve problema de araña roja ya solucionado orgánicamente.
Ya todo funcionando mejor

Likes
34
Share


@Robbaus
Follow
Iniziamo col top bloom e finiamo col top veg, i fiori iniziano ad essere tali finalmente 😍
Sono riuscito a tenerle basse, pensavo di avere problemi sotto la rete con le due davanti visti i quasi 10 cm d'altezza di differenza rispetto alle altre due, invece riesco a defogliarle bene, non ci sono foglie secche o segni di muffa e la luce e l'aria circolano bene 👍🏼💪🏼


Likes
141
Share


@Tropicannibis_Todd
Follow
💩Holy Crap Growmies We Are Back💩
Well growmies we are at 14 days in and everything is going great 👌
👉 Shes a short chunky little plant 👈 We got some very pretty colors already 😍 👌
Lights being readjusted and chart updated .........👍rain water to be used entire growth👈
👉I used NutriNPK for nutrients for my grows and welcome anyone to give them a try .👈
👉 www.nutrinpk.com 👈
NutriNPK Cal MAG 14-0-14
NutriNPK Grow 28-14-14
NutriNPK Bloom 8-20-30
NutriNPK Bloom Booster 0-52-34
I GOT MULTIPLE DIARIES ON THE GO 😱 please check them out 😎
👉THANKS FOR TAKING THE TIME TO GO OVER MY DIARIES 👈
Likes
11
Share

@BalconyBoy
Follow
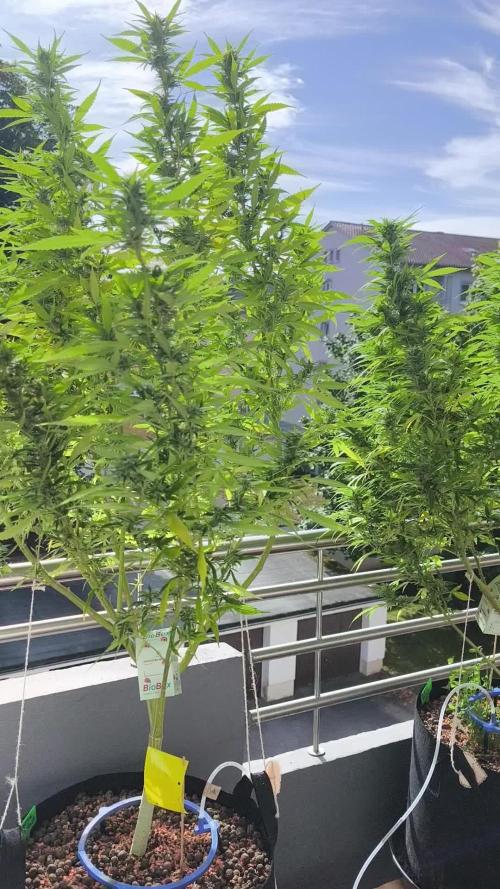
08.09.25 the first week of September was a mix of sun and clouds on the balcony. The seedsman strains continue their road to frosty flowers and the quick sherbets now also join in the tracks. Repeated H2O2 Spraying didn't fight the powdery mildew on the Sherbets enough for me to let it go, I'll get some hardware store product to have tried everything in time instead of yapping afterwards. Also I applied 100g of flower fertilizer as top dressing. Thanks to Bavarian Krauts for hooking me up with this cheaper alternative to the greenhouse feeding line, it performed very nice on the first half of flowering, now this is the dose for the last chapter of 2025 making sure nutrients last to the end of the season. There are still leaves turning yellow on the flowering plants but the amount has come down and the overall structure now seems ready to support the buds and give them good direct light as well.


Likes
11
Share


@Keep_it_Cleannabis
Follow
It's water day, everything is going good, although it smells more citrus the the gass I was hoping for but we shall see how it turns out

Likes
9
Share

@Limez
Follow
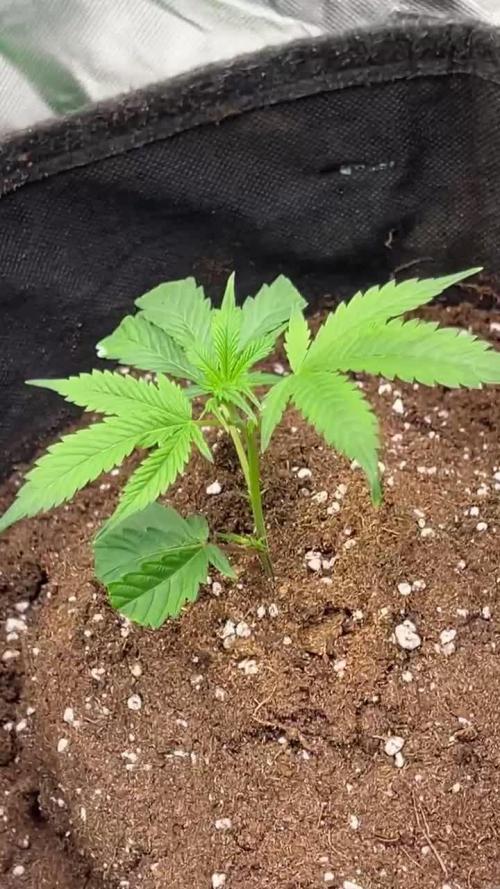
Die kleinen stehen jetzt seit 1-2 Tagen im Zelt, bei 20% Licht Leistung (~50W) bei einem Abstand von 50-60cm. Die 3 die ich behalten werde hab ich direkt in den 20L Endtopf gepflanzt, weil ich die Töpfe und das Gewicht mittlerweile relativ gut einschätzen kann. Morgen füll ich die Töpfe noch ganz auf, mir ist leider die Erde ausgegangen. Beim eintopfen hab ich die easy plugs rundherum mit mikorizha bestreut um das wurzelwachstum, sowie die pflanzengesundheit zu fördern. Luftbefeuchter bzw. Entfeuchter werden die Tage noch hinzukommen, allerdings brauch ich erst neue Batterien für mein hygrometer damit das alles passt. Das nächste Update gibts in einer Woche. Werde dann aber toppen um mit einem Scrog das gesamte Zelt und die beiden Netze zu füllen.
Lg Limez

Likes
5
Share

@TrickzGrowz
Follow
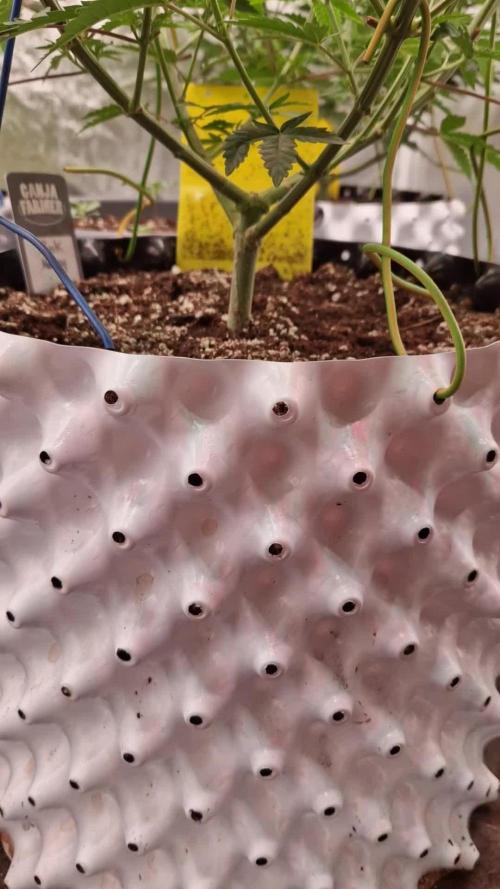
Teilweise sehr hellgrüne Blätter.. vllt möchte Sie mehr Dünger? Gerne mal kommentieren, was ihr denkt.
Sonst kann ich mich eigentlich nicht beschweren.

Likes
19
Share


@Naturalist
Follow
Just fed AgroThrive Organic Fertilizer - Fruiting & Flowering on Chemdawg on day 88, straight water on the rest PPMs are still high at 2914 average with acid run offs of 5 but plants look pretty good the CD looked hungry so fed it the PPM on it prior was the lowest of the 6.
I ordered a High CFM Kit so I can get some of my space back, as is my 5x5 is more of a 4x4 & I could use the space right now.


