


Likes
Comments
Share


@Lebowskisgrowin
Follow
Super strain really easy to grow, nice taste. However she is not as strong as i thought but really great smoke and colours ! : 1:

Likes
56
Share


@MrGrow
Follow
14.10.2022
🌱 114 giorni dal seme
🌻 42 giorni fioritura
💧 2 l/48h
6.0 ph
2.2 ph
Finita la 6 settimana di fioritura. Alcune varietà mostrano segni di fioritura più avanzata, come la Kush Mintz di Barney's Farm, è la più gelata di tricomi tra tutte le varietà. Gelato#41 di green house Seeds sta mostrando cambiamenti di colore nelle cime, sembra che stiano diventando rossastre. La Jack's dream è forse quella più indietro di tt, e anche la più piccola della tenda. Una delle due Kush Mintz, profuma di ananas matura e dolciumi, un vero spettacolo😋


Likes
8
Share


@GoosengrowerUK
Follow
Hi growmies it's been a minute! Anyway unfortunately I'm having to move the plants to a different secure location as there too big and my sister has had a baby so can't keep them at my ma's anymore, on top of that I can't keep them at mine as I'm on the edge of town centre but I'll keep updating on them also last 2 pics are the lemon meringue auto from Tastebuds Genetics really nice smoke smells and tastes exactly as named rather mellow hight though could have done them better, ended up with just over an Oz and half! Anyway hope everyone stays happy, healthy and as high as humanly possible! 💚👊🇬🇧

Likes
53
Share


@Roberts
Follow
I am dropping a Merlin Mintz autoflower from Aeque Genetics. This is a new release from them. I will be growing her in Athena blended line nutrition. She will be growing under the Spider Farmer G5000/UVR40 lights. Thank you Aeque Genetics, Spider Farmer, and Athena. 🤜🏻🤛🏻🌱🌱🌱
Thank you grow diaries community for the likes, follows, comments, and subscriptions on my YouTube channel. I greatly appreciate all the support. 🌱🌱
🌱https://youtube.com/channel/UCAhN7yRzWLpcaRHhMIQ7X4g
Likes
14
Share


@Jays_Not_Here_Man
Follow
A great week for the girls, an explosion of flower growth.
They are not the largest Autoflower’s, but they are robust. The main cola is about 9 inches, with tight bud spacing and stacking. The satellite buds are also nice size with some good density. These girls have not shown any issues with the cronk nutrient/dosage that has been given, while some of the others have been more finicky.
They are feeling greasy, and have a some good terps starting as I open the tent. RH has been kept between 55-58 % while temps have gotten as high as 81, but typically hover around 78 degrees. They are getting close to a gallon of water at feed time, which is about every 4 days. I’m happy with these girls so far as there are a several weeks left in their cycle. Happy Gardening 🇨🇦👊❤️


Likes
14
Share


@Grileon
Follow
Hello to all the growers.
Got an amazing gift, RQS Growing Pack for the contest - "Grow Cannabis – Best New Year’s resolution".
Including two awesome strains: Shogun and Tripple G.
Thanks to the whole RQS team, and Pol from RQS.
Decided to start with 3G this time, hope will be interesting grow.


Likes
14
Share


@GoldenWeedGrower
Follow
D57/F13 - 27/05/23 - Added sunset and sunrise (only red lights for 1,5 hours at the start and 1,5 at the end)
D58/F14 - 28/05/23 - I set up my AFD (see picture). I find a way to feed her automaticly when I 'll be out, Every day I start the pump for 30 sec (about) to give her 2 liters of nutes with my AFS (Automatic Feeding System)
D59/F15 - 29/05/23 - Automatic feeding
D60/F16 - 30/05/23 - Automatic feeding
D61/F17 - 31/05/23 - Automatic feeding
D62/F18 - 01/06/23 - Automatic feeding
D63/F19 - 02/06/23 - I'm back, Nora looks ok, automatic feeding works. A little bit of problem with timelaps framing, but it's ok, I've got all info I need. EC 0.9 and pH 6.5


Likes
3
Share


@JeyGanesha
Follow
Quarta settimana di fioritura anche queste runz layer cake sta venendo very strong 😂🙏💪
Likes
3
Share


@mr_smooke
Follow
7 week is behind us. On day 45 i setting up net for holding buds and a bit more fullit up tent. There is past 3 day since she started flower. In this update i can not move out of grow room and some picture is not so perfect
Peace and love ✌️😁💜💚

Likes
12
Share
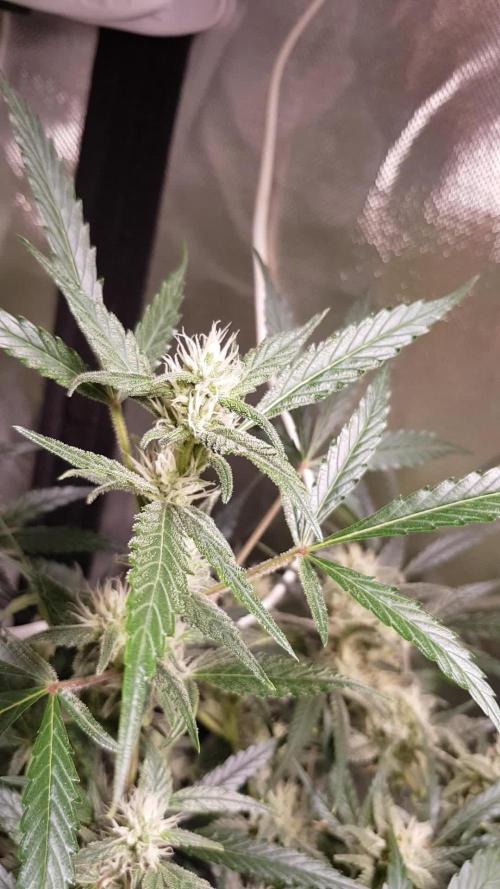

@GERGrowDesigns
Follow
Welcome to Flower Week 4 of Fast Buds Z-Up Auto
I'm excited to share my grow journey with you from my
FastBuds Project . It's going to be an incredible ride, full of learning, growing, and connecting with fellow growers from all around the world!
For this Project , I’ve chosen the Feminized Auto strain Z-Up :
Here’s what I’m working with:
• 🌱 Tent: 120x60x80
• 🧑🌾 Breeder Company: Fast buds
• 💧 Humidity Range: 60
• ⏳ Flowering Time: 8-9 Weeks
• Strain Info: 29%THC
• 🌡️ Temperature: 26
• 🍵 Pot Size: 12
• Nutrient Brand: Hy-Pro
• ⚡ Lights : 600W x 2
A huge thank you to Fast Buds for allowing me to try my Best with this amazing collection from Automatic and Photo Strains they managed to Sponsore . Big thanks for supporting the grower community worldwide! Your genetics and passion speak for themselves!
I would truly appreciate every bit of feedback, help, questions, or discussions – and of course, your likes and interactions mean the world to me as I try to stand out in this exciting competition!
Let’s grow together – and don’t forget to stop by again to see the latest updates!
Happy growing!
Stay lifted and stay curious!
Peace & Buds!


Likes
18
Share


@Stonyways
Follow
flower week 8,
2nd week of flush and my 15th week of crappy sleep due to this VIVOSUN 4"high cfm fan. I would just get rid of it as it does not owe me anything (2 full grows) but I am planning on gifting my old complete set up to someone I know that's in need.
and shit.... Spider Farmer never even got back to me....so my next grow will include my first HLG to supplement the Spider....
no contest this month due to...... well I gotta move. I don't think id be winning any contest but on the off chance I would.... address change. lol
HAPPY FRIDAY
Likes
Comments
Share

@frigo_camelo
Follow
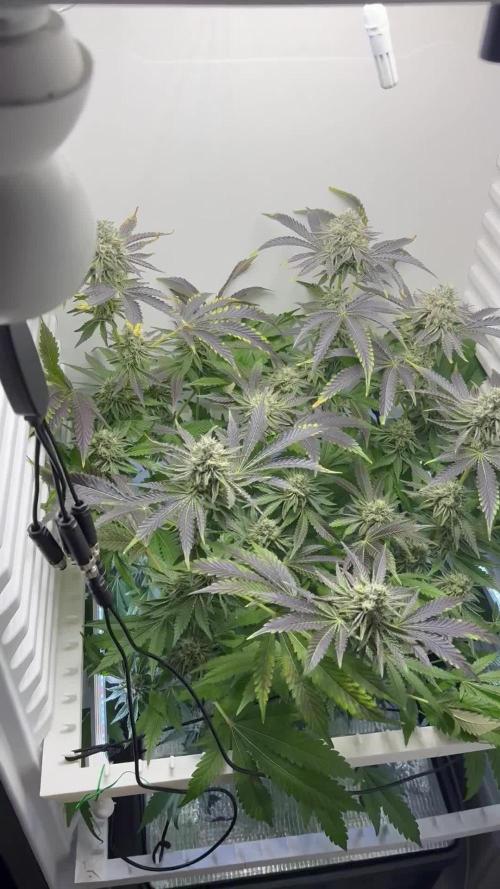
end of week 5 flower 🏻| all looking god | very strong rotten fruit smell | its gerring purple!
Likes
46
Share


@GanjaReaper
Follow
Day 67:
Increase in flower size phrase has been finished now they about to go into the mature phrase.
I will eighter flower them for 1 or 2 weeks depending on how it goes.
Might only give them water with enzymen,regulator and humic for now on, that Is basicly flushing ( ec 0.7 ).
or Ill just slightly feed them( ec 1.4-1.6) for a few times before I start flushing them( ec 0.7).
Again I took the pictures before doing work on them ( watering and defoliation), so they look a little sad.
I did notice that many of them got burned tips, indicating that they get more nutrients then needed.
It does make sence since In this week and weeks to come, they need less nutrients and having a harder time taking it.
Yet they do drink everything in 1.5-2 days, so they still do like to get nutes.
Thats all for this week.
