


Likes
Comments
Share

@StickyFingah420
Follow
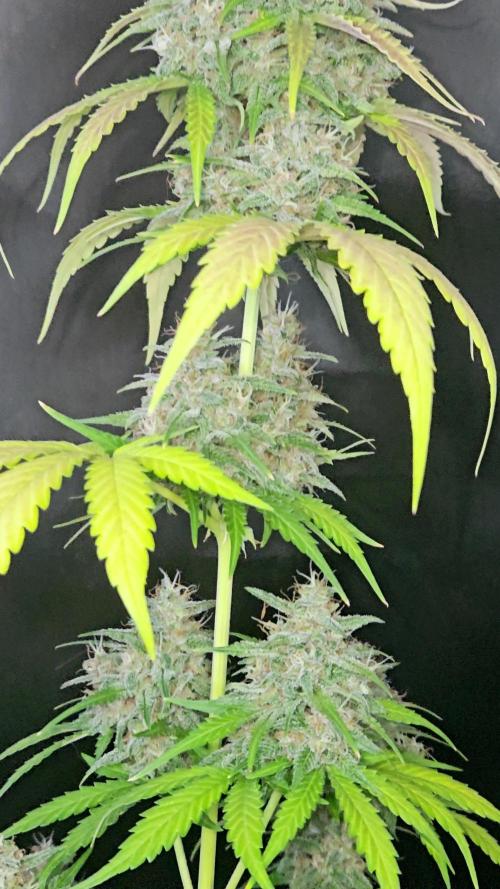
Días finales de esta hermosa planta.
A mi gusto le falta un poco, ya que viendo con la lupa, los tricomas aún se ven muy claros en su mayoría

Likes
82
Share


@Streptokok
Follow
Purple Buds are amazing.I could not be happier with their color, buds are chunky and frosty, the smell is indescribable. It reminds me a certain sweet from the childhood :) and I bet it will taste even better. Later, I will show some more pictures for Industrial CBD which is doing fine. I will move Purple Buds tomorrow out of my tent for two days in the darkness and then - harvest time :) CBD has got one more week to go I think. Happy growing to everyone.


Likes
23
Share


@Zuppler
Follow
✨**Grow Report by Zuppler - Week 8 Flowering Phase** 👀🐗
Ayo, what’s good fam? Zuppler back with that Week 8 flowering update, and we’re gettin’ real close to harvest time now. Just two more weeks to go, and these girls are almost ready to shine. The buds have gotten so heavy I had to tie ‘em up to keep ‘em from toppin' over. They’re thick, dense, and full of weight – just what we’ve been workin’ for.
I’ve already started flushin’ the medium, lettin’ ‘em clear out all the leftover nutes. The plants are respondin' well, and the fade is startin' to show real nice. Right now, almost all the trichomes are milky, and I’m just waitin' for that perfect amber to start showin' up. It’s a waiting game now, lettin' ‘em ripen and hit peak potency.
The smell’s still crazy loud, and the resin is drippin’ like it’s made for the top shelf. Everything’s goin' smooth – temps, humidity, all dialed in to finish these queens off strong. We’re in the home stretch, and in two weeks, it’s choppin’ time.
Zuppler signin’ out. The harvest is almost here, fam!


Likes
14
Share


@SBCannabisCo
Follow
Looking stupid fire. Clones I took never rooted😭🤦♂️🏽 Gonna have to re veg if I wanna keep


Processing
Likes
10
Share


@Dunk_Junk
Follow
11cm vertical growth this week.
Loads of new growth coming out!!!!!
Thinking she will enter flowering during the coming week..
Likes
44
Share


@Cogollo_eu
Follow
**Encontrarás la traducción a español al final de la descripción**
From/Desde: 10/05/19 || To/Hasta: 16/05/19
From day/Desde día: 78 || To day/Hasta día: 84
You can find the Money Maker Diary here:
** Podéis encontrar el diario de las Money Maker aquí:**
https://growdiaries.com/diaries/25667-gorillamakingmoney-gorilla-vs-money-m
-----IMAGES & VIDEOS-----
5 - HomeMade Organic & Cheap CO2 generator (more info in week summary)
9, 10, 11 & 12: The bud on the right is a Gorilla one, the buds in the left or/and in the middle are Money Maker ones.
15 - Same Gorilla plant buds, one affected by CO2 in the roots and the other not.
-----WEEK SUMMARY-----
The smell is more sweet and intense every day, friends that came home turned them eyes into crystals when they see this little babys. The size isn't awesome, but the high ammount of buds full of crystals plus the strong sweet aroma makes them awesome. Buds are growing and fattenning very very well.
This week i added a boost of HomeMade CO2, i never measured the results of this invention so i can't give CO2 measurements. This method is widely used in home aquariums and there is where it comes from. For those interested i'm going to write here more detailed instructions. The 4 liters i've made will last for about 2 weeks.
---NEEDINGS---
- 250 ml Bottle
- 6~10 l Bottle
- 400 g Sugar / l water
- 1 Envelope of organic baker's yeast / l water (CHEMICAL WILL NOT WORK)
- 3 mid plastic tubes 40~50 cm
- 1 short plastic tube 5~6 cm
- 4 tube adapters
- Hot glue to seal adapters
The process of creating CO2 is simple, mix water, organic yeast and sugar in a bottle, and the sugar will free CO2 in the process of fermenting to alcohol due to the yeast.
1. Make a hole in the center of the big bottle cap, insert an adapter and secure it with hot glue
2. Make 3 holes in the small bottle cap and glue the other 3 adapters
3. Link both caps with one of the mid tubes and insert the other tubes on free adapters
4. Insert a short tube in the bottom of the small cap in the adapter that came from the big cap
5. Watch the Video!!
-----WATERING CALENDAR-----
Plants are beginning to drain the pots a bit faster so from now on i will raise the water ammount on each watering day 0.25 l.
11/05/19 - 1,5 l with All week nutrients -(Nirvana & Blombastic) also Big Bud half dosed @ PH6.4 & 2 E.C.
14/05/19 - 1,5 l with Bud Candy, Big Bud, Nirvana, B52, Bud Factor-X, Sensizym & Blombastic @ PH6.4 & 1.5 E.C.
*****ESPAÑOL*****
-----IMÁGENES Y VÍDEOS-----
5: Generador de CO2 casero, barato y orgánico (más info en el sumario semanal)
9, 10, 11 & 12: El cogollo que sale a la derecha es de una Gorila, el de la izquierda y/o el de en medio son de una Money Maker
15: Dos cogollos de la misma planta, uno afectado por CO2 en las raíces y el otro no
-----SUMARIO SEMANAL-----
El olor es más dulce e intenso día a día, los amigos que vienen a casa a verlas se quedan ojipláticos al verlas. El tamaño no es una maravilla, pero la gran cantidad de cogollos llenos de cristales añadido al aroma que entra por las fosas nasales las hacen increíbles. Los cogollos crecen y engordan de maravilla.
Esta semana he añadido un boost de CO2 casero, nunca he hecho mediciones de los resultados por lo que no puedo darlas. Este método es ampliamente usado en peceras caseras y de ahí saqué la idea. Para aquellos interesados dejo aquí instrucciones más detalladas. Con los 4 litros de agua que he preparado yo da para unas 2 semanas.
---NECESITAMOS---
- Botella de 250 ml
- Botella de 5 a 10 litros
- 400 g de azúcar por litro de agua
- 1 sobre de levadura de postre orgánica (LA QUÍMICA NO FUNCIONARÁ)
- 3 tubos de plástico de tamaño medio 40~50 cm
- 1 tubo de plástico de tamaño pequeño 5~6 cm
- 4 adaptadores para los tubos
- Cola caliente para pegar y sellar los adaptadores
El proceso de generar CO2 es simple, mezcla agua, levadura orgánica y azúcar en una botella, y el azúcar liberará CO2 en el proceso de fermentación a alcohol.
1. Haz un agujero en la tapa de la botella grande, inserta un adaptador y séllalo con cola caliente
2. Haz 3 agujeros en el tapón pequeño y haz lo mismo con los otros 3 adaptadores
3. Conecta los 2 tapones con uno de los tubos y conecta los otros 2 tubos a los adaptadores restantes
4. Conecta el tubo pequeño en la parte libre del adaptador del tapón pequeño que viene del tapón grande
5. Mira el vídeo
-----CALENDARIO DE RIEGO-----
Las platas comienzan a secar los tiestos un poco más rápido, asi que de ahora en adelante incrementaré 250 ml de agua adicionales en cada riego.
11/05/19 - 1,5 l con todos los nutrientes semanales -(Nirvana & Blombastic) BigBud mitad de dosis @ PH6,4 & 2 E.C.
14/05/19 - 1,5 l con Bud Candy, Big Bud, Nirvana, B52, Bud Factor-X, Sensizym y Blombastic @ PH6,4 & 1,5 E.C.
Likes
7
Share


@Mr_nugs_lover_David
Follow
High quality autoflowers guys! Very happy with this 3 gelato auto by fast buds, the smell it's very pungent and there are a lot of trichomes in early flower, very good strain to grow, let's see how this 3 ladies keep developing those stinky flowers! 💚💓👨🌾
Likes
4
Share


@Ninjabuds
Follow
My Rainbow Melon plant is still one of the biggest in the tent, and it's definitely the smelliest so far. The only thing I'm not crazy about is how big the leaves are getting.
It's been a challenging week with the constant rain and ridiculously high humidity. Keeping things dry indoors has been a real struggle. Despite the weather, I managed to flip all my feminized photoperiod plants to flower this week. I'm hoping the switch will go smoothly, but with this humidity, it's going to be tough.
Likes
16
Share


@Andres
Follow
they are growing excellent right now outdoors ... and from now on I will put the wvoluxion dw my 2 purple afgham kush that have the same date of germination ...
Likes
4
Share

@BB-COLLECTIVE
Follow
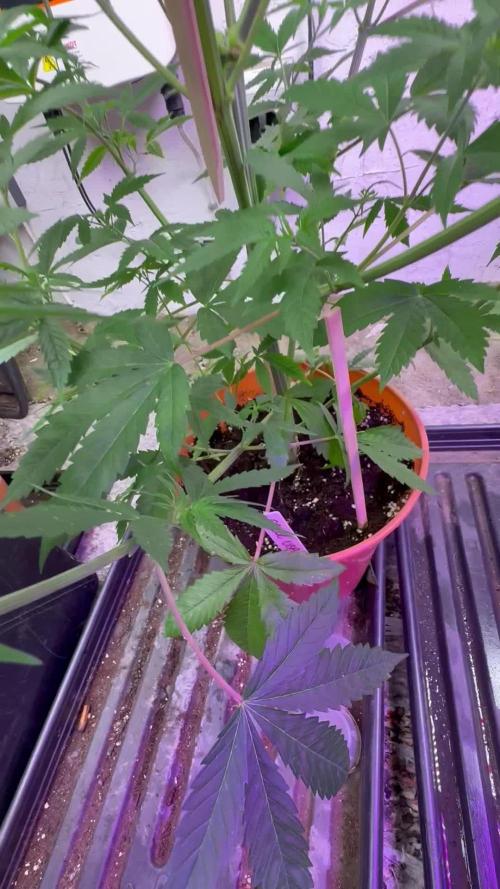
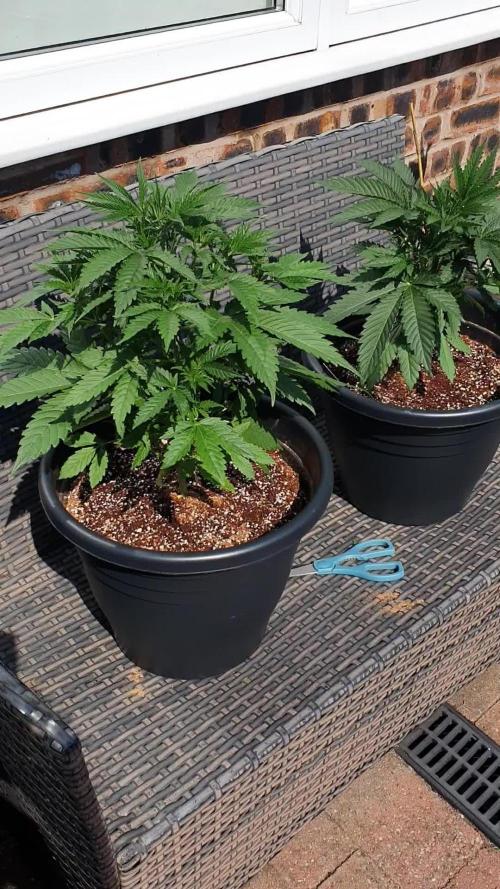
Same again both Oreos USA beans we popped running side by side both topped and now tied down to even up the canopy and get them ready to be flipped to 12/12




Likes
23
Share


@Horseluisweed
Follow
Bueno, le salió la radícula en las primeras 24h, pero quise esperar a que se desarrollara más antes de transpartarla al sustrato, tras pasar más de 48h me quedé sorprendido que siguiera (aparentemente) igual, la pase a la tierra(💦mojada en el centro con 100ml del agua que utilicé para germinarla), se me hizo eterno esperar a que sacara la cabeza, tremenda alegría al 4 día ❤️🙌🌱, al ver el sustrato relativamente seco volví a mojar💦(esta vez con la mitad, 50ml aprox.). Decidí comer hummus (como ella jijiji) y ponerle el plástico de invernadero con la idea de manter la humedad alta💦💦💦

Likes
24
Share


@Lowkey_Doc
Follow
Week 5 of Flower 8/5-8/12
~Average~
Temp: 76-84f
RH: 40%-50%
PH: 5.9-6.2
NOTES: All is going well💪🏽
The flowers are starting to really put on the weight and smell.
I’m a huge fan of Walter white.
Happy cultivating🤙🏽

Likes
30
Share


@SirSmokeALot333
Follow
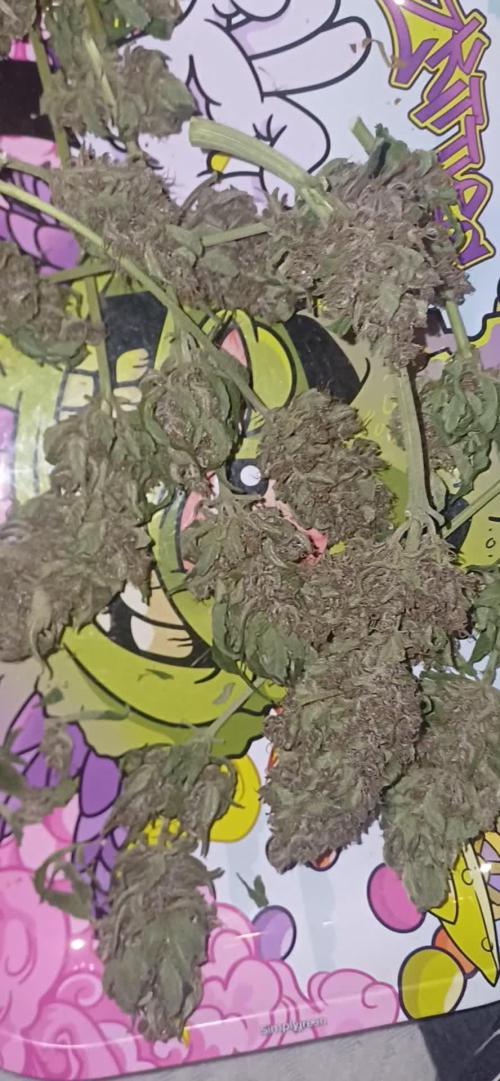
So now week 6 started
3 of them are in Flower
Girls Scout Cookies still stressed from the Thrips
All of them hadn't any nutes till now
Because I added Floganic to the Biobizz Allmix Soil. Just tap water with a pH of 6,8. I think I gonna add nutes the next 10 days I will start with 30% Bio bizz grow and bloom and 100% Topmax.
That's my second grow and my first one with topping and Fimming just want to learn all of the growingcircle.
So that's all for this day 😁👍
Edit :
Day 40 Criticals and GSC
Day 37 Banana Blaze
All of them looking very good
My favorite is the crit 2 very good growing. 😍👌



Likes
3
Share

@Growmigos
Follow
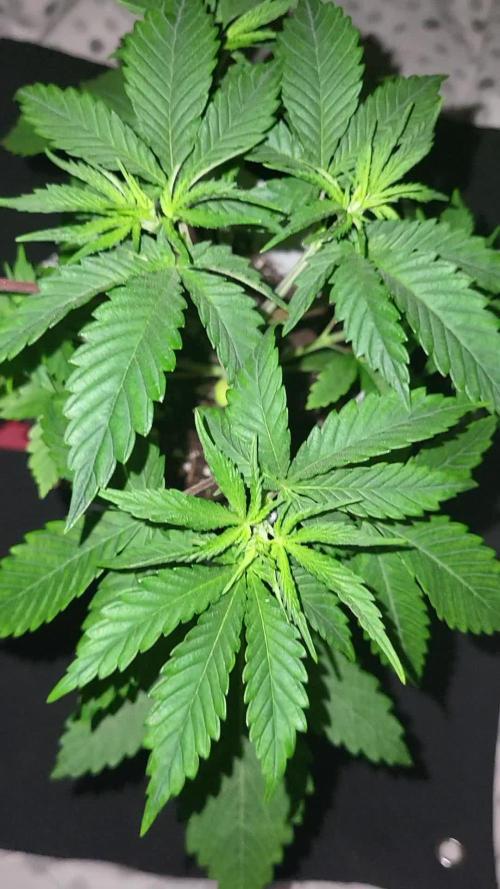
Sie ist nach dem toppen förmlich explodiert,sie sieht super symetrisch aus, habe sie ins grosse zelt gestellt bei 144w zur Eingewöhnung,morgen gibt es ein grösseren topf.....
Likes
3
Share


@MicroHidroGrow
Follow
Día 45.
Ya empezaron a enraizar los esquejes. Agregué 2 al sistema y mañana ya agrego los otros 2. Después habrá que espersr una o dos semanas a que alcancen una altura que iguale a la madre y de ahí a flora.
La planta se me hizo demasiado grande esperando a los esquejes. De hecho para la próxima, voy a tener que revisar el tema de la configuración a usar. Porque esto es dasiado grande y se pierde el espíritu real de lo que es el indoor. La idea original eran 10 esquejes. La madre solía ir a tierra a florar en otro lado. Pero pensé en aprovecharla y a fin de cuentas termina siendo casi lo mismo que poner la planta sin esquejes. Así que voy a ver bien que configuración usar en la próxima y estimar mejor los tiempos. Entre tanto, solamente espero poder estar pasando a floración lo antes posible. Sino esto se va a complicar mucho con el espacio disponible.