


Likes
Comments
Share

@LastinG
Follow
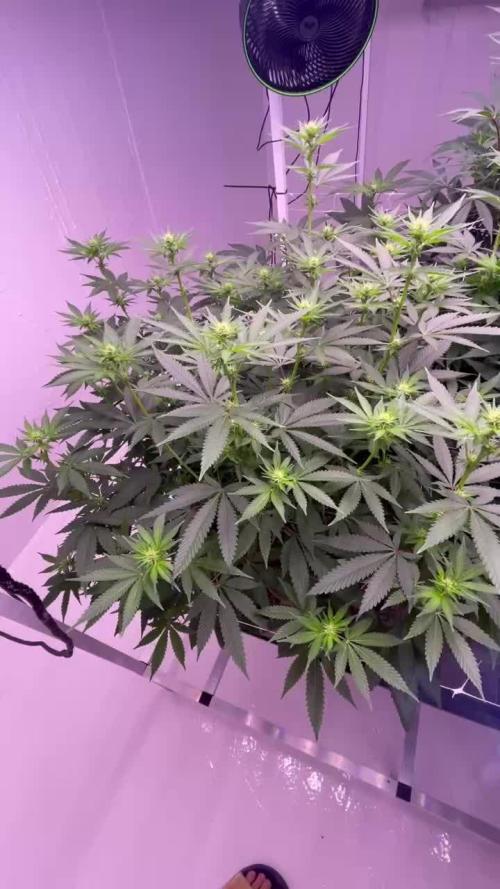
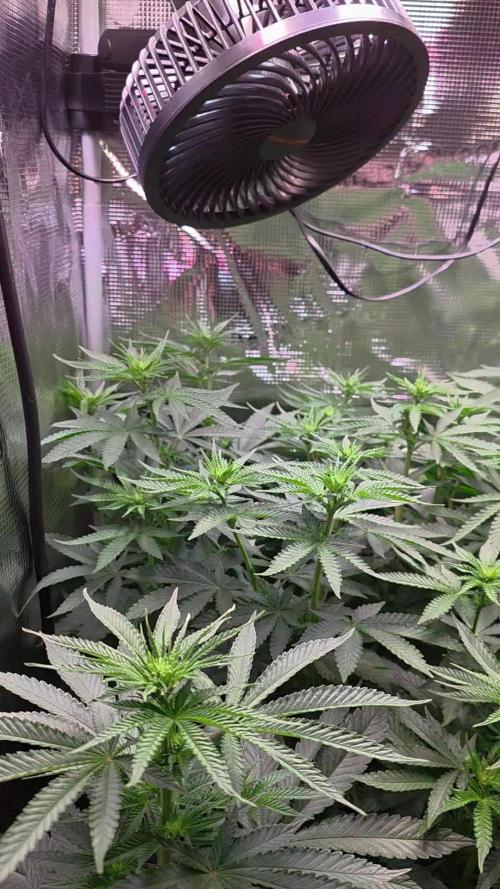
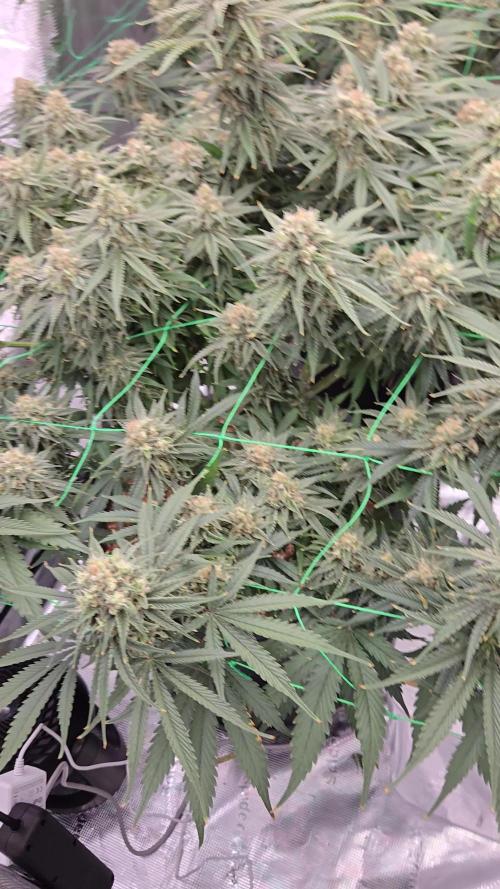
Sunday update and the stretch came in perfect – solid 20-30 cm with nice even internodal spacing. The canopy is really filling out under the SCROG now and you can already see the white pistils popping everywhere in the close-ups.
Plants look healthy and happy, good color, no stress. Rainbow Melon still holding that balanced shape, Nectar is the beast as always, and Something Good has caught up very nicely and looks super solid structured.
Environment staying stable. Dehumidifier came in this week and i setup my Homeassist server to monitor the grow. ill post Data next week :).
Next week on day 21 I’m doing the big defoliation to open the canopy up, improve airflow and get light down to the lower sites before they really start stacking flowers. Should make a big difference.
Looking good so far!



Likes
30
Share


@Hawkbo
Follow
Just started them all on the Green Buzz Liquid Organics and will run it the rest of the way. I'm not going to add much to the line just some calmag, enzymes maybe terpinator I have to experiment with it a little bit. The first feed went extremely well the plants instantly reacted within an hour after the feed especially the next day. The additives in this line barely raised PPM at all which I liked. It also doesnt stink like other liquid organics I've used.
Day 21 of flower, these two are very healthy and have a pretty sturdy foundation. Had to defoliate a little bit I usually try to around week 1 and 3 of the flip. Getting 2nd feed of the GBL line today.

Likes
37
Share

@TrickzCutz
Follow
Servus Moin!
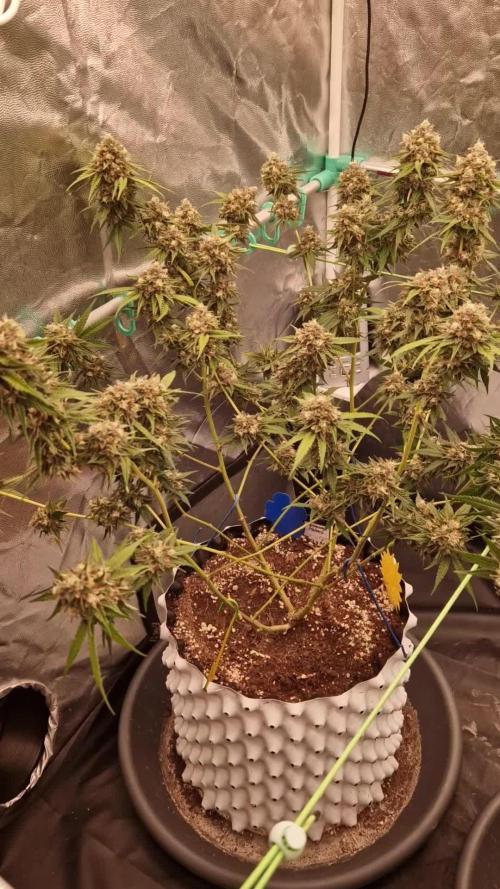
Die Permanent Melons zeigt sich nochmal von Ihrer besten Seite! Die Buds schwellen richtig dick an und die Narben werden langsam dunkel.


Likes
3
Share


@Organic473
Follow
Flowering time for one of the girls…she is adjusting to her new 10 gallon pot very well

Likes
119
Share


@DogDoctorOfficial
Follow
Ahoy, green comrades and Power Buds enthusiasts! Gather 'round for the Week 5 Veg Report, where the saga of Jelousy continues to unfold in all its leafy glory. This week has been nothing short of spectacular, filled with growth, joy, and a touch of botanical magic.
Now, brace yourselves for the root revelation – it was a week of root madness! Jelousy's roots decided to throw a green party of their own, growing with such vigor and enthusiasm that I couldn't resist but give her a grand ticket to her final pot. Yes, folks, the time has come for our green companion to settle into her permanent botanical abode.
Let's talk about the grand ceremony – the transplantation. As always, I employed the mystical Aptus Holland Mycor Mix to accompany Jelousy on her journey. This mix isn't just a sprinkle of magic; it's a symphony of beneficial microorganisms, working in harmony with the plant.
During transplanting, the mycorrhizal fungi in the mix establish a connection with Jelousy's roots, creating a dynamic partnership. They extend the root system, enhancing nutrient and water absorption, while Jelousy graciously provides them with sugars. It's like setting up a botanical support system, ensuring our green companion has everything she needs to flourish in her new and final home.
Now, let's talk about a little gardening finesse – defoliation. As Jelousy reached for the skies, I decided to give her a little grooming session. Removing some of the older, lower leaves not only allows for better light penetration but also encourages the plant to focus its energy on the growing tips. It's like giving our green friend a botanical spa day, where she can channel her energy into the areas that truly matter.
But wait, there's more! I couldn't resist taking a few clones. It's like preserving a piece of Jelousy's green magic for the future. Who knows, maybe we'll have a whole family of Jelousies thriving in the garden.
And speaking of the garden, we've welcomed a new member – a little Buddha acting as the guardian of our growing oasis. He stands tall, radiating tranquility and showering blessings upon our flourishing green kingdom. He seems to be particularly fond of the tree growing beside him – our very own Jelousy. It's like having a silent guardian, watching over the botanical wonders unfolding.
As we revel in the beauty of Week 5, let's extend our gratitude to Zamnesia and Plagron for guiding us through this enchanting journey. Their support is the wind beneath our leaves, propelling us toward horticultural greatness.
A nod of appreciation to the vibrant Grow Diaries community – your shared passion and wisdom continue to enrich our collective knowledge.
To my fellow contestants and growers, may your plants continue to thrive, and may the joy of cultivation accompany you through every green endeavor. Here's to a week of roots finding their home, leaves reaching for the heavens, and the garden flourishing under the watchful eye of our Buddha guardian. Stay green, stay inspired, and keep cultivating those dreams!
As always, thank you all for stopping by, for the love and for it all. This journey of mine would just not be the same without you guys. The love and support are very much appreciated, and I feel honored and blessed with you all in my life !!!
With true love comes happiness. Always believe in yourself and always do things expecting nothing in return, with an open heart. Be a giver, and the universe will respond in ways you can’t even dream of .
Friendly reminder: all you see here is pure research and for educational purposes only.
Genetics - Jelousy @Zamnesia
Nutrients @Plagron
Light - @viparspectra P2000
Room size - 3x3 - 0,9x0,9
Likes
20
Share


@DaddyPrime2
Follow
5/29 plants are healthy.
6/2 they've definitely been stretching this week. Pistils have shown and the calyx of plant #2 are already showing definite purple. Its obvious even with how little of it showing. #2 was the first to show sex and progression of transitioning. Plant #1 has shown sex but only on half of her node? Plant #3 is still the tallest, with the most stretching happening. She's a lighter green than the rest and she hasn't quit shown a full pistil yet
Likes
9
Share


@MenaceFantome971
Follow
Cette semaine 3 et 4 a été sans plus un seul bémol est que ma deuxième fille qui montrait nettement des nuances violettes sur ses pointes de têtes s’est cassé pendant un essai de LST, faute entièrement personnelle, j’assume néanmoins on continue avec quand même.
La 2e s’est étiré un peu et a reçu parfaitement son LST et a même commencé à montré ses pistils de pré floraison donc on engraisse.
Du coup on a profité de ces essai de LST sur les deux fifilles pour commencer les engrais BIO GROW & BIO TOP MAX et bientôt BIO BLOOM pour la phase complète de floraison.
En attendant je vous laisse admirez les vidéos et photo, pas dans l’ordre mais celle en B&W est d’aujourd’hui ! 1 mois pile depuis sa mise en terre 👏🏾💯 ainsi que une petite WW de chez RQS que je développerais dans un autre agenda
Likes
10
Share

@dwcgrowguy
Follow
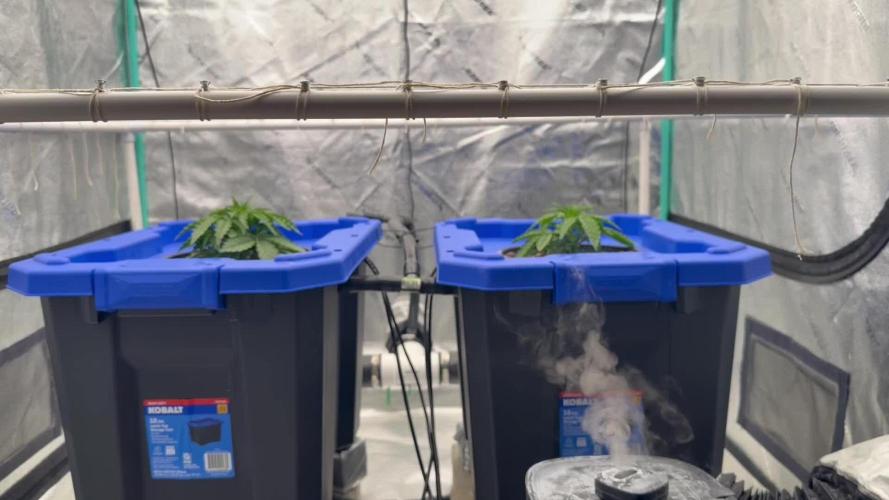
Week 2 feeding wasn’t much higher than the 1st feeding. Starting to see growth starting to explode.
Likes
43
Share


@Sabac
Follow
Plantitas en su semana 12.
Crecen y crecen espero dejarlas entre 13 y 14 semanas.


Likes
1
Share


@undermink
Follow
The little plant have recovered pretty well as far as I can tell... They still look a bit wrecked but this is due what they have lived through I think... Hope they have a better time ahead :)
UPDATE: one of the plants seems to have fallen (eg autobended herself) to the ground but is still looking good to me... I just let her be and see what happens :)


Likes
19
Share


@TamedFire
Follow
This plant vegged like a champion. 6 weeks and she was ready to go. I put her in a 5 gallon so she exploded when she went to flower and gave a great harvest.

Likes
5
Share

@xTaps
Follow
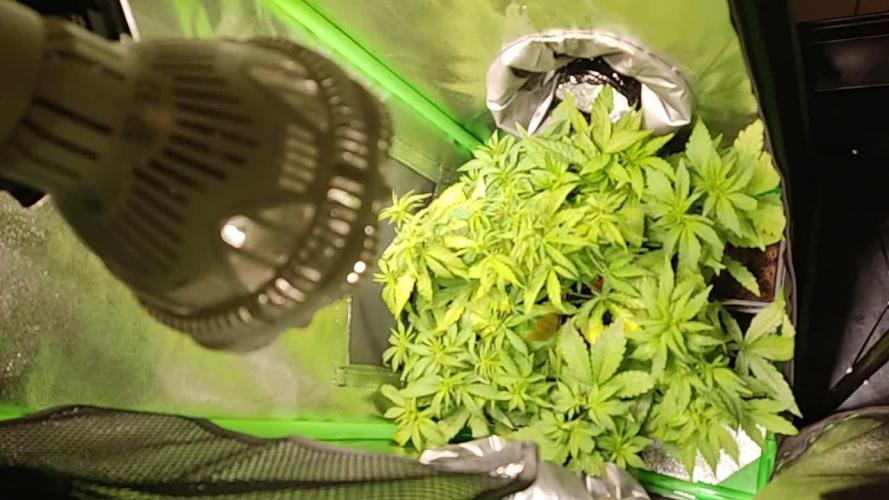
23.08
The Drainmaster moved into the tent to control the drain.
Defoliated and lollipopped them.
Likes
9
Share


@Martymar021208
Follow
This tent has done amazingly they have veg strong and the branching has been extremely vigorous and lengthy really happy with ethos genetics to
Likes
4
Share


@ibbzy
Follow
Slight accident this week where the red spectrum bar had popped of the railing and fell on the front row of babies and burnt them :( they’re recovering
Everything seems slow in this compost/coco soil mix but hey…chugging along.
I think I may go full coco next run.
I believe they should start focusing on bud now have top dressed once more with compost & 2-8-4.
Likes
145
Share


@Salokin
Follow
Hello Growmies,
The final chapter of this incredible journey has unfolded, and it's time to share the bountiful harvest and reflections on the entire cultivation process. Trimming the plant was a joy, and with gentle fingers, I removed all the large fan leaves. The precision in this process revealed the true beauty of the buds, setting the stage for a smooth harvest. With care and gratitude, the plant was chopped, and the buds were hung to dry. The anticipation for what lies ahead only adds to the sense of accomplishment. The wet weight, excluding fan leaves, stands at an impressive 782 grams. The buds are massive, a testament to the efficacy of the nutrients used, particularly the Power Buds. The name seems apt, as the result is a collection of sticky, dense buds with subtle lemon notes and sweet pungent undertones. In the final moments, the plant unveiled some delightful purple hues. While I wish I could have allowed them to intensify further, it's a reminder that each grow is a learning experience. In hindsight, a slightly longer fading period would have accentuated those beautiful colors. We live and learn, and that's the essence of this journey.
A heartfelt thank you to Plagron and Zamnesia for hosting this amazing contest. The quality of the products and the support throughout the journey have been invaluable.
As this chapter concludes, I'm left with a sense of fulfillment and gratitude for the collective experience we've shared. The plant's growth, from seed to harvest, has been a testament to the art and science of cultivation.
Feel free to check out my other adventures in my bigger environments, until then...happy growing!
Stay Lifted
Salokin



Likes
8
Share

@Growfather1
Follow
Hello everyone,
I made a mistake with the pk13/14 and used the double amount 3ml per liter happily i have no salt buildup in the soil and the runoff is 950ppm.
Foxtailing on the two amnesia haze plants due to low hanging lights but that's not a big issue for me.
I will stop adding pk13/14 for the amnesia in the back and the amnesia fast on the right side.
The amnesia on the left will get a view days pk13/14 in her feeding.
Everything is going well with the plants and in 2 weeks from now i will start flushing the nutrients out of the soil.
Thanks for stopping by and have a nice day.
Regards,
Growfather


Likes
55
Share


@Hempy_The_Kid
Follow
02/09/22 changed nutrient water PH 5.93 TDS 890. Gave 2 quarts recharge. Will give foliar feeding at lights out.
02/10/22 PH 6.15 TDS 863. Removed a couple small suckers.
02/11/22 Ph 6.19 TDS 920
02/12/22 PH 6.22 TDS 924
02/13/22 PH 6.15 TDS 916 gave 2 quarts recharge. will give foliar feeding tonight at lights out. This is final foliar feeding.
02/14/22 PH 6.15 TDS 942
02/15/22 PH 6.15 TDS 902 tomorrow morning will start feeding 2x day.
