
Likes
Comments
Share


@WhiteWidow
Follow
Last 2 weeks only plain water on blue medi kush.
Flushing other girls for a week now and this should be their final week of life but dinafems grape and og kush are still shooting white hairs or they are just turning them to orange very slow. I got the runoff ppm on all girls down to 200(my tap water), want the smoke to be as clean as possible.


Likes
32
Share


@Platinouuu
Follow
No han habido muchos cambios en cuanto a la nutricion. Añadimos un poco de Recharge, agua y estare añadiendo un producto para engordar las flores. Los mantengo al tanto, buenos humos!


Likes
5
Share


@LeedsCityFarmz
Follow
Nice strain to grow overall especially for the terps it produced, yield was more on the low side as expected from one for these "hype" strains or whatever you want to call them.
Likes
253
Share


@Hologram
Follow
Sticky has survived another night outside in my greenhouse..it was very cold this morning,; 10 C 😠!
She hasnt grown much this week, only 5 cm
but that has to do with me topping her, last week🙏
Tonight im gonna use heathing mats in the GH.. so maybe it will stay little bit warmer (waiting for my extention cord 2b delivered today✊)
But maybe i will just put them inside again tonight, on my windowsill .. i dont want them to get sick🙏
the temp. at night is just too cold..heating mats in Greenhouse outside is not gonna help much i think..
But now she is on my garden table waiting to catch some rays from the sun..and then im gonna give her a good fotoshoot!
forcast of today is very sunny so 🙌
But i will put her in my greenhouse this afternoon, so she can hide from the strong winds..
I already see some sighns of pre-flower coming up.(so shes still happy!)
Sure the hedgehogs will keep her warm ! 😇
And dont forget:
FOR ALL MY GROWBROS/SISTERS IS A DISCOUNT CODE: ZAMMIGD2023
Happy growing for all✊
Hour later:
It was hard to make nice pix, bc of wind..so i made a small video so you can see her dancing(headbanging 😁) in the wind
(and to check if my videos can upload.. my cam had some probs..)
wanted to make a better one, but then my batt. died..
💩happens i guess..😳

Likes
207
Share


@Legendaryseedthumb
Follow
I could let them sit in the pot for 1 more week, but I really need my weed. 100% cloudy but no amber

Likes
6
Share


@Nune2021
Follow
Hey Leute die Pflanzen machen sich sehr gut wie ich finde ich muss nur die unterschiedlichen Größen Händeln aber das passt schon duften tuen sie auch schon

Likes
5
Share


@Deltatigrou0169
Follow
Bonjour les amis,
Je viens tout juste de faire mes photos et vidéos, ça va faire 1 semaines que j'ai commencé à leur mettre de l'engrais (pro organic) mais apparemment mes fifilles ne le supporte pas elles commencent à me faire des taches (marron jaune). Du coup je les est mis en rinçage et après je leur mettrais du purin d'orties fait maison. J'espère vraiment qu'elles vont se remettre d'à plomb, je serai vraiment triste 😥 si je les perds.
Je vous dit à plus tard les amis,
Bonne journée à tous 🙂👍👍👍


Likes
10
Share


@Stickygreens420
Follow
1/8/2024: so far the grow is not off to a great start. The browning that started on the cotyledon has spread to the other leaves and her growth has definitely slowed a bit. I used some water that sat out for a few days, so that may have been the issue, but I'm not sure why that would cause a problem. The ph was at 6.2. I also foiler fed them with some Tweetmint, which i think is the issue. I may hav3 not diluted it enough, causing the buring. I'm laying off anymore IPM until the olants bounce back. I also turned the lights down until i can get the plants back on track. It may just be the soil is too hot, but I have other plants in different soil that are showing the same symptoms, so it makes me think it's not the soil. I'm not giving up yet, but if things don't improve soon, I may just pop a new seed. This is my biggest issue with auto flowers. If the grow isn't perfect I could end up stunting the plant too much. I guess we will find out.
1/10/2024: Day 10 - the new growth is coming in healthy. I'm pretty sure the foiler spay I used last week is what caused the issue. I went back and realized I used way more of the concentrate than I should have, which likely burned the leaves. Let's hope that is the only mistake I make on this grow and it doesn't stunt the plant too much.
1/14/2024 - Day 14: she is looking so much better. All the new growth is as healthy as can be. I added a new light today. Replaced the Spider Farmer SF2000 with the AC Infinity Ionboard S44. I originally had the S44 in my 4x4, but recently bought a light with more Watts and better coverage for the 4x4. The S44 is probably overkill for the 2x4, but it fit, so I figured I'd give it a try. Only have it on at 60% at the moment and I'm getting about 500 ppfd, with a DLI of 30. Dropped the light cycle down to 18 on and 6 off as well. I have some photo period plants in the 2x4 as well, and I wanted to shift them to 18/6, so the auto is going along for the ride.
Likes
28
Share


@MindFlowers68
Follow
Top dressed with some more soil. The top was looking depleted and just want to keep it from completely taking all the nutrients from the soil. Added a mix of power bloom with azomite and glacial rock dust. I watered in with some pure protein dissolved into hot water then added to the water I was using at diluted levels. The second watering they got this week was with molasses. which also does a good job of dropping the ph of my water to the perfect level and a little bit of Epsom salt because I ran out of my cal mag and also want the plant to have plenty of sulfur.
Buds are looking cool and remind me of little pine trees. At first glance it seems like they are starting to foxtail but the buds are fattening once the new growth on top starts to expand more. the main colas are almost a foot long each, but hard to tell because the planetary buds around the main colas are blocking them from getting a good picture. Amazed by how frosty the sugar leaves and even some of the older fan leaves are. Her smells are mostly sweet and candy-like. got a little sneek peak of what her fade should look like from one of the leaves being severed partially with a nice yellow and purple. She put on a decent amount of weight this week but towards the end,I can tell she's starting to slow down. Looks like it will still bulk a little more but noticing fewer white and more orange hairs. hoping all my plants finish around 8-9 weeks. i want to try to harvest them all at the same time if i can.


Likes
19
Share


@Takeaims
Follow
The rest are still going good only 1 hiccup that was my fault damaged 1 plant it happens but atleast my tents still full looking to upgrade to bigger tent


Likes
10
Share

@MrWeeedWorld
Follow
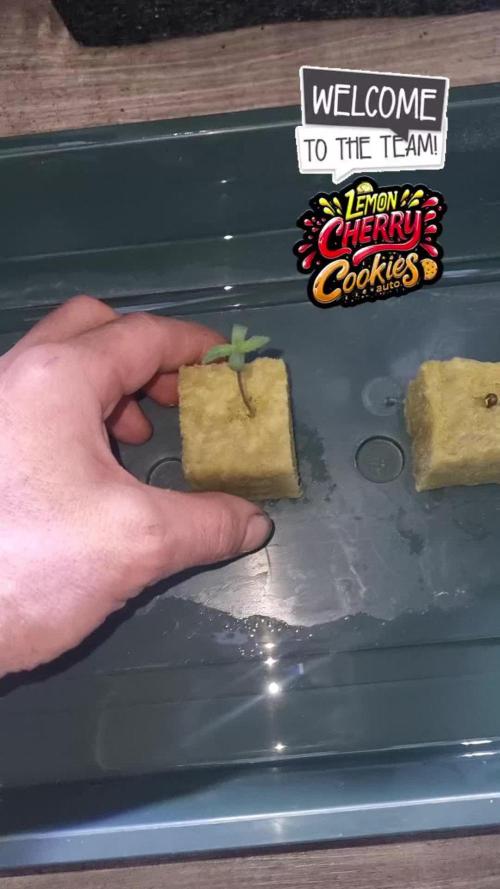
Woche 1 für die Kleinen hat begonnen. Heute habe ich sie in die Endtöpfe gepflanzt und da bleiben sie bis zur Ernte. Wie IMMER haben die Samen von Fastbuds eine 100 % Keimrate und Super Qualität 💪 bleibt dran... es gibt Woche für Woche neue Updates😎
Week 1 for the little ones has begun. Today I planted them in their final pots, and they'll stay there until harvest. As ALWAYS, Fastbuds seeds have a 100% germination rate and superb quality 💪 Stay tuned... there will be new updates every week 😎

Likes
85
Share


@SlowpokeFuegobud
Follow
🍬 🍓 🍧🍭 🍋 🍹
Hello and welcome to week 1, dearest growmies!! 😘
Sherbet Schwarzenegger is the tallest girl, and she came with 3-fingered leaves right away! (well one 3 and one 2-fingered 😅) 💪 So vigorous!! 🌱
Thanks APTUS Holland for supplying me with the nutes for this grow! 🙏 ❤️ I cannot wait to try them!! 🌱 🌞
Thanks @Sweet_Seeds for the beautiful genetics!! You guys rock!! 😘
___________________________________________________________________________________________
Strawberry Cola Sherbet F1 Fast Version®️
This is an ultra-fast flowering, photoperiod-dependent, feminized strain with red flowers. It is also a first filial generation (F1) cross between a photoperiod-dependent elite clone of the famous Californian Sunset Sherbet and the autoflowering strain Strawberry Cola Auto.
Strawberry Cola Sherbet F1 Fast Version®️ (SWS106) is an indica/sativa polyhybrid, although it is predominantly indica. The plants have large, dense buds covered with lots of highly aromatic resin.
This strain has a very pleasant, potent, and complex aroma, with shades of red fruits and cola, earthy and woody hints, and fresh, citrus undertones.
It has a happy, relaxing effect that stimulates reflective introspection, concentration, and insight.
Data Sheet Strawberry Cola Sherbet F1 Fast Version®️
Variety: SWS106
Indica: 80%
Sativa: 20%
THC: 18-22%
CBD: 0,1%
Indoor Yield: 450-600 g/m²
Outdoor Yield: 400-650 g/plant
Indoor Blooming: 7 weeks
Purple Flower: approximately 75% of the specimens
Effects: Stimulating, Happiness, Relaxing
Taste: Earthy, Citrus, Cool
https://sweetseeds.es/en/f1-fast-version-seeds/3237-strawberry-cola-sherbet-f1-fast-version.html
____________________________________________________________________________________________
Setup:
140x70x200 cm Spiderfarmer tent
2x Monkey 16W fans (not oscillating)
1x Secret Jardin 30W
1x box fan 50W oscillating (on lowest level)
LED
Full Spectrum 320W AGLEX AGL-320W-MA
5,6 kg
foldable, dimmable
864 pieces Samsung LH301H
864umol/s
2,7umol/J
full spectrum white + RED 660nm + IR 740nm
wavelength range 380-780nm
covering 3x4ft
APTUS Holland - https://aptus-holland.com 💚
Green Buzz Nutrients https://greenbuzzliquids.com/ 💚
❗ Use code GD42025 for generous 25% discount (for orders of minimum 75€)
Biobizz Lightmix + coco + wormcastings + perlite
Carbon Active Granulate Filter 125/360 cm³/h
PrimaKlima exhaust EC 125-400/240 cm³/h


Likes
17
Share

@Chucky324
Follow
Hello. This is the end of week 5 and the beginning of week 6 of flowering.
The plants are bulking up. Getting some weight put on the buds.
I can see some branches starting to lean and wondering if I should raise my top net or leave it.... Hmm... Life's decision's...
It's been a coolish week here. I'm putting an extra floor fan on low in the tent at nights to ward off the evil... WPM.
Sometimes it just takes a bit more air flow and it won't bother you. Another good reason to trim some fan leaves in the middle for better air flow.
The stretch has stopped... some branches stopping 6 inches short of the roof.
Smells wonderful in here. An overall gelato type of smell with some sweet candy fruit smells.
Plant #5 is developing a funky sweet fruity cheezie type of smell. Funky.... The wife and I both said, Mmmm... when we smell it.
The garden is going good. Lots of zucchini flowers and tomato's started.
I didn't add any wood ash this year, it turns the soil alkaline and I have to guess the right amount of lime to add and get the ph lower, and I don't always get it right. Only added compost from my composter this year and just a sprinkle of lime. Plants love the wood ash but it takes handful's of lime to correct the balance.
OK. Have Fun.
Chuck.
Likes
7
Share


@UgoGrower
Follow
I was on hollidays for all the week, i was thinking that the survive of rhe pla t would be very hard, but it’s ok. She feels very well, and beggin the flowering.